23
• Avoid the installation:
- near heaters, next to a stove, direct sunlight or
any other heat sources;
- at locations with high humidity (e. g. outdoors,
bathroom), as metal parts would be suscepti-
ble to corrosion under such circumstances;
- near volatile or flammable materials (e. g. gas,
fuel, alcohol, paint, etc.), in rooms which may
have poor air circulation (e. g. garages).
- Do not expose the appliance any weather.
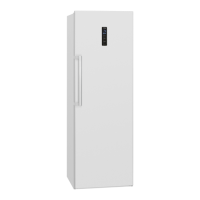
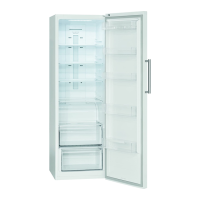
Assembling the door handle
• Remove the screw hole covers from the outside
of the door.
• Screw the handle into the holes underneath using
the screws provided.
• Put on the screw covers included in the scope of
delivery.
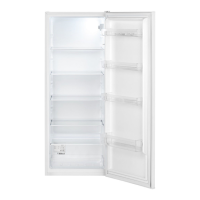
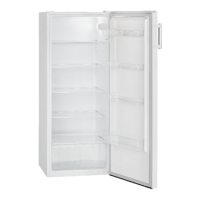
Leveling the appliance
Slight unevenness in the floor can be leveled out
using the front feet.
Check whether the appliance is leveled horizontally.
If the appliance is not in balance, the feet must be
adjusted.
Electrical connection
WARNING:
• The installation to the mains supply must conform
to the local standards and regulations.
• Improper connection may cause to an electric
shock!
• Do not modify the appliance plug. If the plug does
not fit properly to the outlet, let install a proper
outlet by an authorized specialist.
WARNING:
• The accessibility of the power plug must be en-
sured to disconnect the appliance from the power
supply in case of emergency.
• Make sure that the voltage supply matches the
specifications on the rating label before connect-
ing.
• Connect the mains cable to a properly installed
and earthed wall outlet.
• If the plug after installation is not accessible, a
corresponding disconnect device must be availa-
ble to meet the relevant safety regulations.
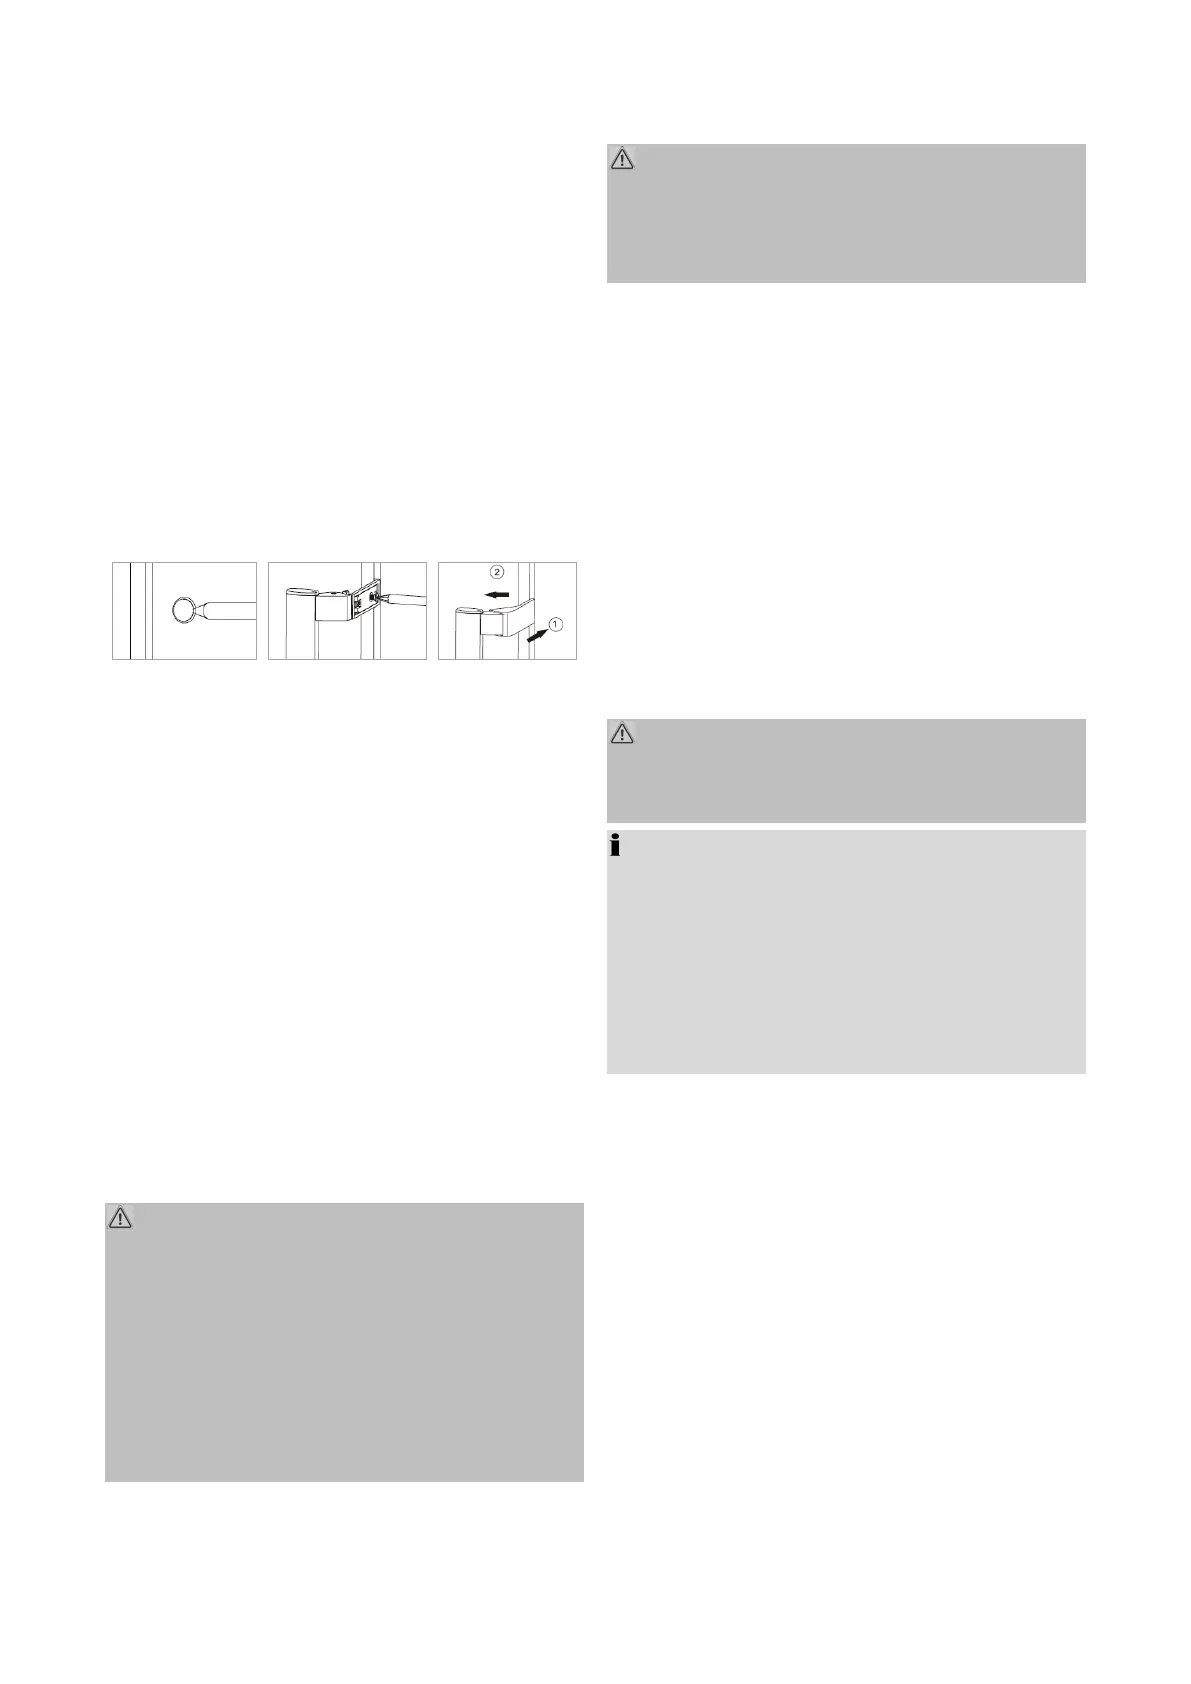
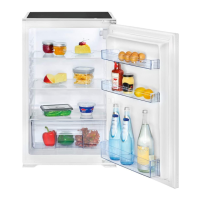
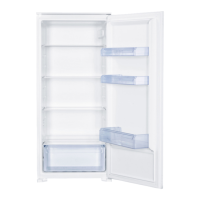
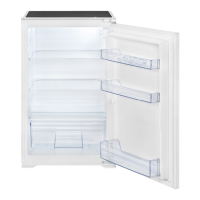
Reversing the door opening
If required, the door opening can be moved from the
right (supplied condition) to the left side.
WARNING:
When replacing the door stop, the appliance must be
disconnected from the power supply first.
NOTE:
• Ask another person to assist.
•
You possibly need:
screw wrench, Phillips screw-
driver as well as a thin-blade screwdriver.
•
*Delivery scope!
Keep the parts to be replaced for another possible
door stop change.