WWW.NIKOLAOUTOOLS.COM
• Make sure that the voltage of the power supply circuit is the same as the one indicated on the sander's nameplate and that the sander's circuit breaker is
turned o. Connect the sander to the power supply circuit.
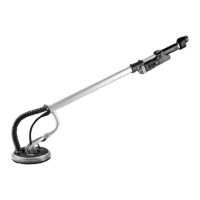
• The sander is equipped with a suitable locking switch. Press the switch No.1 as shown in the gure below. Do not loosen your hand. If the tool is in the "ON"
posion, pressing the lockout switch will sll turn the tool on.
• Press the switch again and the lock will be turned o.
STARTING AND STOPPING THE SANDER
No1
No2
• The drywall sander is equipped with variable speed control. The speed is adjusted by turning the control knob. The
control knob goes from "MIN" to "MAX" (from the slowest speed to the fastest speed: 1000-2100 rpm).
• Use the higher speed sengs for quick removal. Use the lower speed sengs to reduce the rate of removal for beer
control.
Speed control
A special type brush, as shown below, surrounds the abrasive pad No.3. This brush serves two purposes:
• It extends under the surface of the abrasive tread, so that it rst makes contact with the work surface. This places the abrasive head parallel to the work
surface before the abrasive contacts the workpiece, thus prevenng "etching".
• The special apron also helps to retain the drywall dust unl the vacuum cleaner removes it.
CAUTION! Disconnect the sander from the power circuit.
To replace the apron:
• Remove the abrasive pad.
• Use a suitable screwdriver to remove the apron from the housing and secure the new apron
• to the housing with a plasc clip.
Special type brush
No3
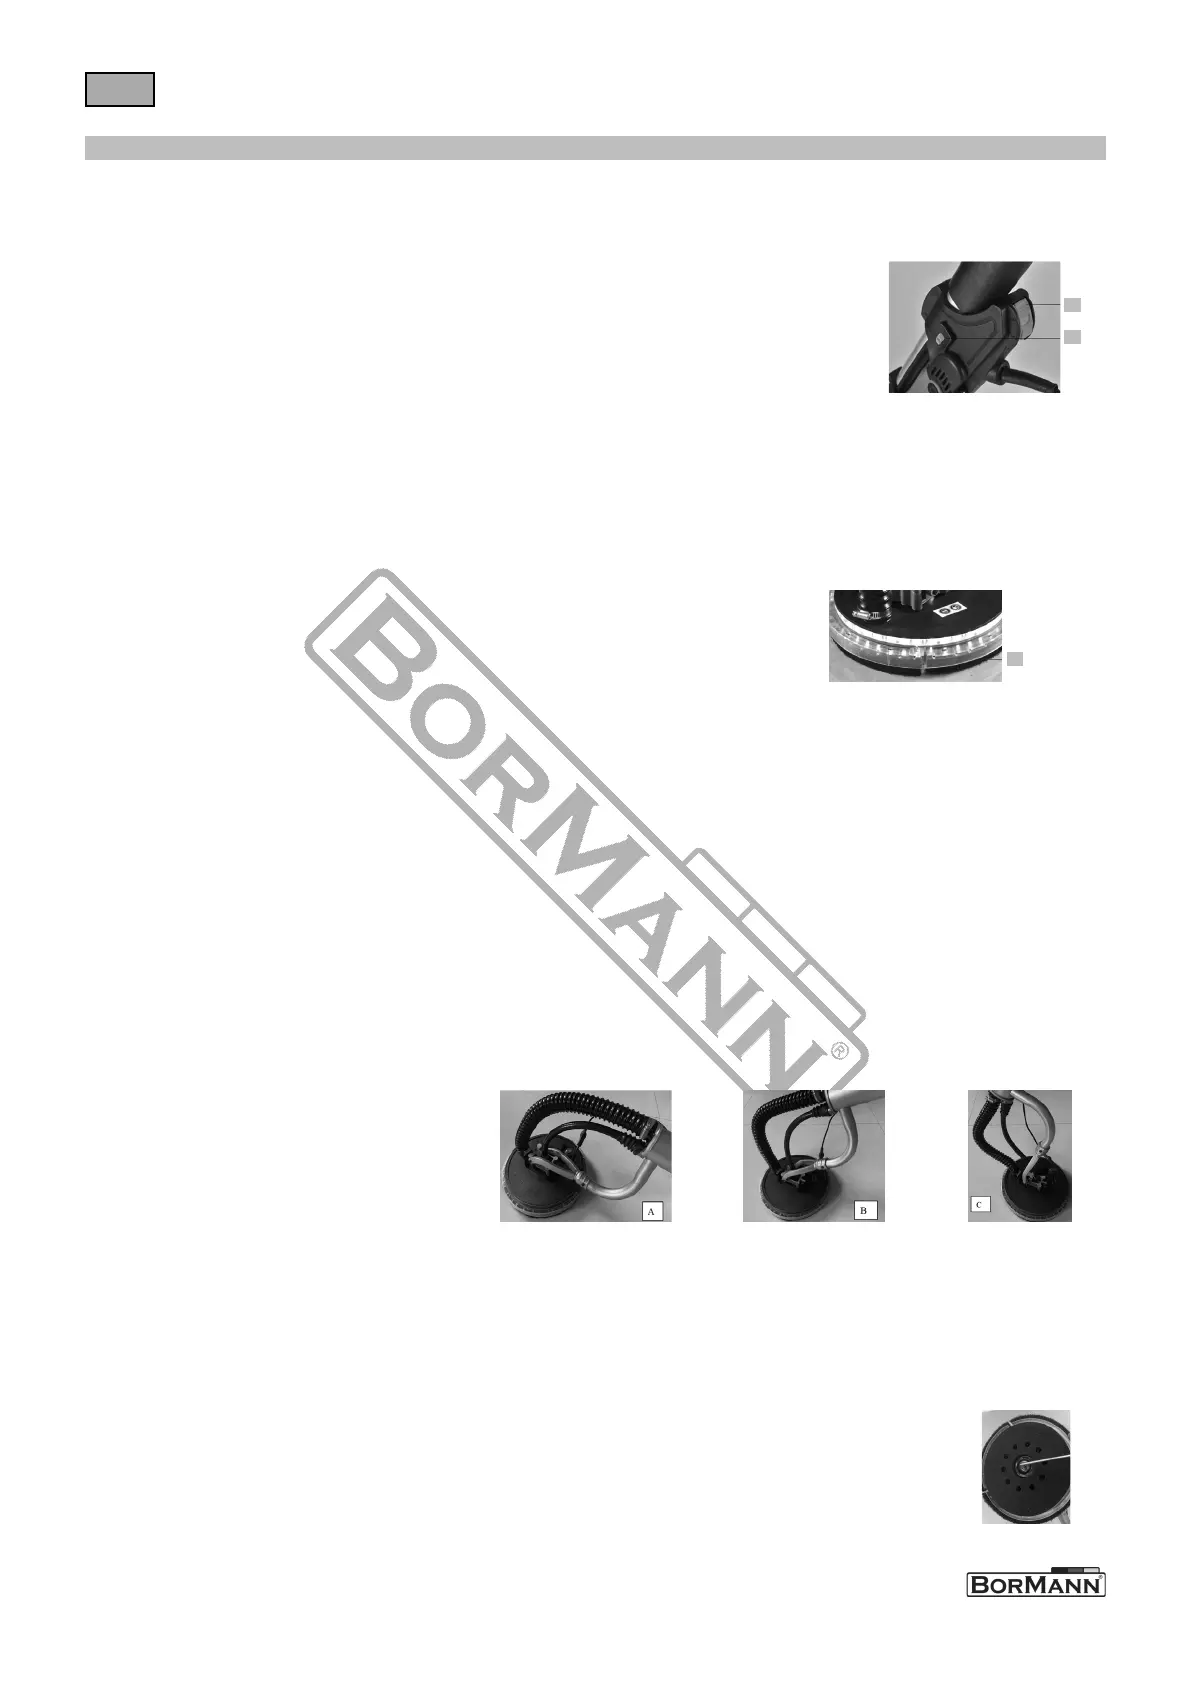
The drywall sander has a unique arculated sanding head. The head can rotate in mulple direcons, allowing the sanding pad to adapt to the work surface
(see A/B/C below). This allows the operator to sand the top, middle and boom of a wall or ceiling without changing its posion.
• Turn on the vacuum cleaner switch.
CAUTION! Wear an approved "dust and mist" mask.
• Turn the drywall sander switch to ON.
• Place the drywall sander lightly on the work surface (apply enough pressure to align the sanding head with the work surface).
• Apply addional pressure to engage the sanding pad to the work surface.
• Apply ONLY enough pressure to keep the abrasive pad at on the workpiece. Excessive pressure may cause swirl marks and unevenness on the work surface.
• Keep the sander in constant moon while the abrasive pad is in contact with the work surface. Use a steady, sweeping moon.
• Stopping the sander (on the work) or errac sander movement can cause swirl marks and unevenness on the work surface.
NOTE: Do not allow the rotang abrasive pad to come in contact with sharp projecons. Contact with protruding objects (nails, screws, electrical boxes, etc.)
can cause serious damage to the abrasive pad.
Drywall sanding
ATTENTION! Disconnect the sander from the power circuit.
• To prevent the pad from becoming detached, grasp the abrasive pad and the sander housing, securing the pad rmly to the housing.
• Secure the nut with the inner hex and rotate the pad retaining nut.
• Li up the large metal washer, and the abrasive pad.
NOTE: When the abrasive pad is lied o the sander, the backup sanding disc is exposed. Keep in mind that this backup disc is also covered with abrasive material.
This abrasive material is ONLY used to prevent "slippage" between the backup disc and the foam backed abrasive pad, it is NOT suitable for use as a grinding material.
• Place the new abrasive pad on the spare disc, making sure that the center hole of the abrasive pad is centered in the spare disc.
• Place the large metal washer and nut on the sander.
• Rotate the nut clockwise to ghten it by hand while holding the abrasive pad as described above.
Abrasive pad replacement
 Loading...