POWER
Using the AC adapter provided, plug the smaller end into the DC Power Jack located on
the back side of the unit and plug the other end into the AC wall socket / outlet.
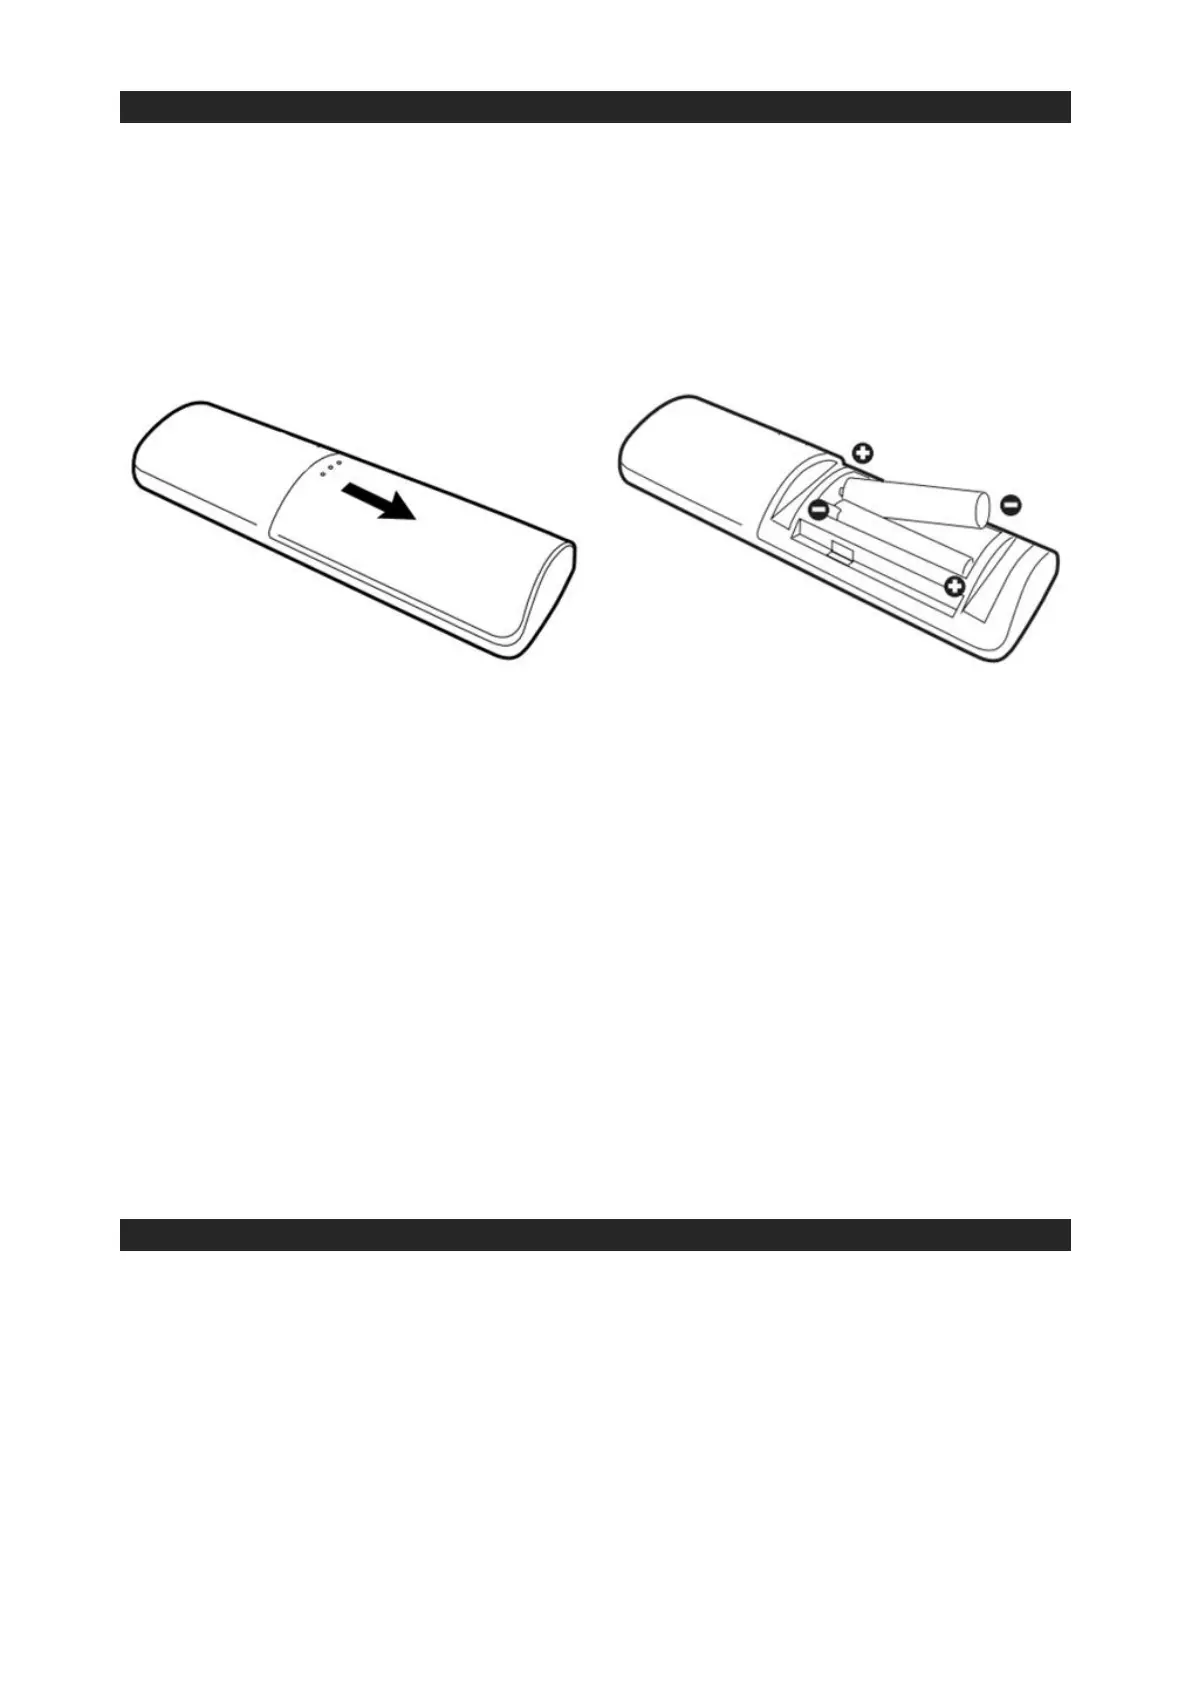
For the remote control, gently slide out the battery compartment cover located on the
back side. Insert 2 x AAA batteries (not included) following the + / - polarity signs as
indicated in the compartment and replace the battery compartment cover.
IMPORTANT:
• Be sure that the batteries are installed correctly.
• Wrong polarity (+ or -) may damage the remote control and void the warranty.
• For best performance and longer operating time, we recommend using good
quality alkaline type batteries.
CAUTION
• Do not mix old and new batteries.
• Do not mix alkaline, standard (carbon-zinc) or rechargeable (nickel-cadmium /
lithium) batteries.
• If the unit is not going to be used for an extended period of time, remove the
batteries from the remote control.
• Old or leaking batteries can cause damage to the remote control and may void the
warranty.
• Do not dispose batteries in a fire as batteries may explode or leak.
BASIC OPERATION
This unit has 3 play modes: Bluetooth, Auxiliary Input and Optical Input.
Using the controls located on the side of the unit, press and hold the Power / Mode Button
to turn on the unit. Press the Power / Mode Button again to toggle between the various
play modes. Each play mode will have a different colour LED indicator light illuminated on
the front panel of the unit.
• Bluetooth Mode: Blue LED light
• AUX-in Mode: Amber LED light
• Optical Input Mode: Green LED light