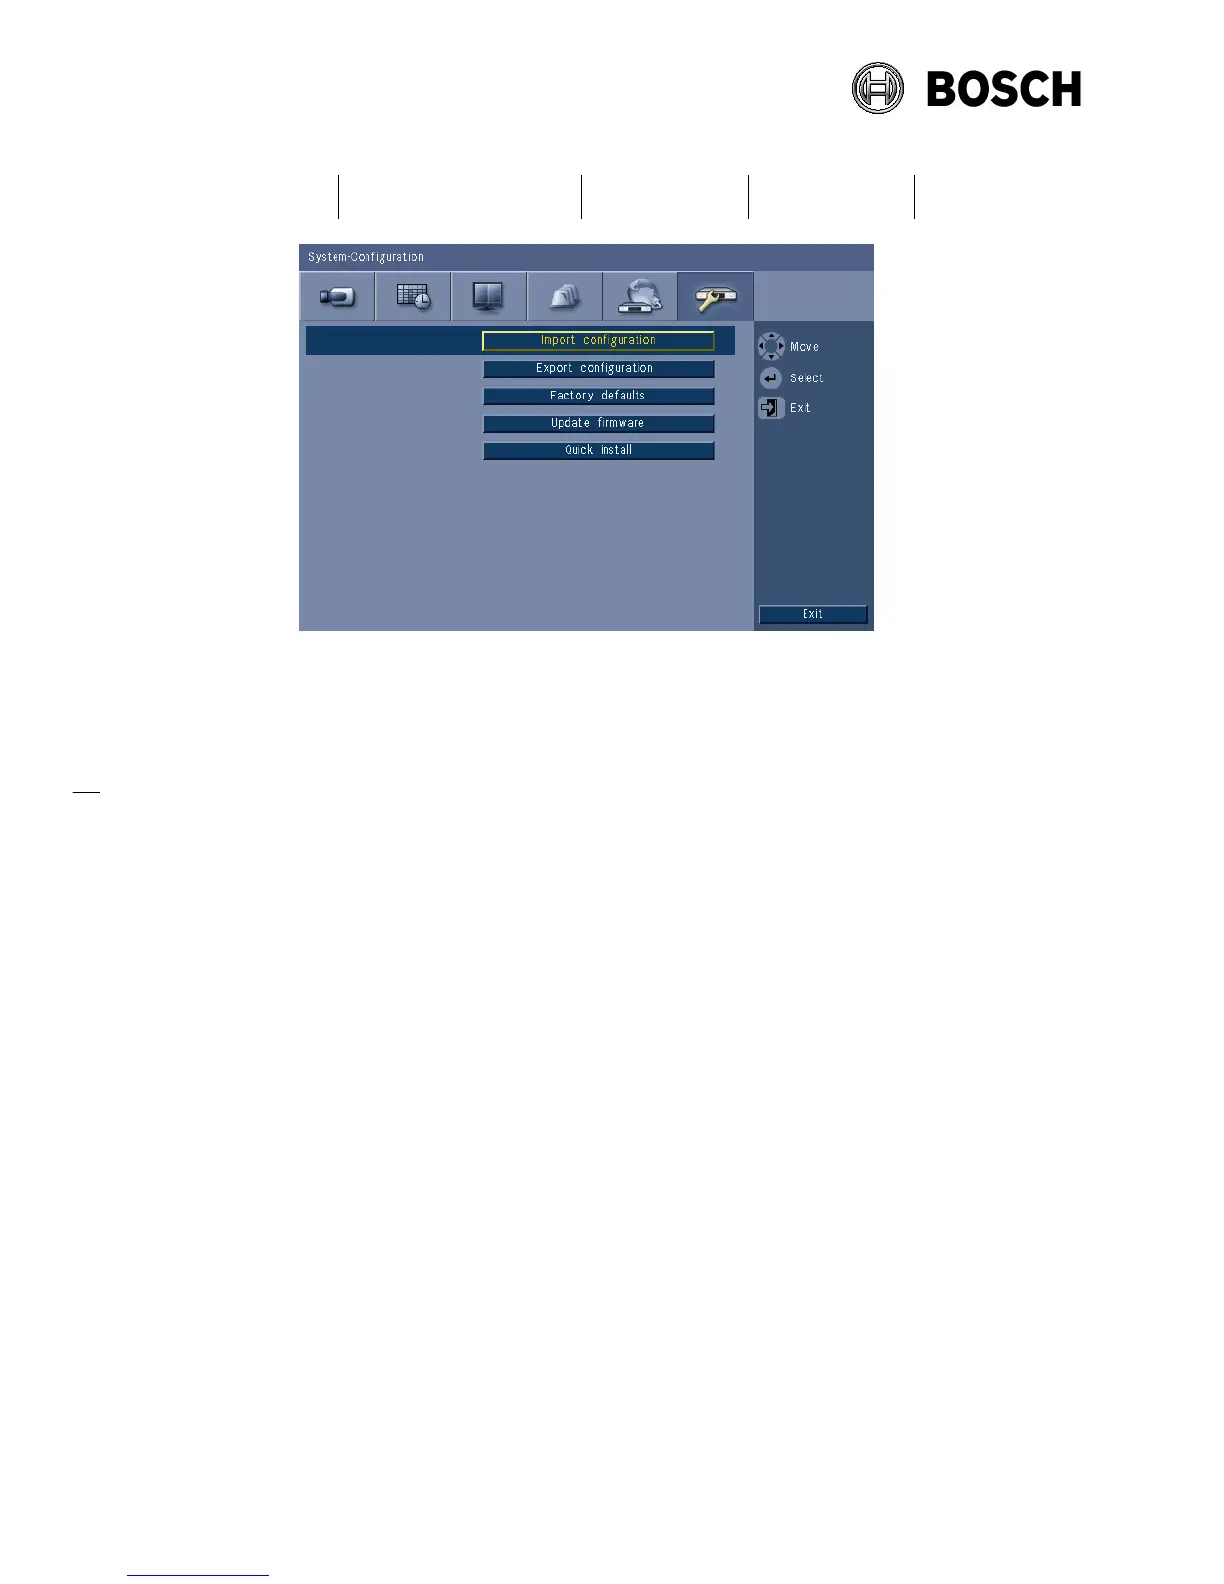
Figure: Update firmware menu
6. Select OK to begin the update process or click Cancel to stop and exit. After the update
process is completed you have to press OK so that the system will automatically restart.
Alternative a firmware upgrade can be performed via the Web Client:
- Open Internet Explorer and type on the address bar the network IP address of the unit
- Log on by entering the User ID (default ADMINISTRATOR) and Password (default
000000)
- Select the configuration mode by clicking on the “Configuration” button
- Select ‘System’ and then ‘Configuration’
- Browse to the v2.1.1 firmware file name “400series.bin” (date 2013-09-05)
- Press the “Update” button
Firmware will be automatically updated and unit will be restarted.
3 DVR 400 Series firmware version history
3.1 Version 2.0.0
File name: 400series.bin (date 2012-25-05)
This release includes the following improvement:
• Web browser support for DVR 430/451 Series on IE9
• Option to avoid ICMP ping with Control Center (requires CC release v3.35)
o Important note:
In the new firmware you can set the ICMP to On or Off in the local UI
menu ‘Network-TCP/IP’
ICMP must set to On to get the DVR connected to a CC version 3.34 or
older because in this version of Control Center the ICMP is required

 Loading...