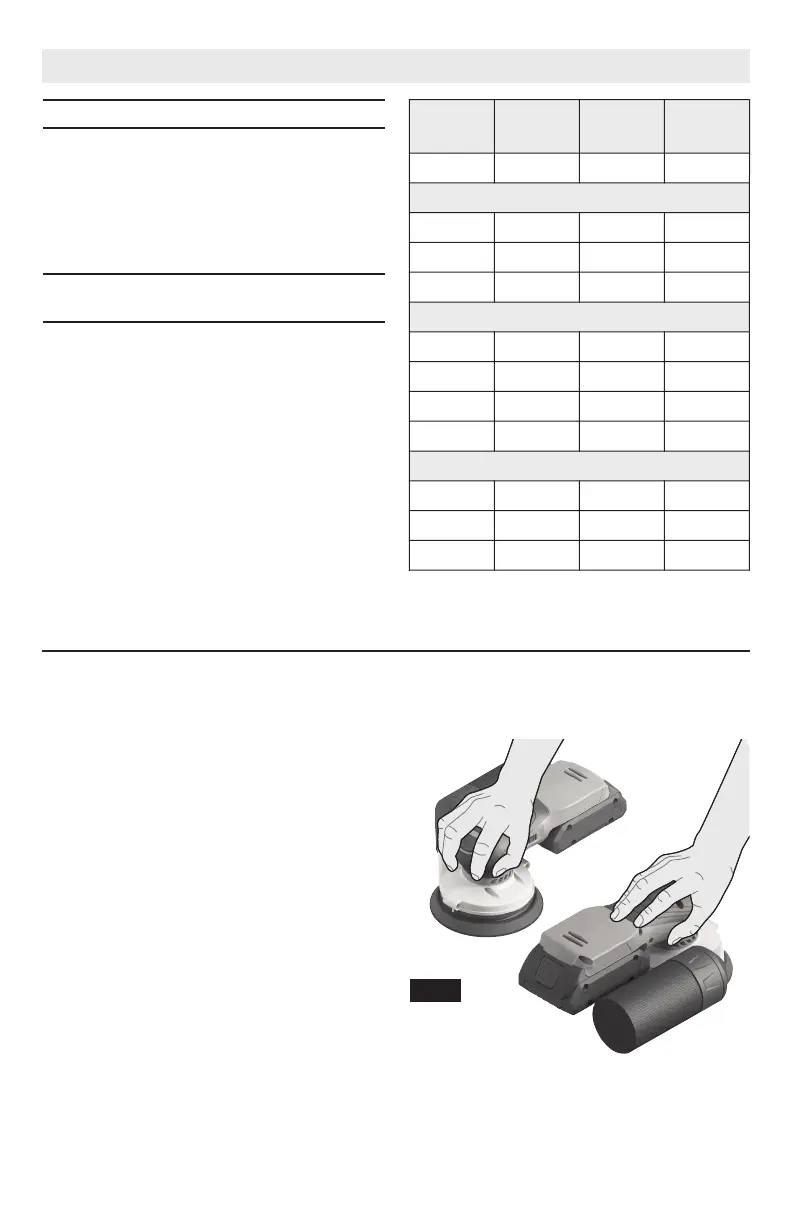
Your sander was designed to sand in small or
confined areas. Its small size and light weight
makes it ideal for overhead work.
You may grip the tool on top of the tool with
either the battery behind your hand or in
front of you hand (Fig. 9).
FIG. 9
-12-
On/Off Button
TO TURN THE TOOL "ON" depress the
On/Off button.
TO TURN THE TOOL "OFF": depress the
On/Off button
See START OF SANDING on page 13.
Variable Speed with Dial
Setting
Your sander is also equipped with a variable
speed dial (Fig. 1). The sander's orbital pad
speed can be preset from zero to maximum
nameplate OPM by rotating the dial in the
housing. The dial may be set on or between
any of six positions (1=low through 6=high).
The following table may be used as a general
guide for abrasive and backing pad selection,
but the best results will be obtained by
sanding a test sample of the workpiece first.
Operating Instructions
M
a
t
e
r
i
a
l
S
w
i
t
c
h
s
e
t
t
i
n
g
B
a
c
k
i
n
g
p
a
d
G
r
i
t
s
i
z
e
r
o
u
g
h
/
f
i
n
i
s
h
r
o
u
g
h
/
f
i
n
i
s
h
W
o
o
d
s
:
s
o
f
t
w
o
o
d
s
4
/
6
s
o
f
t
6
0
/
2
4
0
h
a
r
d
w
o
o
d
s
4
/
6
m
e
d
i
u
m
6
0
/
1
8
0
v
e
n
e
e
r
s
4
m
e
d
i
u
m
2
4
0
/
3
2
0
M
e
t
a
l
s
:
s
t
e
e
l
4
m
e
d
i
u
m
6
0
/
2
4
0
s
t
a
i
n
l
e
s
s
4
m
e
d
i
u
m
1
2
0
/
2
4
0
a
l
u
m
i
n
u
m
4
/
6
m
e
d
i
u
m
8
0
/
2
4
0
r
u
s
t
s
p
o
t
s
6
s
o
f
t
6
0
/
1
2
0
P
a
i
n
t
w
o
r
k
:
s
a
n
d
i
n
g
2
/
3
m
e
d
i
u
m
1
8
0
/
4
0
0
s
c
r
a
t
c
h
e
s
4
/
6
h
a
r
d
1
2
0
/
2
4
0
s
t
r
i
p
p
i
n
g
4
m
e
d
i
u
m
4
0
/
6
0
/
8
0