6 | English
3 609 929 C57 | (16.11.12) Bosch Power Tools
Declaration of Conformity
We declare under our sole responsibility that the product de-
scribed under “Technical Data” is in conformity with the fol-
lowing standards or standardization documents: EN 60745
according to the provisions of the directives 2011/65/EU,
2004/108/EC, 2006/42/EC.
Technical file (2006/42/EC) at:
Robert Bosch GmbH, PT/ETM9,
D-70745 Leinfelden-Echterdingen
Robert Bosch GmbH, Power Tools Division
D-70745 Leinfelden-Echterdingen
08.11.2012
Assembly
Before any work on the machine itself, pull the mains
plug.
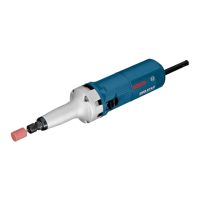
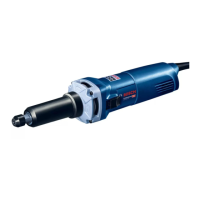
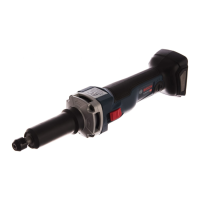
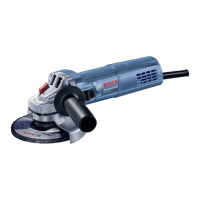
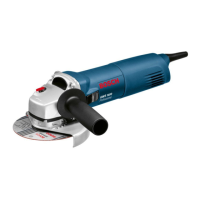
Mounting the Grinding Tools (see figure A)
Only use properly fitting and undamaged open-end
spanners (see “Technical Data”).
– Clean the grinder spindle 3 and all parts to be mounted.
– Hold the grinder spindle 3 with open-end spanner 8 by the
spanner flats.
Loosen the clamping nut 2 with open-end spanner 9 by ap-
plying it to the spanner flats and turning in anticlockwise
direction.
– Insert the clamping shaft of the grinding tool to the stop in-
to the collet chuck 1.
– Hold the grinder spindle 3 firmly with open-end spanner 8
and clamp the tool bit with open-end spanner 9 by the
spanner flats, turning in clockwise direction.
The grinding tools must run completely concentrical. Do not
continue to use out-of-round grinding accessories, instead,
replace before continuing to work.
Do not tighten the collet chuck of the clamping nut as
long as no grinding accessory is mounted. Otherwise,
the collet chuck can become damaged.
Dust/Chip Extraction
Dusts from materials such as lead-containing coatings,
some wood types, minerals and metal can be harmful to
one’s health. Touching or breathing-in the dusts can cause
allergic reactions and/or lead to respiratory infections of
the user or bystanders.
Certain dusts, such as oak or beech dust, are considered
as carcinogenic, especially in connection with wood-treat-
ment additives (chromate, wood preservative). Materials
containing asbestos may only be worked by specialists.
– Provide for good ventilation of the working place.
– It is recommended to wear a P2 filter-class respirator.
Observe the relevant regulations in your country for the
materials to be worked.
Prevent dust accumulation at the workplace. Dusts can
easily ignite.
Operation
Starting Operation
Observe correct mains voltage! The voltage of the pow-
er source must agree with the voltage specified on the
nameplate of the machine. Power tools marked with
230 V can also be operated with 220 V.
Switching On and Off
To start the power tool, push the On/Off switch 5 forwards.
To lock the On/Off switch 5, press the On/Off switch 5 down
at the front until it latches.
To switch off the power tool, release the On/Off switch 5 or,
if it is locked, briefly push down the back of the On/Off switch
5 and then release it.
Kickback stop
In case of a sudden drop in speed, e.g., caused by a jammed
disc while cutting, the power supply to the motor is electroni-
cally interrupted.
To restart the operation, switch the On/Off switch 5 to the
Off position and start the machine again.
Constant Electronic Control
Constant electronic control holds the speed constant at no-
load and under load, and ensures uniform working perfor-
mance.
Speed preselection
The required speed can be preselected with the thumbwheel
6 (also while running).
The required speed depends on the material being worked
and the diameter of the application tool. Observe the maximal
allowable speed of the application tool.
Working Advice
Optimum grinding results are achieved when the grinding tool
is moved uniformly back and forth with light pressure. Pres-
sure that is too strong reduces the performance capability of
the machine and causes the grinding tool to wear more quick-
ly.
Dr. Egbert Schneider
Senior Vice President
Engineering
Helmut Heinzelmann
Head of Product Certification
PT/ETM9
Thumbwheel Position No-load speed (min
-1
)
1
10000
2
12700
3
16700
4
19700
5
23500
6
28000
OBJ_BUCH-1817-001.book Page 6 Friday, November 16, 2012 7:59 AM

 Loading...