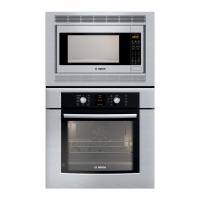
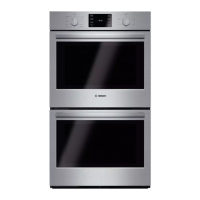
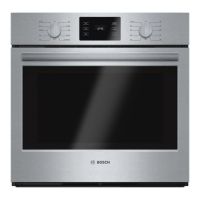
58300000202181 ARA EN B November 2018 Service Manual for Bosch 500 Series Built-in Wall Ovens
Page 19 of 41
Copyright by BSH Home Appliances Corporation 1901 Main St ▪ Suite 600 ▪ Irvine, CA 92614 800 944-2904
This material is intended for the sole use of BSH authorized persons and may contain conf idential and proprietary inf ormation. Any unauthorized rev iew, use, copying, disclosure, or distribution in any format is prohibited.
6.4.1 Replacing the Front Panel Assembly
1. Remove power to the oven.
2. Protect the top of the oven door to prevent damage to the
stainless front panel or door.
3. Remove two screws on the underside of the panel assembly –
one on the right and one on the left – which secure the panel
to the vent trim; it is not necessary to remove the center screw
at this time.
4. Swing the bottom of the control panel slightly outward, then lift
to disengage the side flanges of the front panel carrier from
the slots in the side trim.
5. Disconnect the ground wire and the communication harness
connectors at the display board and touch pad; set the front
panel on a flat work surface.
6. Remove the knobs.
7. Remove the screw in the bottom center of the panel, which
secures the panel to the carrier directly behind it.
8. Separate the carrier from the front panel assembly.
9. Reassemble the control panel using the new front panel
service assembly.
10. Reattach the control panel, restore power, and test operation.
6.4.2 Replacing the Display Module
The display module is secured to the control panel carrier with
four nylon spacers (standoffs).
Use care when detaching the front panel. There is very little slack in
the wires connecting the control module to the display board and the
control module to the LH switch, so it may not be possible to fully
rotate the front panel 90°.
 Loading...