22
DISASSEMBLY PROCEDURES
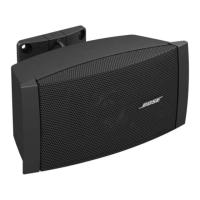
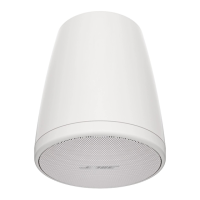
FreeSpace
®
DS 40SE Surface-Mount
Loudspeaker
Note: Refer to the figure below for the
following procedures.
1. Grille Removal
1.1 Grasp the grille cap (3) and slide it off
toward the front of the loudspeaker. You will
need to remove both grille caps to be able to
remove the grille (4).
1.2 Remove the four screws (1) that secure
the grille to the baffle (10). Lift off the grille.
2. Logo Removal
2.1 Perform procedure 1.
2.2 Remove the screw located on the logo's
mounting post. Slide the washer and spring
(6, 7) off of the logo's post. Lift the
logo (2) off of the grille (4).
3. 4.5" Driver Removal
3.1 Perform procedure 1.
3.2 Remove the three screws (23) that
secure the 4.5" driver (8) to the front baffle
(10).
3.3 Lift out the driver. Disconnect the two
Faston connections.
4. Front Baffle Removal
4.1 Perform procedure 1.
4.2 Remove the six screws (22) that secure
the front baffle (10) to the loudspeaker
enclosure (15). Lift off the baffle.
Re-assembly Note: Be sure to note which
end of the rear enclosure the transformer is
located at to ensure proper re-assembly.
5. Protection PCB Removal
5.1 Perform procedure 4.
5.2 Disconnect the Faston connector from
the wiring harness at the VIN+ connection
on the protection PCB. Disconnect the wire
that runs from the J2 VOUT+ connection at
the driver's (8) positive (+) terminal.
5.3 Remove the four screws that secure the
protection PCB assembly to the front baffle
(10). Lift out the PCB assembly.
 Loading...