23
DISASSEMBLY PROCEDURES
6. TAP Rotary Switch Removal
6.1 Perform procedure 4.
6.2 Using a small plastic tool, gently pry
underneath the TAP switch knob (5) to
remove it. Take care to not mark the enclo-
sure (15) or the front baffle (10).
6.3 Remove the nut that secures the rotary
switch (12) to the front baffle. Slide the
switch out of the baffle.
7. Transformer Removal
7.1 Perform procedure 6.
7.2 Make a note of the wiring configuration
of the transformer harness wiring connec-
tions.
7.3 Remove the one Faston connection on
the protection board at J1 VIN+. Remove the
wire from the J2 connection on the pro-
tection PCB at the Faston connection on
the positive (+) terminal at the 4.5" driver (8).
7.4 Disconnect the three Faston in-line
connections that connect to the input wiring
harness on the back of the loudspeaker
enclosure (15).
7.5 Remove the four screws (16) that
secure the audio transformer (17) to the
enclosure. Lift out the transformer.
8. Loudspeaker Mounting Bracket
Removal
8.1 Remove the four screws (19) that secure
the mounting bracket (18) to the loudspeaker
enclosure (15). Lift off the bracket
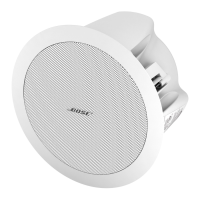
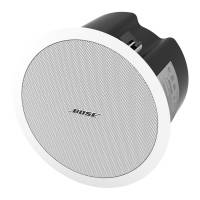
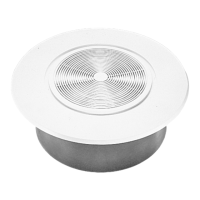
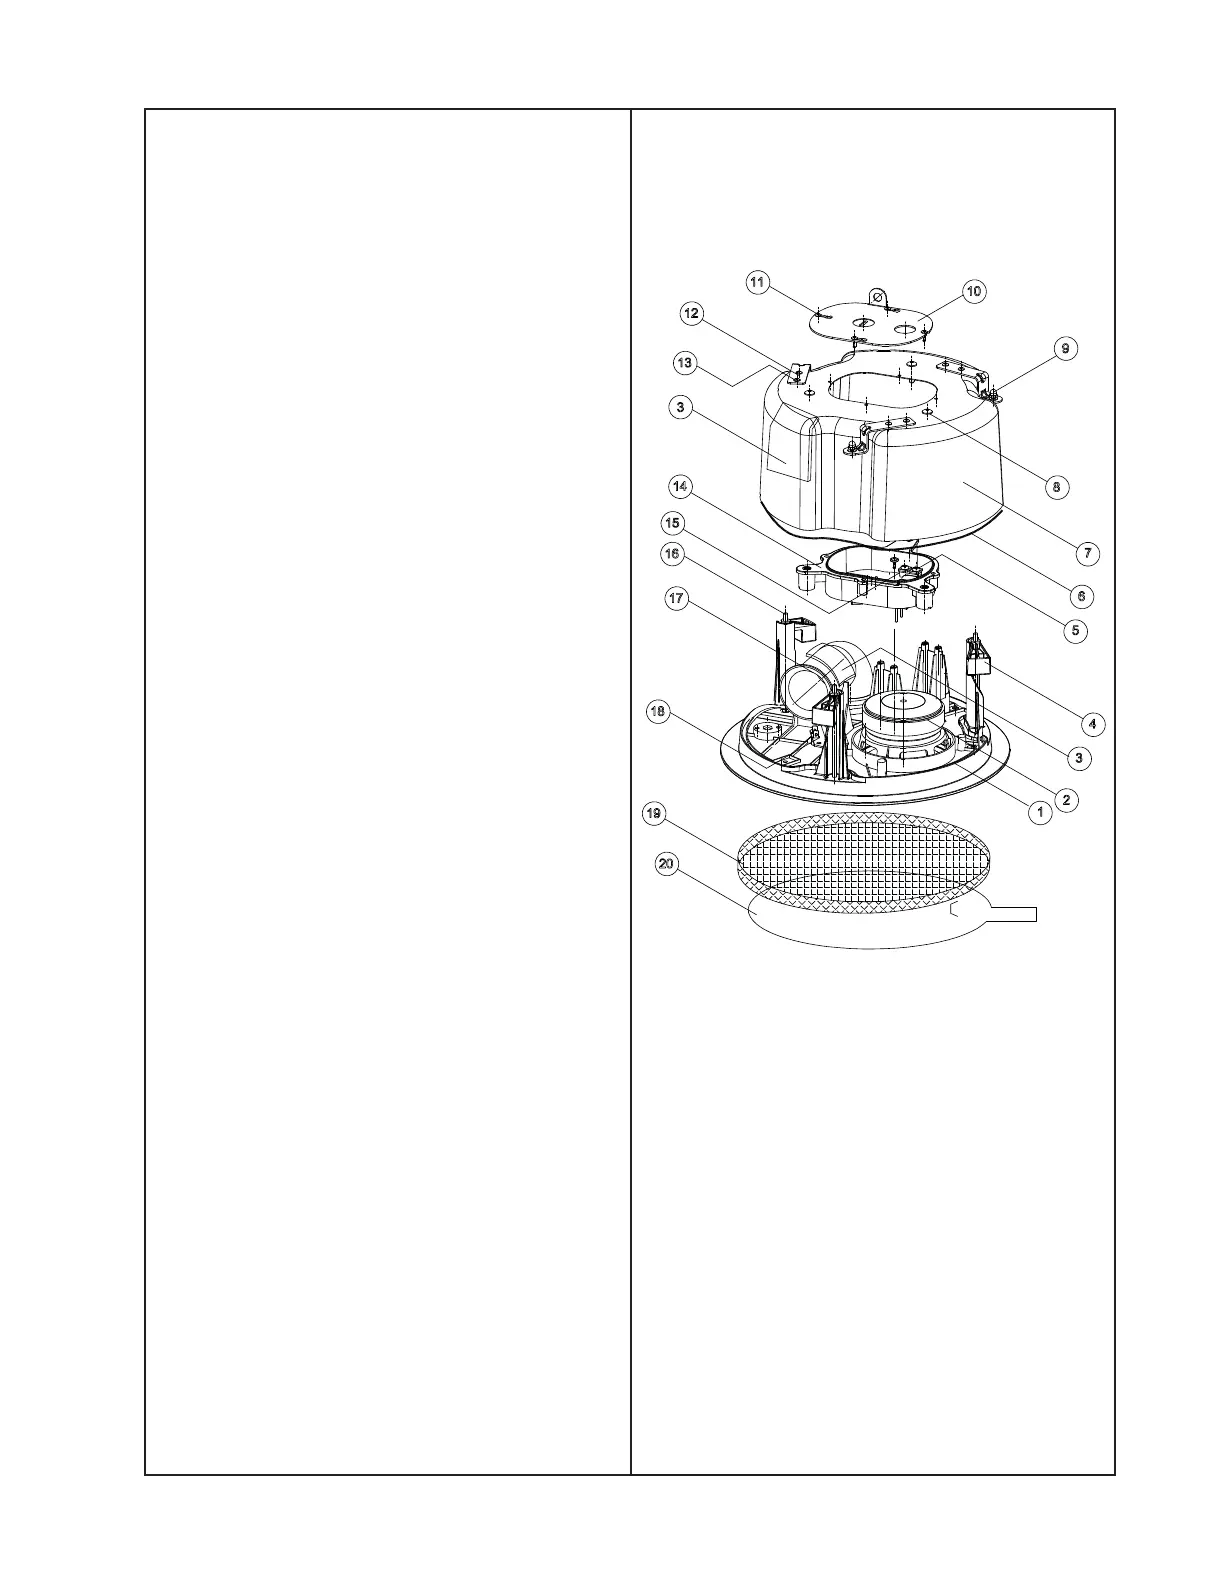
FreeSpace
®
DS 40F Flush-Mount
Loudspeaker, 8 Ohm Version
Note: Refer to the figure below for the
following procedures.
1. Grille Removal
1.1 Using a small tool, such as an awl,
carefully pull the grille (19) away from the
front baffle (1). Lift off the grille.
2. Logo Removal
2.1 Perform procedure 1.
2.2 Slide the retaining washer off of the
logo's post. Lift the logo off of the grille (19).
 Loading...