24
DISASSEMBLY PROCEDURES
3. 4.5" Driver Removal
3.1 Perform procedure 1.
3.2 Remove the three screws that secure
the driver (2) to the baffle (1).
3.3 Lift out the driver. Disconnect the two
Faston connectors from the driver's terminal
strip.
4. Rear Enclosure Removal
4.1 Perform procedure 1.
4.2 On the back of the loudspeaker enclo-
sure (7), remove the three acorn nuts (9) and
washers from the ceiling anchor bolts (16).
4.3 On the front baffle (1) remove the six
screws located around the perimeter of the
loudspeaker's front baffle. Slide off the rear
enclosure.
Re-assembly Note: Be sure that the
enclosure's gasket is located in the groove
on the back of the front baffle before re-
assembly to ensure an airtight seal.
5. Protection Board Removal
5.1 Perform procedure 4.
5.2 Remove the one Faston connection at
the board at J1 VIN. Remove the Faston
connection from the board at the 4.5" driver.
5.3 Remove the four screws that secure the
protection board to the front baffle. Lift off the
board.
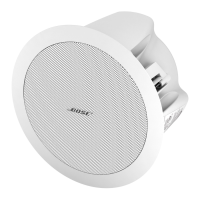
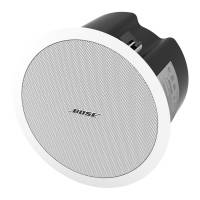
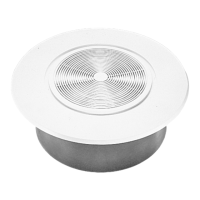
FreeSpace
®
DS 40F Flush-Mount
Loudspeaker, 70/100V Version
Note: Refer to the figure below for the
following procedures.
1. Grille Removal
1.1 Using a small tool, such as an awl,
carefully pull the grille (22) away from the
front baffle (1). Lift off the grille.
2. Logo Removal
2.1 Perform procedure 1.
2.2 Slide the retaining washer off of the
logo's post. Lift the logo off of the grille (22).
 Loading...