29
DISASSEMBLY PROCEDURE
Figure 15. Transducer Removal
Figure 16. Transducer Removal
Figure 17. Transducer Removal
4. Transducer removal
4.1 Perform step 3. Then on the front of the
unit, remove the eight screws securing the 2
transducers as indicated in Figure 14.
4.2 As fi gure 15 shows the transducer harness
goes through the enclosure. To remove the
driver, detach the driver from the harness.
4.3 On the driver, peel off the foam attached
to the cable harness to reveal the connector.
Figure 16.
4.4 Remove the wires from the drivers.
Figure 17.
Note: If you confi rmed the transducer is de-
fective. You may skip this steps by cutting the
cables from the transducer.
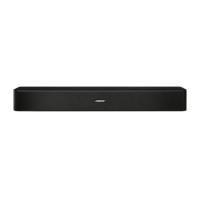
Figure 14. Grille Removal
 Loading...