SAFETY NOTES
• Always switch off the Bowens Gemini unit and
disconnect any mains or battery cables
before fitting the Pulsar Rx Card.
• Only fit the Pulsar Rx Card to a Bowens Gemini
unit.
• Always replace the Tx unit battery with the
same type and rating.
• Only use Bowens authorised service centres
for any servicing or repair.
• Never use a Pulsar Tx or Rx unit in an
environment where it is likely to come into
contact with moisture or flammable vapour.
• Never open the casing or modify the operation.
Pulsar Rx Card Set-up Instructions.
NOTE: If this is the first use, or you are not changing any settings WAIT at least 10 seconds after
switching on your monolight before using your radio trigger.
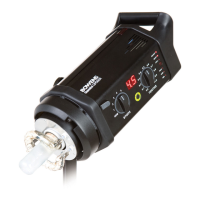
1. Ensure that your Bowens Gemini monolight
is switched off.
2. Remove the rubber Rx card slot cover on
the rear of the monolight, firmly insert the
Pulsar Rx card into the slot, then replace
the cover.
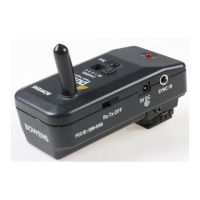
3. Unclip the hinged flap on the side of the
monolight and plug the Radio Antenna into
the antenna socket. Secure the antenna in
place by clipping it into the open flap.
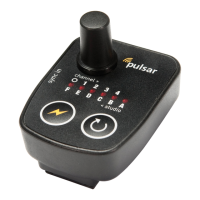
4. Switch on your Pulsar Tx unit or Pulsar
Transceiver and set it to the channel you
wish to use.
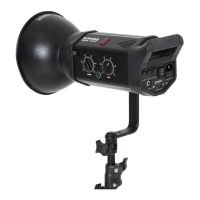
5. Switch on your Bowens Gemini monolight.
Your monolight will now be in
‘learn mode’
for 10 seconds.
6. While the monolight is in ‘learn mode’
press the flash button on your Pulsar Tx
unit (or TEST button on a Pulsar
Transceiver unit) at least five times & until
the monolight flashes.
The monolight will learn the settings of the
transmitting unit and will set itself to the
same channel.
NOTE: Once your light and trigger have been
paired the settings will be retained even when
you switch off the power. If, when you switch the
power back on, you use the trigger within 10
seconds this will set the Rx card to OFF and you
will need to follow the set-up procedure again to
set a new channel.
 Loading...