Do you have a question about the Bradford White ELECTRIC WATER HEATER and is the answer not in the manual?
| Brand | Bradford White |
|---|---|
| Category | Water Heater |
| Energy Source | Electric |
| Type | Electric |
| Tank Capacity | Varies by model |
| Voltage | Varies by model (e.g., 208V, 240V, 277V, 480V) |
| Wattage | Varies by model |
| Height | Varies by model |
| Diameter | Varies by model |
| Weight | Varies by model |
| Warranty | Varies by model |
Water heater must be installed according to local, national, or regional codes and requirements for optimal efficiency.
Incorrect operation can create hazards; call a qualified technician if parts have been submerged.
Always ensure the supplied voltage matches the voltage printed on the product rating plate.
Proper placement is crucial for safety, avoiding flammable materials, freezing, and ensuring access for maintenance.
Install a drain pan piped to an adequate drain if leakage could cause damage to the structure.
Connect water lines, and ensure proper installation and maintenance of the Temperature-Pressure Relief Valve.
Manage thermal expansion in closed systems and follow procedures for filling the tank and checking for leaks.
Install a certified T&P relief valve meeting local codes and specified standards for safety.
Install a discharge line for the T&P relief valve to exit water safely and avoid blockage.
Critical warnings regarding hydrogen gas formation and the risk of scalding from hot water.
Reference table detailing time/temperature relationships for scald injuries from hot water.
Perform pre-checks, consult local codes, and follow steps for safe and correct electrical power supply connections.
Table providing amperage, fuse size, and ground wire size for different kW inputs and voltages.
Table showing gallons per hour (GPH) recovery capacities based on kW input and temperature rise.
Ensure tank is full before powering; the heater operates automatically based on thermostat settings.
Step-by-step guides for filling the water heater and safely draining the tank.
Adjust thermostat for desired temperature, being aware of scald risks and considering mixing valves.
Follow a schedule for annual inspection, monthly draining, thermostat checks, and element seal checks.
Regularly check the T&P relief valve for function and inspect the anode rod to prolong tank life.
Do not attempt DIY repairs on thermostats, elements, or wiring; refer to qualified technicians.
Contact plumbing supplier or company for replacement parts, providing model and serial numbers.
Complete and retain model, serial, and supplier information for future reference.
Learn common electrical formulas and view diagrams of typical service wire configurations for water heaters.
Reference charts for full load amperes, and descriptions of surface-mounted thermostats and heating elements.
Understand how power is applied for single/three-phase and how thermostats control heating elements.
Guidance on converting the water heater's KW rating, voltage, and phase using factory kits.
Instructions for electrical phase conversion and the use of rating plate overlay kits.
Instructions on how to modify the heater's rating plate with new data after conversion.
Analyze common heating element failures like dry firing and grounding, with an illustration of a heating element.
Troubleshoot common symptoms like no hot water, insufficient hot water, slow recovery, and overheating.
Procedure to test heating elements for open circuits using a multimeter and resistance readings.
Procedure to test heating elements for short circuits to ground using a multimeter.
A table showing the expected electrical resistance in ohms for different element wattages and voltages.
How to test the incoming AC voltage at the heater's terminal block using a multimeter.
Procedure to test fuses for continuity using a multimeter to ensure they are not blown.
How to test the ECO (high limit) function of the thermostat, checking voltage and reset button.
Test thermostat operation when the water tank is cold and power is on, checking voltage at terminals.
Test thermostat operation when tank water is above the set point, checking for proper shut-off.
Safely disconnect wires and slide the thermostat out of its mounting bracket.
Install the new thermostat, ensuring it is flush with the tank, reconnect wires, and set temperature.
Turn off power, drain tank, disconnect wires, and unscrew the heating element.
Apply a new gasket, thread the element into the tank, reconnect wires, and refill the tank.
Inspect the dip tube for damage or blockage; replace if necessary.
Inspect the anode rod for depletion; replace if 1/2 of diameter is gone or steel core is exposed.
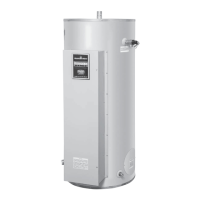
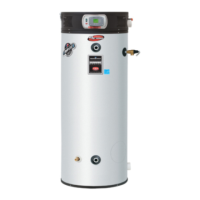
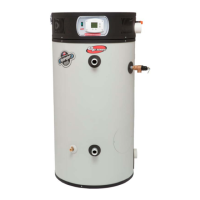
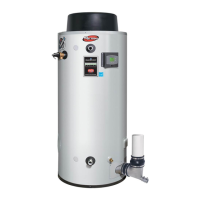
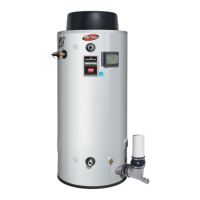
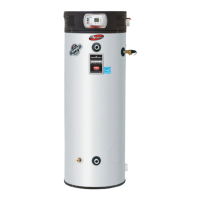
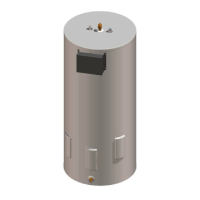
A visual guide to identify major components of the water heater by number.