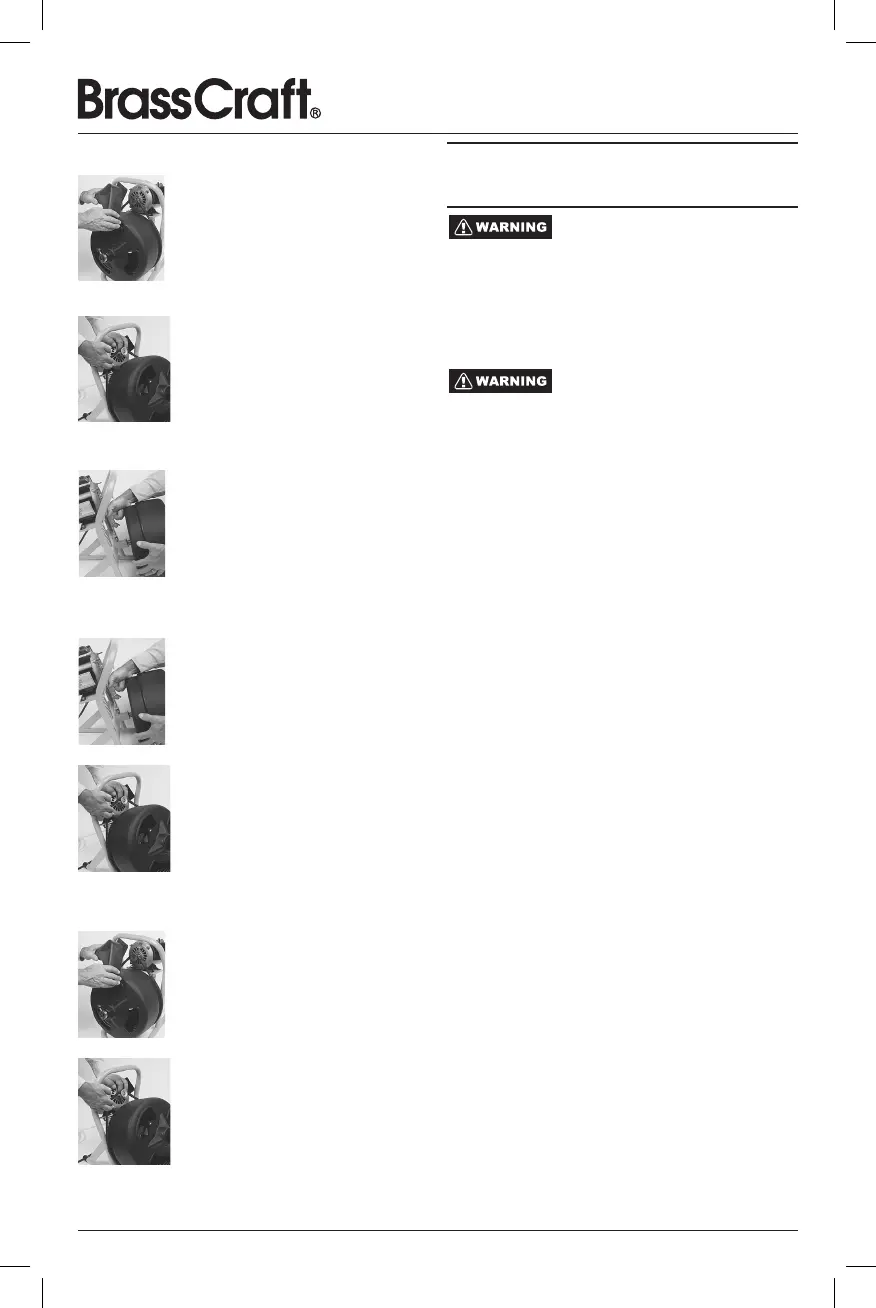
To Remove Drum from Frame
gure 1
1. Remove wing nuts on the belt guard
(pulley wheel cover) and remove the
belt guard. (See gure 1)
gure 2
2. Remove the drive belt from the drum
by pressing down rmly on the spring
motor housing and release the drive
belt. (See gure 2)
gure 3
3. A release hook is situated immediately
behind the drum. Pull this hook upward
and pull the drum forward to remove it
from the frame. (See gure 3)
To Connect the Drum to the Frame
1.
Place center of drum hub on drum
drive. Pull the release hook up to
securely push the drum on the frame.
(See gure 4)
2.
Slide the belt under and over the drum
and onto the pulley wheel.
3.
Push the motor housing downward to
locate the belt onto the pulley wheel.
(See gure 5)
4. Reinstall belt guard and wing nuts.
Replacing Belt Guard/Belt Installation
1.
Remove wing nuts on the belt guard
(pulley wheel cover) and remove the
belt guard. (See gure 6)
2. Slide the belt under and over the drum
and onto the pulley wheel.
3.
Push the motor housing downward to
locate the belt onto the pulley wheel.
(See gure 7)
4.
Reinstall belt guard and wing nuts.
gure 4
gure 5
gure 6
gure 7
REPAIRING YOUR DRUM
MACHINE
General maintenance and other tasks detailed in this
manual, such as the replacement of the cable or a
damaged belt guard can be done by a qualied owner.
Other servicing repairs, such as the replacement of a
defective motor switch, must only be done by
BrassCraft. Please contact BrassCraft Customer
Service at 877-272-7755.
When servicing, use only identical replacement parts. Use
of other parts potentially resulting in electric shock/
serious injury or death.
Installing Replacement Cable
1. Ensure the motor switch should be OFF and machine
unplugged.
2. Loosen the thumbscrew and remove existing cable
from the machine.
3. Disconnect secured cable end from inside drum unit.
4. Carefully remove the new cable from the packaging.
The tension is likely built up and has potential to strike
the user.
5. Uncoil the new cable completely.
6. Carefully insert the cable into the drum and reconnect
the cable to the inside drum unit for a counter-clockwise
insertion.
7. Once cable is secured in drum, continue to insert the
remaining cable counterclockwise until you reach the
slotted end. This part should remain on the outside of
the drum.
8. Finally, tighten the thumbscrew.
 Loading...