35
Trouble-Shooting
Problem: Possible reason: Remedy:
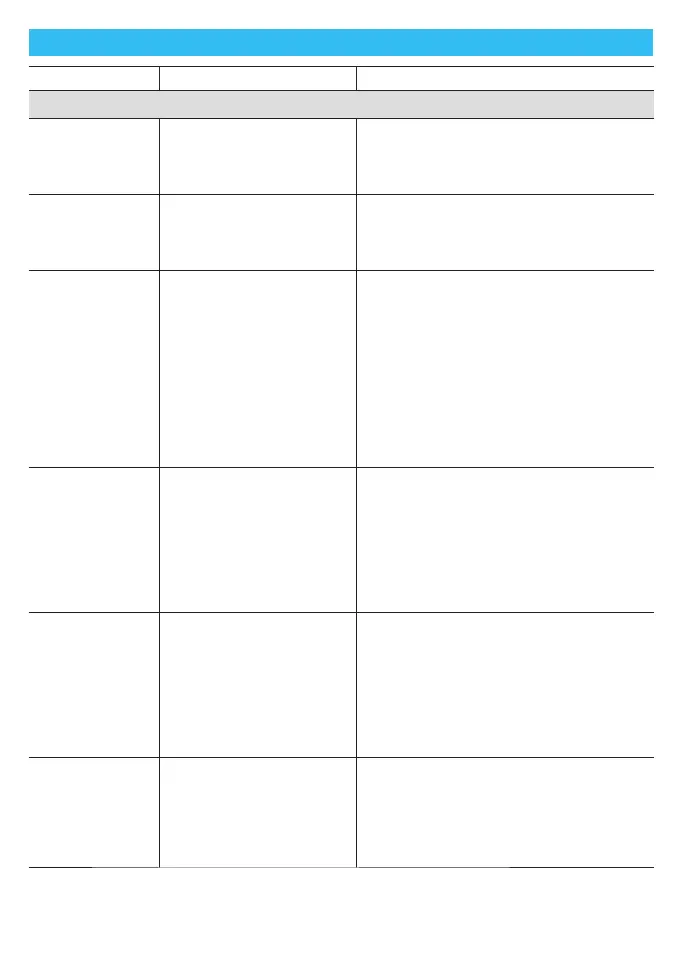
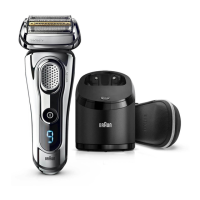
SHAVER
Shaver does not
start when
pressing the
start button.
Travel lock is activated. Press the on/off switch for 3 seconds
to unlock the shaver.
Shaver does not
charge
completely and
keeps blinking.
Ambient temperature is
out of valid range.
Recommended ambient temperature
for charging is 5 °C to 35 °C.
Charging does
not start when
connected
to power socket
or put in the
Clean&Charge
Station.
1. Shaver is not placed
properly in the
Clean&Charge Station.
2. Sometimes charging
could start delayed
(e.g. after long
storage).
3. Ambient temperature
is out of valid range.
4. Special cord set is not
plugged in properly.
1. Contacts of shaver need to align
with contacts in the Clean&Charge
Station.
2. Wait a few minutes, if charging will
start automatically.
3. Recommended ambient temperature
for charging is 5 °C to 35 °C.
4. Special cord set needs to snap into
place.
Unpleasant smell
from the shaver
head.
1. Shaver head is
cleaned with water.
2. Cleaning cartridge is
in use for more than
8 weeks.
1. When cleaning the shaver head with
water only use hot water and from
time to time some liquid soap
(without abrasive substances).
Remove Foil & Cutter cassette to let
it dry.
2. Change cleaning cartridge at least
every 8 weeks.
Battery
performance
dropped
significantly.
1. Shaver head is
regularly cleaned with
water but not
lubricated.
2. Foil and cutter are
worn which requires
more power for each
shave.
1. If the shaver is regularly cleaned with
water, apply a drop of light machine
oil on top of the foil once a week for
lubrication.
2. Replace Foil & Cutter cassette.
Shaving
performance
dropped
significantly.
1. Shaving system is
clogged.
2. Foil and cutter are
worn.
1. Soak the Foil & Cutter cassette in hot
water with a drop of dish liquid.
Afterwards rinse it properly and tap it
out. Once dry apply a drop of light
machine oil on the foil.
2. Replace Foil & Cutter cassette.
90778960_Series_9_9250cc_Japan.indd 3590778960_Series_9_9250cc_Japan.indd 35 10.02.16 13:3110.02.16 13:31
CSS APPROVED Effective Date 23Mar2016 GMT - Printed 30Jun2016 Page 35 of 40