English
Our products are engineered to meet the highest
standards of quality, functionality and design. We
hope you thoroughly enjoy the new Braun
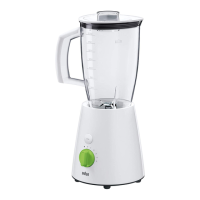
appliance.
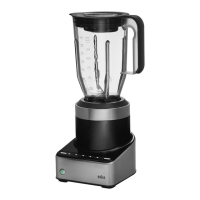
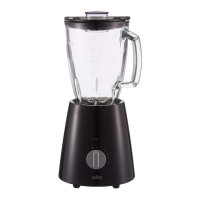
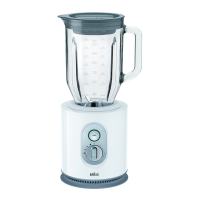
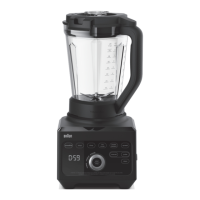
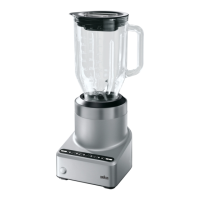
Parts and Accessories
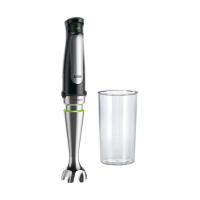
1 Measuring cap
2 Lid
3 Lid gasket
4 Pitcher (plastic)
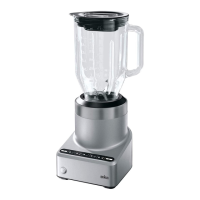
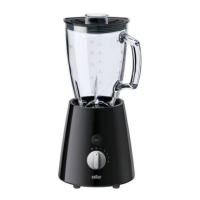
4a Pitcher (glass)
5 Blade assembly (pitcher)
5a Blade gasket
5b Blade group (black)
5c Locking ring
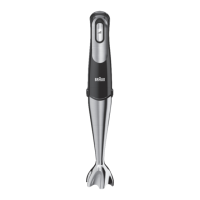
6 Motor body
7 On/Off button
8 Pulse button
9 Speed selection buttons
10 Crush ice button
11 Cord storage compartment
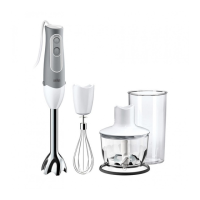
12 Smoothie2Go attachments (2 cups incl. lids)
12a Lid with drinking spout
12b Lid gasket
12c Cup
13 Blade assembly (Smoothie2Go attachment)
13a Blade gasket
13b Blade group (grey)
13c Locking ring
Max. capacity:
Pitcher : 56 fl. oz. / 7 cups
Smoothie cup: 12 fl. oz. / 1 ½ cups
Before Use
Clean all parts before using the blender for the first
time – refer to ≪Care and Cleaning≫.
Uncoil amount of cord needed from storage
compartment (11) at the bottom of the motor body.
Pitcher (A)
Assembly
Ensure that the blade gasket (5a) is positioned
on the inside rim of the blade group (5b).
Carefully place the blade group into the locking
ring (5c).
Screw the blade assembly (5) to the pitcher (4,
4a) in a clockwise motion until it can go no
further.
Blending with the Pitcher
Make sure the appliance is turned off.
Position the line on the locking ring (5c) in front
of you and push the pitcher down until it is
securely locked into place. The pitcher handle
should be on the right or left side of the motor
body. When properly positioned, the pitcher
will rest completely on the motor body.
Add liquid ingredients first, followed by solid
ingredients. This will ensure all ingredients are
uniformly blended and prevent unnecessary
stress on the motor. Firmly place the complete
lid (1,2,3) on top.
Plug in the power cord.
Turn the appliance on by pressing the On/Off
button (7).
The On/Off button will illuminate and all other
indicator lights (8,9,10) will flash. The blender
is in ON mode, but no speed has been
selected. To select a pre-programmed speed,
refer to ≪Operating Instructions≫.
Always stop the blender when adding more
ingredients. Ensure the complete lid including
the measuring cap is replaced.
During operation, you may add liquids through
the drip hole in the measuring cap.
When finished, press the pre-selected speed
button.
To switch off the appliance, press the On/Off
button and unplug blender before removing the
pitcher.
Smoothie2Go Attachment (B)
Note: The Smoothie2Go must only be operated
using its special blade group (13b) and for
preparing drinks and smoothies.
Assembly
Ensure that the blade gasket is positioned on
the inside rim of the blade group (13b).
Hold the blade group at the coupling from
underneath and place it upside down in the
cup.
Screw the locking ring (13c) blade assembly
(13) This should be consistent with what
we have in the “Pitcher Assembly” section.
to the cup (12c) in a clockwise motion until it
can go no further.
 Loading...