28
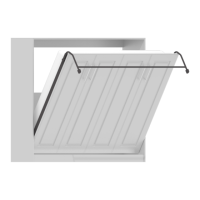
Chapter 5: Attaching the Bed Face Panel to the Bed Cabinet.
Referring to Fig. 5B, insert 5/16” Hex head bolts from
Hardware Package #2, through the outside of Hole #3. Thread
on 5/16” Nylock nuts from Hardware Package #2, only nger
tight at this time. Repeat for opposite side.
STEP 3
Referring to Fig. 5B, insert Allen head bolts from Hardware
Package #2, from the outside of the frame, through Hole #1 on
the side of the bed frame. Thread on 5/16” Nylock nuts from
Hardware Package #2 and securely tighten with a 1/2” socket.
Repeat for opposite side. These Allen head bolts will be used as
a positioning guide.
STEP 2
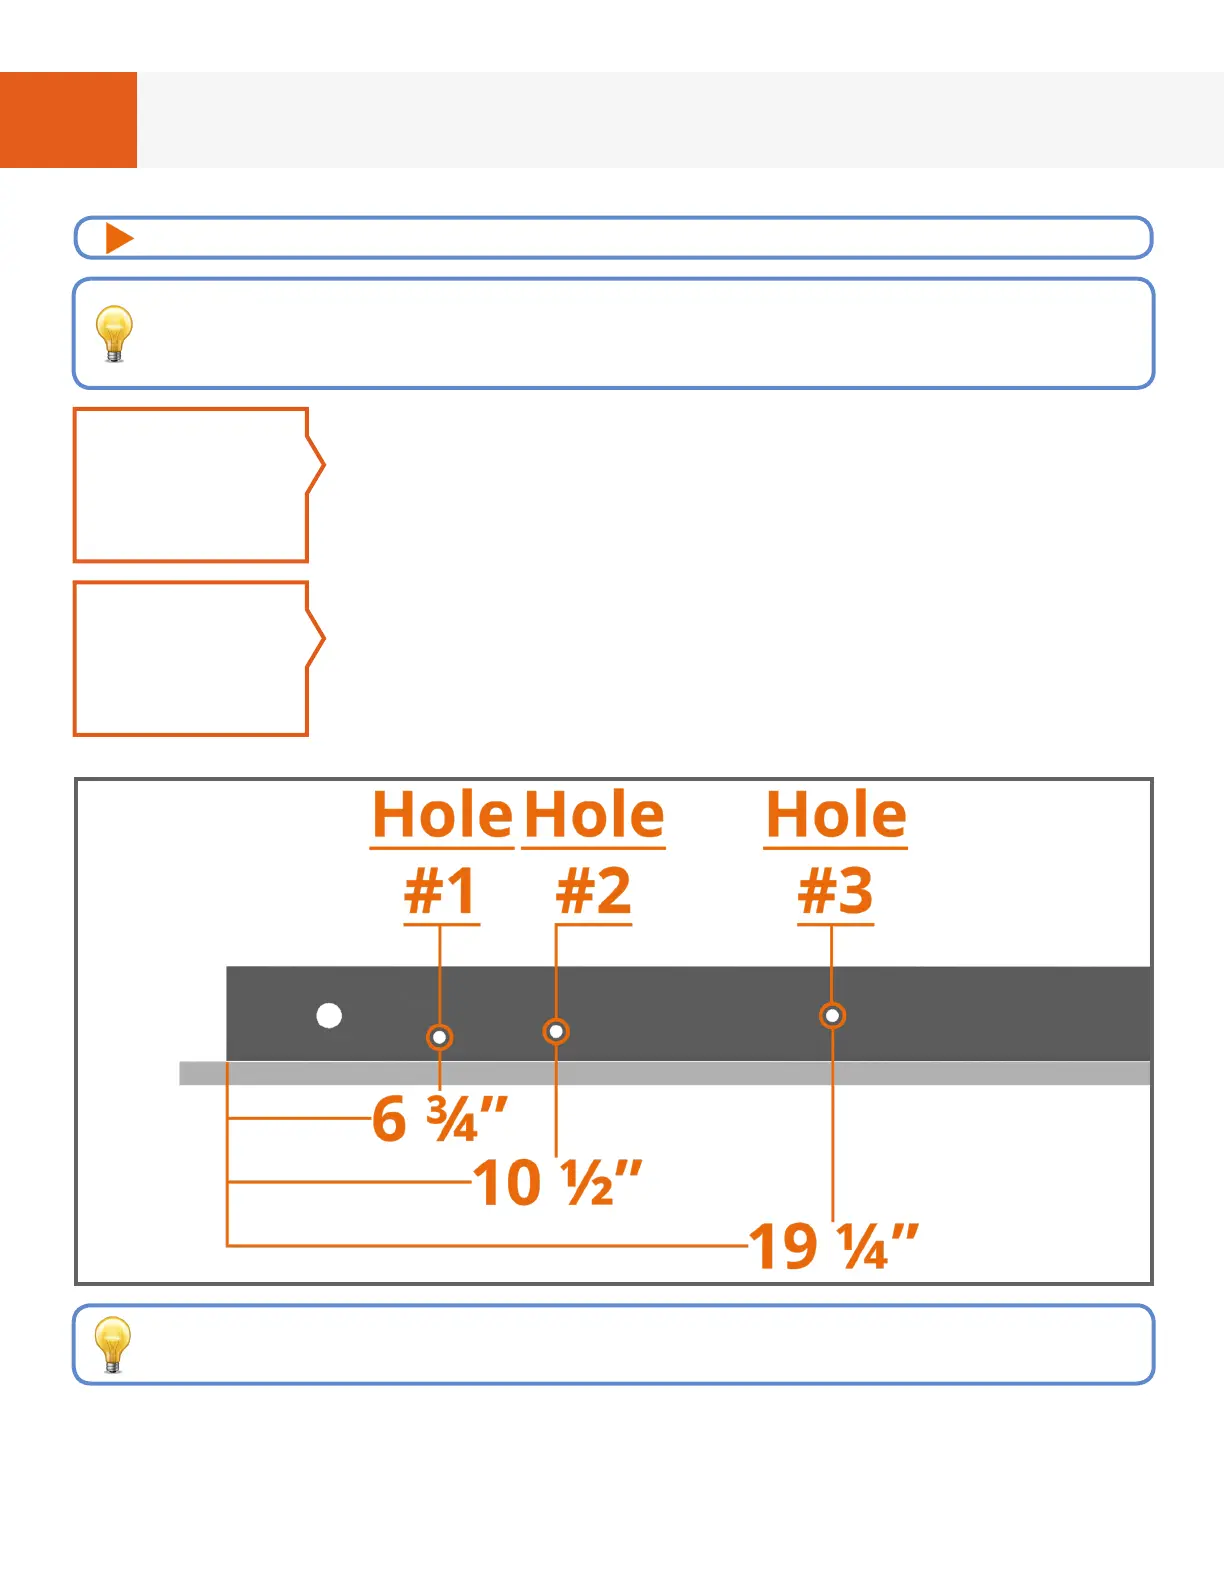
FIG. 5B - BED FACE PANEL, LEFT SIDE VIEW OF MECHANISM END
The bolts for Holes #1, #2 and #3 will all attach from the outside of the
frame. In other words, the bolt heads will be on the outside of the frame and
the nuts will go on the inside of the frame for all three of the holes.
For video instructions of this specic chapter, visit: breda.us/face
Note: Hole #2 will be used on the next step.