- 8 -
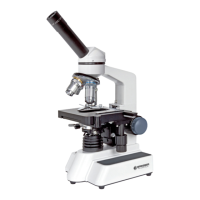
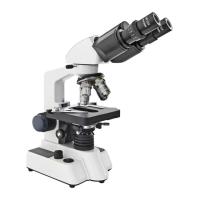
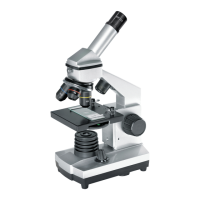
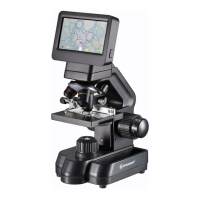
All parts (Fig. 1-4):
1 Eyepieces
2 Dioptrescale
3 Binocularhead
4 Focuswheel
5 Incidentlightillumination
6 On/Offswitch
7 Brightnesscontrol(incidentlight)
8 Brightnesscontrol(transmittedlight)
9 Transmittedlightillumination
10 Microscopestagewithobjectplate
11 Objectclamps
12 Lensholder(rotatable)
13 Batterycompartment
14 Powersupplyconnection
15 Dustcover
16 Objectplate(black/white)
17 Powersupply
18 Rubbereyecups(2pieces)
19 Carryinghandle
1. Choosing a place for the microscope
Before starting, choose a sufcient location for microscoping. Please take care that your
microscopestandsonanevenandsolidground.
Positionyourdevicesothatitcanbedisconnectedfromthepowersupplyatanytime.The
wallsocketshouldalwaysbelocatednearthedeviceandbeeasilyaccessible,sincetheplug
onthepowercordservesasadisconnectingdeviceforthepowersupply.
2. Illumination
WiththeAnalythSTRyouhavethreeilluminationoptions:incidentlight,transmissionlightand
both.First,connectthepowersupplytoapowersupplysocketandthenintothepowersupply
connectionofthemicroscope(14).Now,engagethemainswitch(6).
Theilluminationforincidentlightandtransmittedlightcanbeadjustedseparatelybyusingthe
twobrightnesscontrolbuttons(7and8).Afterswitchingoff,theselectedsettingisretained.
Alternatively, the Analyth STR can also be operated with batteries.To insert the batteries
(type AA), open the battery compartment (13) on the underside of the microscope.
Make sure that the polarity is correct. The microscope can also be used with the
power supply when batteries are inserted. Rechargeable batteries will not be charged.