To Replace Battery
Only use batteries that are designed for the Brinkmann Rechargeable
Fluorescent & L.E.D. Camping Lantern as a replacement. Use of any
other battery may result in poor performance and may damage your
lantern.
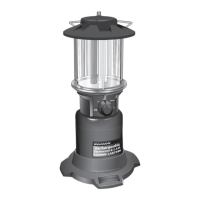
Step 1: Twist the base cap to the OPEN position.
Step 2: Pull the lead acid battery away from the battery compartment.
Step 3: Disconnect the battery from connectors
by holding the connector fimly with fingers then pulling wire
straight out.
Step 4: Connect the new battery with appropriate positive (red) or negative
(black) connectors.
Step 5: Replace the battery back into battery compartment.
Step 6: Twist the base cap firmly to the CLOSED position.
battery. Battery must be
properly.
Battery
Base Cap
Step 1: Make sure function selector is in OFF/RECH. position.
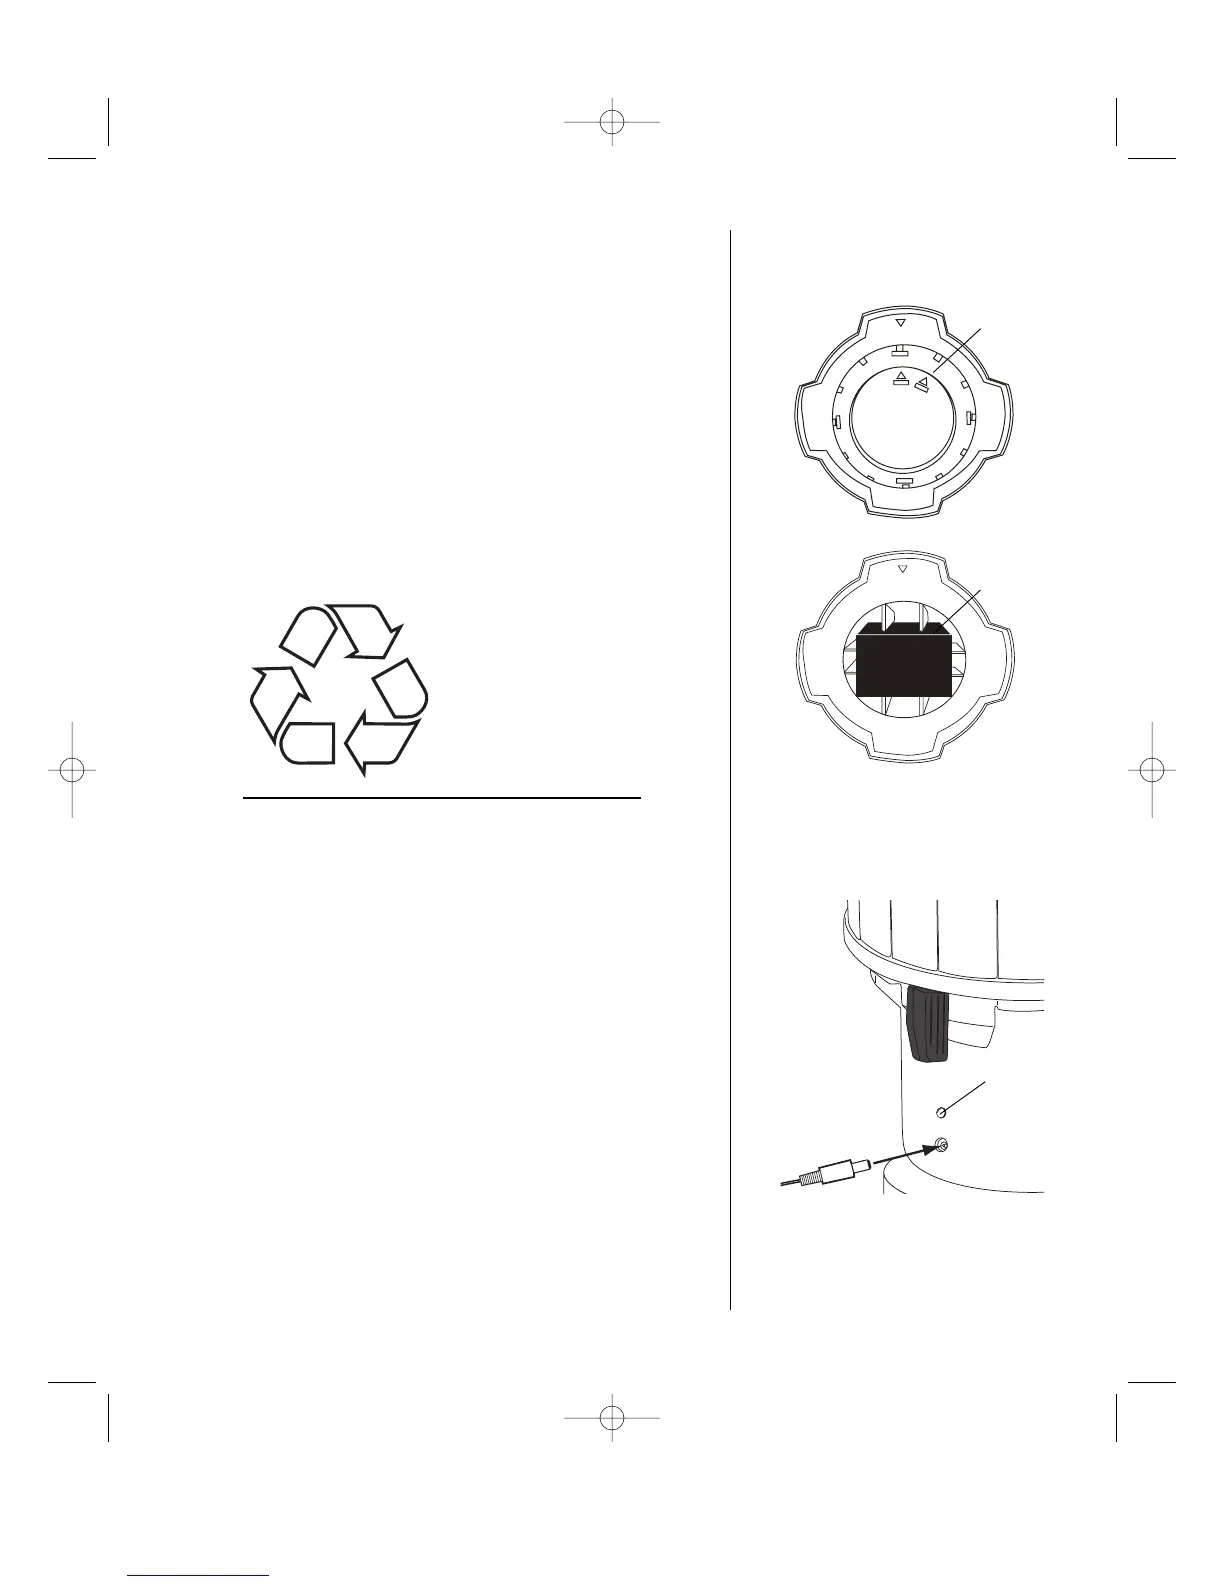
Step 2: Plug the solar panel, DC charger/adapter or AC charger into the
socket located in back of the lantern as illustrated.
Step 3: For Solar Panel Charger:
Select a location with full, direct sunlight. Shady locations will not
allow the battery to charge fully and will reduce the hours of
nighttime light. Solar panel will fully charge battery in approximately
15 hours.
For DC Charger/Adapter:
Plug the other end of the DC charger/adapter into a cigarette lighter
receptacle. DC charger/adapter will fully charge battery in
approximately 8 hours.
For AC Charger:
Plug the other end of the AC charger into a wall outlet. AC charger
will fully charge battery in approximately 8 hours.
Step 4: Do not charge battery for more than 24 hours.
Note: LED indicator on back of lantern turns off automatically when battery
is fully charged.
Step 5: Remove lantern from the charger before operating.
LED Indicator
To Charge
4