INSTALLATION, USE & CARE INSTRUCTIONS
INSTALLATION
5
For ADA compliance installation guidelines, please type the model number into our website.
RECOMMENDED TOOLS AND ACCESSORIES
• Measuring tape
• Phillips screwdriver no. 2
• Nut driver or socket 3/8”
• Flat blade screwdriver (to open knockout holes)
• Saw (to cut holes in cabinet)
• Sheet metal shears
• Pliers
• Metal foil duct tape
• Scissors (to cut metal foil duct tape)
• Pencil
• Wire stripper
• Strain relief, 7/8” diameter (to secure house wiring
cable to the hood)
CONTENTS
Before proceeding to the installation, check the contents of the box. If items are missing or damaged, contact the
manufacturer.
Make sure that the following items are included:
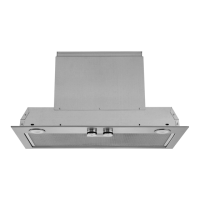
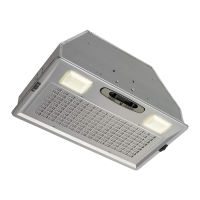
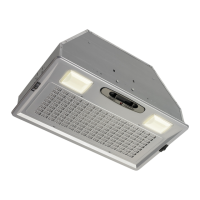
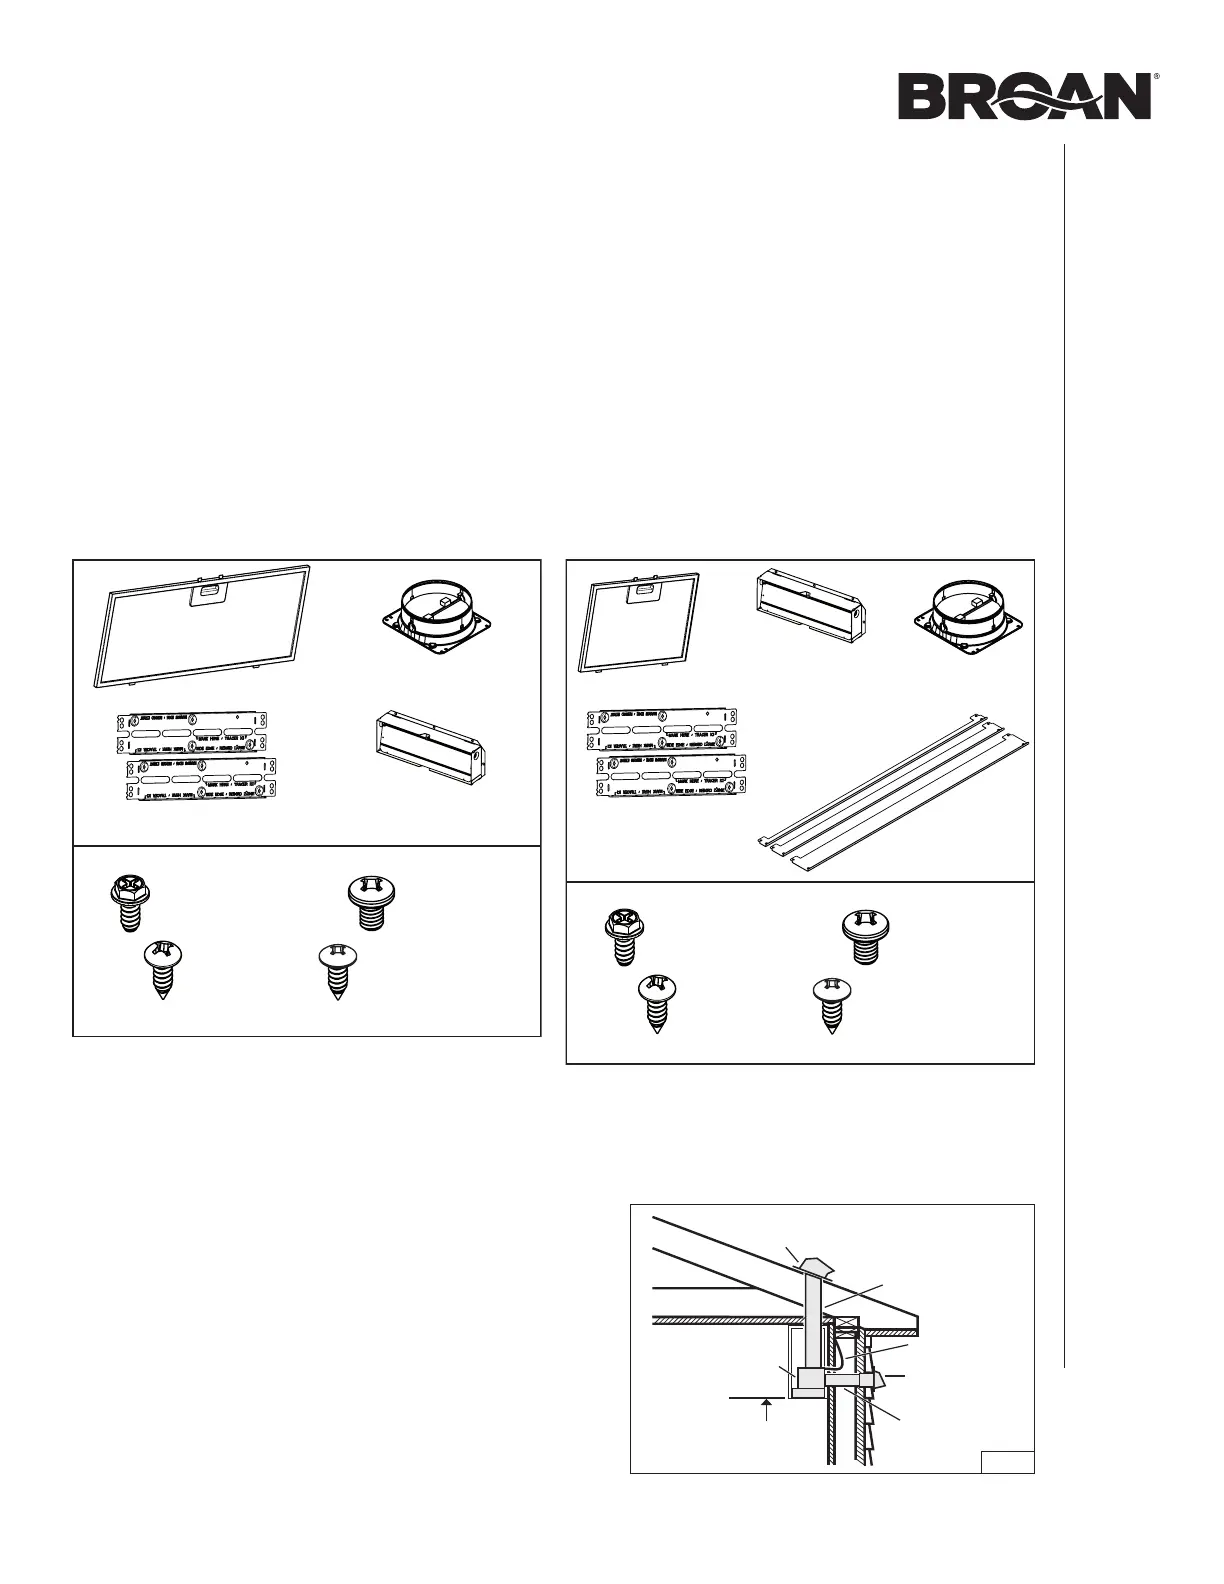
PM400SS
(1) G
REASE
F
ILTER
(1) 6” R
OUND
DAMPER ASSEMBLY
(1) PARTS BAG* CONTAINING:
(4) NO. 8-18 X 1/4”
M
ETAL SCREWS
(8) NO. 8-15 X 5/8”
RD. HD.
W
OOD SCREWS
(4) NO. 6-18 X 3/4”
T
RUSS HEAD
WOOD SCREWS
C
ABINET BRACKETS
(ATTACHED TO THE BACK OF THE UNIT)
* FIND PARTS BAG BEHIND THE WIRING COMPARTMENT COVER.
(1) 3¼” X 10”
DAMPER ASSEMBLY
(ATTACHED TO ONE SIDE THE UNIT)
(4) NO. 8-32 X 1/4”
M
ETAL SCREWS
(1) 3¼” X 10”
DAMPER ASSEMBLY
(ATTACHED TO ONE SIDE THE UNIT)
(1) 6” ROUND
DAMPER ASSEMBLY
(1) PARTS BAG* CONTAINING:
* FIND PARTS BAG BEHIND THE WIRING COMPARTMENT COVER.
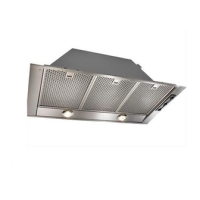
(2) GREASE FILTERS
(1) SET OF 3 FILLERS
CABINET BRACKETS
(ATTACHED TO THE BACK OF THE UNIT)
(4) NO. 8-18 X 1/4”
M
ETAL SCREWS
(8) NO. 8-15 X 5/8”
RD. HD.
W
OOD SCREWS
(4) NO. 6-18 X 3/4”
T
RUSS HEAD
WOOD SCREWS
(4) NO. 8-32 X 1/4”
M
ETAL SCREWS
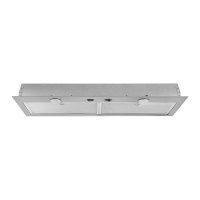
BBN2243SS, BBN2303SS
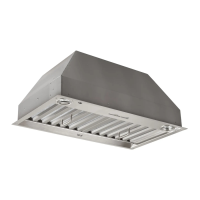
INSTALL THE DUCTWORK
(DUCTED INSTALLATION ONLY)
NOTE: To reduce the risk of fire, use only metal ductwork.
1. Decide where the ductwork will run between the powerpack
insert and the outside. (FIG. 1)
2. A straight, short duct run will allow the powerpack insert
to perform most efficiently.
3. Long duct runs, elbows, and transitions will reduce the
performance of the powerpack insert. Use as few of
them as possible. Larger ducting may be required for best
performance with longer duct runs.
4. Install wall cap or roof cap (sold separately). Connect metal
ductwork to cap and work back towards the powerpack
insert location. Use 2” metal foil duct tape to seal the joints
between ductwork sections.
24" MIN - 30" MAX
ABOVE
COOKING SURFACE
POWERPACK
INSERT
WALL CAP
ROOF CAP
6" ROUND DUCT
OR
3¼" X 10" DUCT
H
OUSE
WIRING
3¼" X 10" DUCT
FIG. 1
 Loading...