Do you have a question about the brondell LumaWarm and is the answer not in the manual?
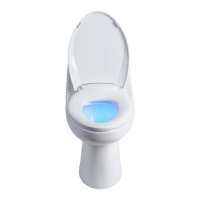
Distinguishes between toilet fixtures requiring top-side access only versus those accessible from below.
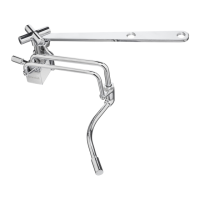
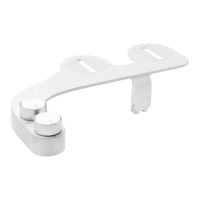
Details inserting and fastening screws through mounting blocks for top-side toilet seat installation.
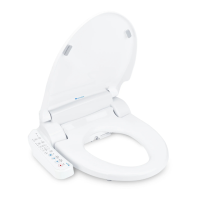
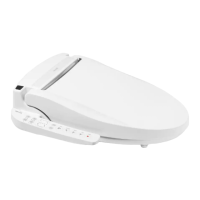
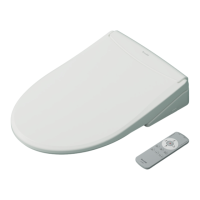
Instructions for moistening seat pads and sliding the LumaWarm seat onto mounting blocks.
| Material | Plastic |
|---|---|
| Heated Seat | Yes |
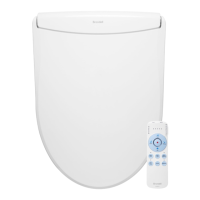
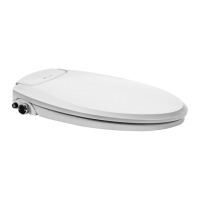
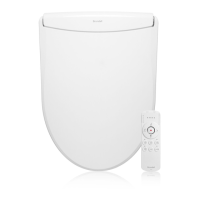
| Color | White |
| Seat Temperature Control | Yes |
| Power Source | Electric |
| Shape | Elongated |