43
MENU
D94
MENU
D95
EMPTY
HOPPER
END
SERVICE
HOURS
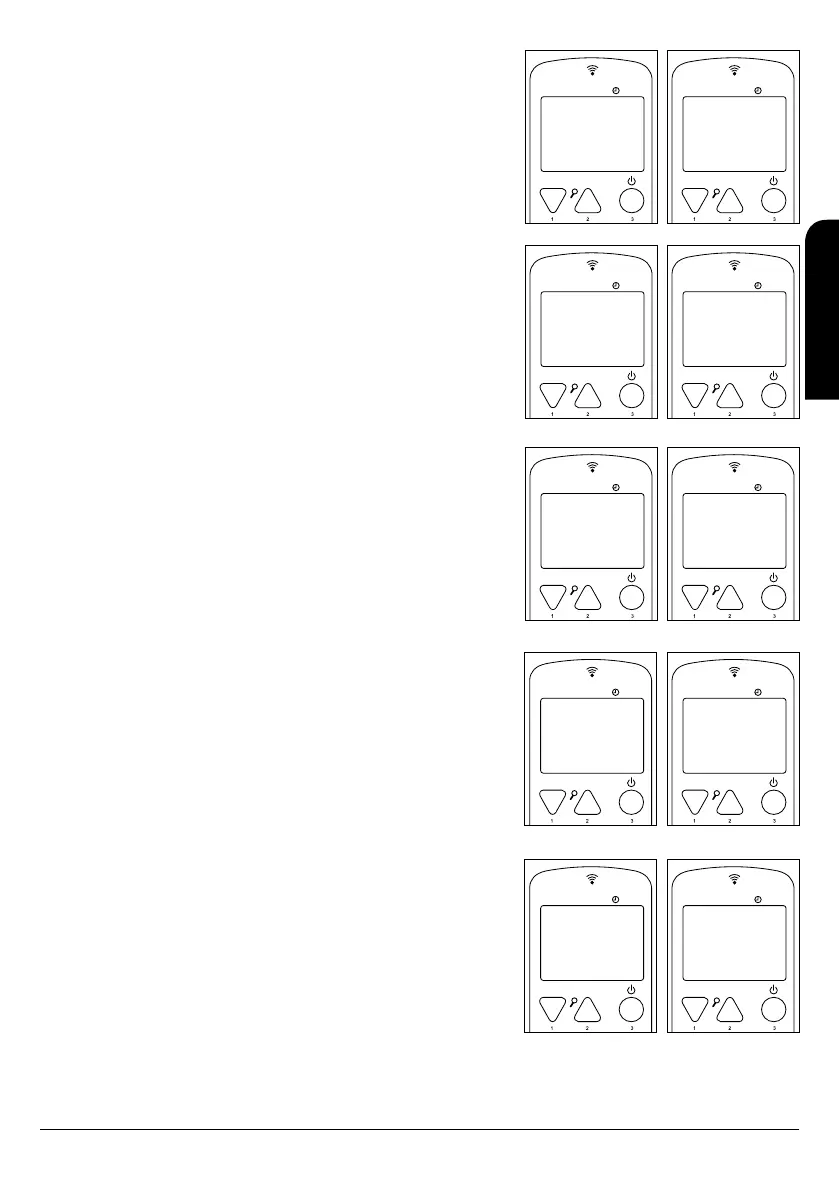
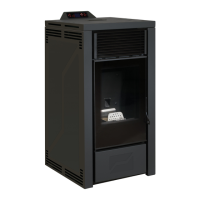
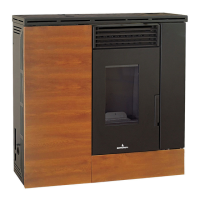
• Empty hopper (only model Neva and Damasco): Indicates the need to refuel.
See “3 Fuels - Pellet Supply” in this manual (see drawing D94).
• End hours service: Indicates that maintenance is required on your stove. See
section “8.10 Maintenance Review” in this manual. (See drawing D95).
• Hot exhaust: This message means that the stove has reached a very high
smoke temperature. The appliance is self-protected and after cooling, it returns
to the working mode. In case you observe this message often on your remote
control, you must contact the Technical Assistance Service in your area or your
installer, in order to check the reasons of this smoke overtemperature (see
drawing D96).
MENU
D96
MENU
D97
HOT
EXHAUST
HOT TEMP
CARD
• Hot temp card: This message informs that the electronic board has an elevated
temperature. Generally this message appears due to a lack of a correct “natural
convection” (see chapter 5.4 of this manual). In case you observe this message
often on your remote control, you must contact the Technical Assistance Service
in your area or your installer, in order to check the reasons that lead to the
appearance of this message (see drawing D97).
11 ALARMS
In case of an anomaly during the operation, the electronics of the stove or insert
intervenes and highlights the irregularities that have ocurred in the different working
phases, depending on the type of fault.
Every alarm situation blocks the stove or inserts to be automatically blocked. By
pressing button 3 we can unblock it. Once the stove or insert has reached the
appropriate cooling temperature, the user can restart it up.
MENU
14:42
22º C P-3
D98
MENU
D99
FINAL
CLEANING
ALARM 2
SMOKE
PROBE
11.1 POWER SUPPLY FAILURE (BLACK OUT)
In the event that power supply is cut for less than 30 seconds, the stove will restart and
continue with its normal working state.
In the event that power supply is cut for greater than 30 seconds, when power is
restored, the stove, as a safety measure, goes straight to the Final Cleaning stage until
the stove temperature reaches the appropriate cooling temperature. (see drawing
D98).
11.2 SMOKE TEMPERATURE PROBE ALARM
This alarm goes off when the probe in charge of detecting the exhaust stack
temperature is disconnected or is broken. During the alarm status, the stove or insert
will be in the turn-off stage (see drawing D99).
MENU
D100
MENU
D101
ALARM 3
TEMP.
SMOKE
ALARM 4
FAILURE
ASPIRATION
11.3 SMOKE TEMPERATURE EXCESS ALARM
It goes off when the probe detects a smoke temperature higher than 270°C. Therefore
the control shows the following message (see drawing D100):
During the alarm state, the stove or insert will be in the turn-off stage.
11.4 DAMAGED SMOKE EXTRACTION FAN ALARM
It goes off when the smoke extraction fan breaks down. If this happens, the stove or
insert stops and the control will show up the following alarm (see drawing D101). Right
after, the turn-off stage will be immediately activated.
To deactivate the alarm press button 3 and the stove or insert will come to the normal
state after doing the final cleaning.
MENU
D102
MENU
D103
ALARM 5
FAILURE
IGNITION
ALARM 6
NO PELLET
11.5 IGNITION FAILURE ALARM
In case of ignition failure (after 20 minutes at least) the control will show up an alarm as
follows (see drawing D102).
To deactivate the alarm press button 3 and the stove or insert will come to the normal
state after doing the final cleaning.
11.6 SWITCHING-OFF FAILURE DURING WORKING PHASE
If the flame extinguishes during the working stage and the smoke temperature goes
lower than the minimum working threshold, the alarm does go off and the turn-off stage
will be immediately activated (see drawing 103).
To deactivate the alarm press button 3 and the stove or insert will come to the normal
state after doing the final cleaning.
INSTALLATION, OPERATING AND SERVICING INSTRUCTIONS RADIOFREQUENCY SERIES
EN