PRE-FLIGHT CHECKLIST
1. Ensure that the drone battery and controller batteries are fully charged.
2. Ensure that the left stick of the controller is in the middle position.
3. Ensure that the connection between the battery and motor is solid. Vibration during use
may cause a bad connection and the drone could become difficult to control.
4. Strictly follow the instructions for the order for turning on and turning off the controller and
drone. Turn on the controller power first and then turn on the drone power before flying;
turn off the drone power first and then turn off the controller power when finished flying.
Improper on/off sequence may cause the drone to fly out of control and could threaten
your safety or the safety of others.
5. Improper operation may cause the drone to crash, which may cause motor defects that
could affect flying ability. If this occurs, visit the local distributor to buy new replacement
parts.
FREQUENCY PAIRING
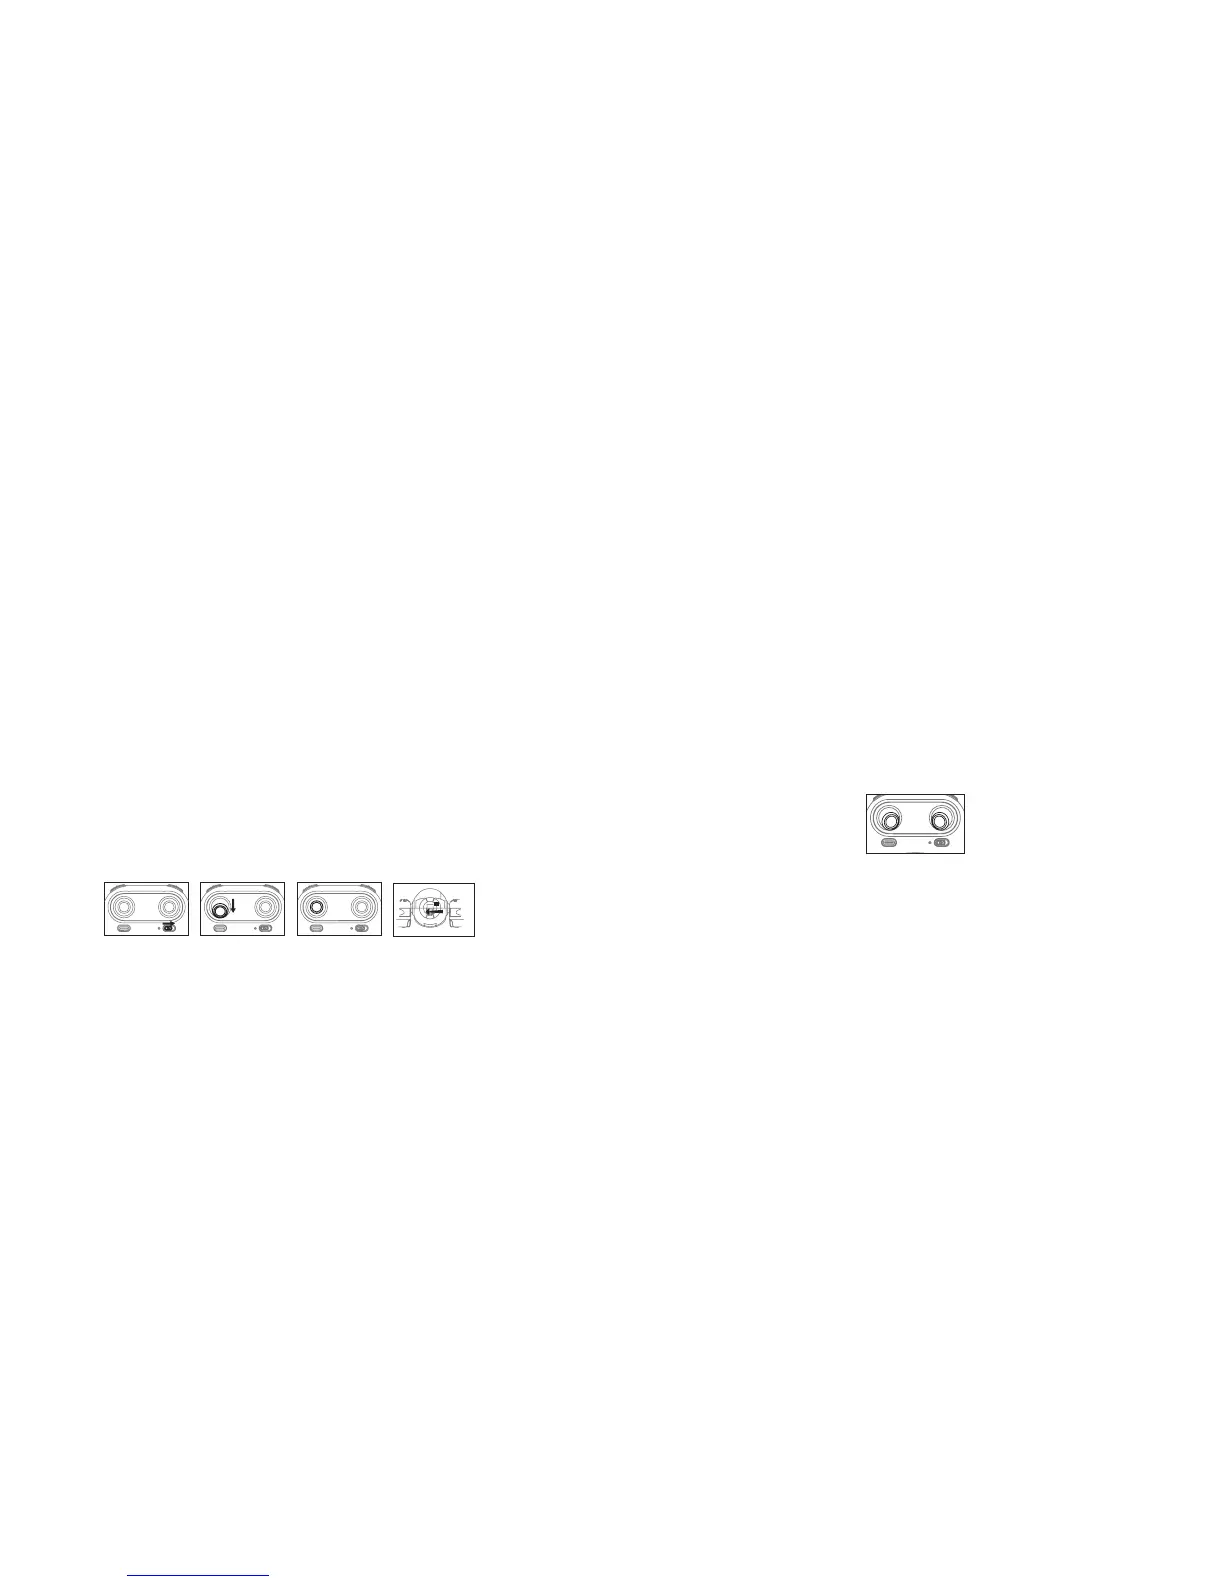
1. Slide the controller's power switch to the ON position (Picture 1). The power indicator will
flash rapidly.
2. Push the left stick all the way down to the lowet position and then release. The left stick
will move back to the middle position (Pictures 2 and 3).
Picture 2Picture 1 Picture 3
Picture 4
10 11
3. Power on the drone (Picture 4) and put the drone on a flat surface. The drone must be
on a horizontal, level surface to work properly.
4. The drone body lights change from flashing to solid, indicating successful frequency
pairing.
BEGINNING YOUR FLIGHT
5. Position the drone so that its front (the end with the camera) is pointing away from you.
6. Power on the drone and check the direction of the rotating propellers. The left front
and right rear A propellers should rotate clockwise while the right front and left rear B
propellers should rotate counterclockwise.
7. Move the left stick and right stick at the same time 45 degrees inward, as shown below, to
start the motors. Repeat to lock the motors.
8. Push up the left stick to fly the drone up slowly. Pull down the left stick to its lowest
position slowly to land the drone on the ground.
9. Repeat Step 4 several times to practice.
10. If the drone tilts to one side when flying, adjust the rudder with the corresponding Trimmer
button on the controller, as described on Page 12.
 Loading...