EasyManua.ls Logo

Brother 3034D - User Manual

Brother 3034D
76 pages
Print Icon
To Next Page IconTo Next Page
Loading...
HANDBOOK FOR COMPACT
OVERLOCK MACHINE
MANUAL DE INSTRUCCIONES DE LA
MAQUINA COMPACTA OVERLOCK
English
EspaƱol

Table of Contents

Questions and Answers

  • J
    Jared CampbellJul 31, 2025
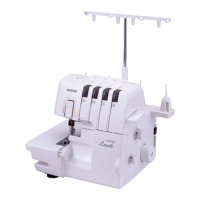
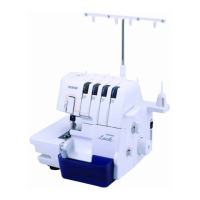
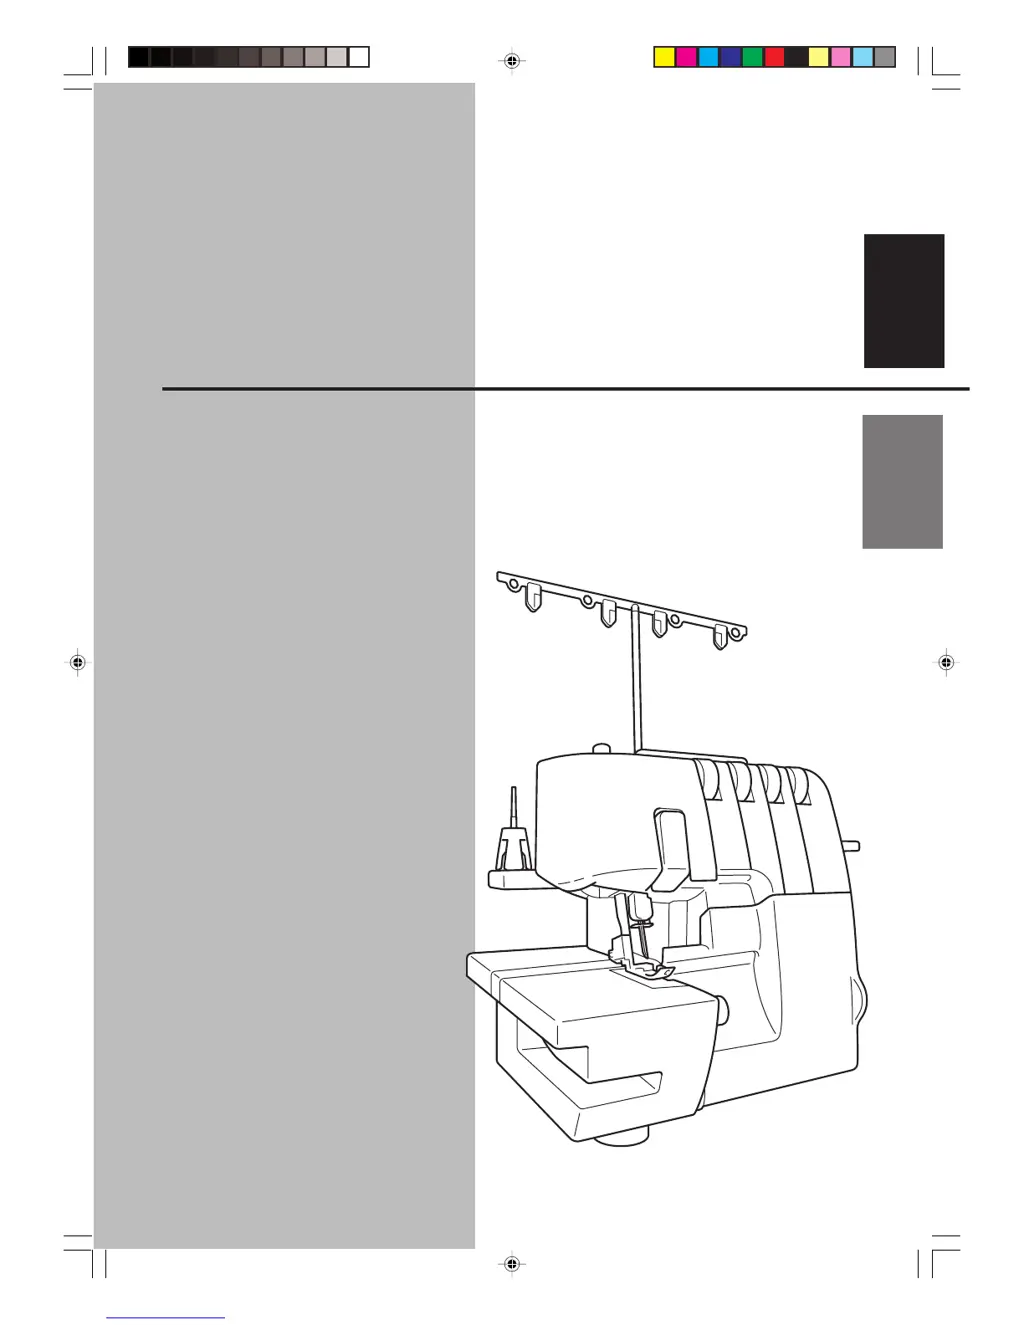
    Why do threads break on my Brother 3034D Sewing Machine?
    • V
      vjacksonJul 31, 2025
      Several factors can cause threads to break. Make sure the machine is threaded correctly, and check the spool pin and thread holders for any tangles. Adjust the thread tension if it's too tight, and ensure needles are installed correctly. Using the correct needle, such as Schmetz 130/705H, is also important.
  • M
    Mr. Brian CastroAug 7, 2025
    How to fix skipped stitches on a Brother 3034D Sewing Machine?
    • D
      Deborah WardAug 7, 2025
      Skipped stitches can occur for several reasons. Ensure that the needle isn't bent or blunt, and if it is, replace it. Install the needle correctly and use the recommended Schmetz 130/705H needle. Also, make sure the machine is threaded correctly and that the presser foot pressure isn't too loose; if it is, turn the pressure adjustment screw clockwise to increase it.
  • G
    Glenn GregoryAug 14, 2025
    What to do if needles break on Brother 3034D Sewing Machine?
    • K
      Kevin MortonAug 14, 2025
      Needle breakage can be due to several reasons. Replace bent or blunt needles with a new one, and ensure that needles are installed correctly. Avoid pulling the material too hard when sewing.
  • T
    Tina DanielsAug 22, 2025
    Why is fabric puckered when using my Brother Sewing Machine?
    • K
      Kaitlyn LongAug 22, 2025
      Puckered fabric can result from thread tension being too tight. Reduce the thread tension, especially when sewing lightweight or fine materials. Also, ensure correct threading and check for any tangled thread.

Summary

Important Safety Instructions

DANGER: Electric Shock Risk

Instructions to reduce the risk of electric shock from the sewing machine.

WARNING: Fire, Shock, Injury Risk

Precautions to reduce the risk of burns, fire, electric shock, or injury to persons.

CAUTION: Safe Machine Use

Guidelines for using the machine safely and avoiding hazards.

Chapter 1: Names of Parts and Functions

Machine Components Identification

Detailed labeling and identification of various parts of the sewing machine.

Included and Optional Accessories

Machine Operation Basics

Powering and Operating the Machine

Instructions on how to turn the machine on, operate it using the foot controller, and turn it off.

Adjusting Stitching Parameters

Differential Feed and Presser Foot Adjustment

Understanding and Adjusting Differential Feed

Explanation of the differential feed system and how to adjust its ratio for different fabric types.

Adjusting Presser Foot Pressure

Instructions on how to adjust the presser foot pressure for optimal fabric handling.

Thread Tension Adjustment

Tension Adjustment Dial Overview

Identification of tension discs for different threads and the standard setting.

Tension Control Guidelines

How to adjust thread tension for proper stitch formation and troubleshooting.

Two-Needle (Four-Thread) Tension Chart

One-Needle (Three-Thread) Tension Chart

Needle Management

Needle Description and Checking

Details on needle type, description, and how to check its condition and insertion.

Removing and Installing Needles

Step-by-step instructions for safely removing and installing sewing machine needles.

Chapter 2: Preparation Before Threading

Chapter 3: Threading the Machine

Threading the Lower Looper

Detailed steps for threading the lower looper, including an easy threading operation.

Lower Looper Easy Threading Operation

Specific steps for an easier method of threading the lower looper.

Threading the Upper Looper

Upper Looper Threading Instructions

Step-by-step instructions for threading the upper looper with color-coded guides.

Threading the Right Needle

Right Needle Threading Instructions

Instructions for threading the right needle using pink color and numerical sequence.

Threading the Left Needle

Left Needle Threading Instructions

Instructions for threading the left needle using yellow color and numerical sequence.

Chapter 5: Sewing Techniques

Troubleshooting Thread Breakage

Narrow Overlock and Rolled Hemming Stitch Chart

Chapter 6: Troubleshooting Guide

Common Sewing Machine Problems and Solutions

Table indicating common troubles, their causes, and suggested remedies for the sewing machine.

Chapter 7: Machine Maintenance

Chapter 8: Optional Feet Introduction

Machine Specifications

Brother 3034D Specifications

General IconGeneral
DisplayNo
Free armYes
Control typeRotary
Sewing speed900
Stitch widthVariable
Product colorWhite
Buttonhole type-
Sewing machine functionsOverlock
Number of stitch patterns4

Related product manuals