

J
Jessica JohnsonJul 31, 2025
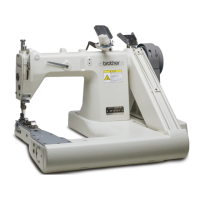
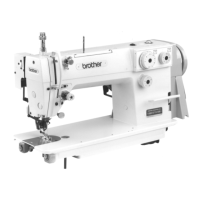
Why are the upper and lower threads breaking on my Brother Sewing Machine?
- TTheresa HurleyJul 31, 2025
If the needle is bent or broken, replace it. Ensure the needle is installed and threaded correctly. Adjust the upper or lower thread tension if it's too weak or strong. Correct the thread release shaft position if it's incorrect. Replace damaged loopers. For needle eyes too small for threads, no direct solution is provided.