EasyManua.ls Logo

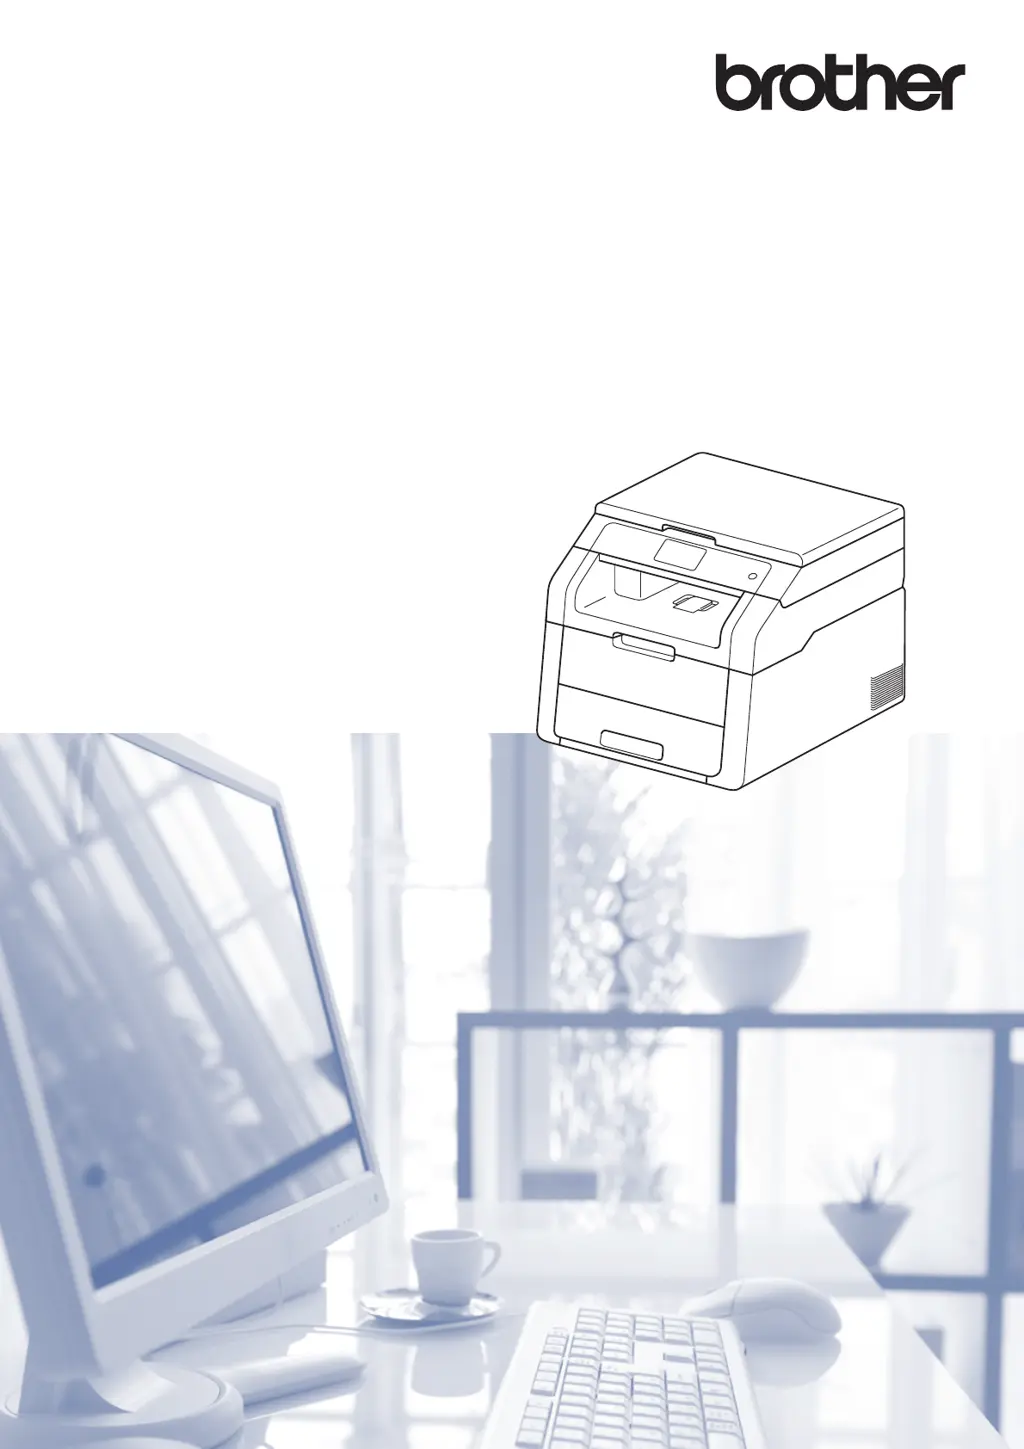
Brother HL-3180CDW - User Manual

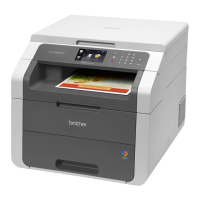
Brother HL-3180CDW
52 pages
Print Icon
To Next Page IconTo Next Page
Loading...
Advanced User’s Guide
HL-3180CDW
Version 0
USA/CAN

Table of Contents

Other manuals for Brother HL-3180CDW

Questions and Answers

  • A
    Andrew FrancisJul 27, 2025
    Why is my Brother All in One Printer not detecting the wireless access point/router?
    • M
      millererinJul 27, 2025
      There are several reasons why your Brother All in One Printer might not be detecting the wireless access point/router: 1. Ensure that your wireless access point/router is powered on. 2. Try moving your printer to a location without obstructions, or closer to the wireless access point/router. 3. When configuring the wireless settings, position your printer within about 3.3 feet (one meter) of the wireless access point/router temporarily. 4. If your wireless access point/router uses MAC address filtering, verify that the MAC address of your Brother printer is permitted in the filter. Also, if you manually entered the SSID and security information (SSID/authentication method/encryption method/Network Key), double-check that the information you entered is correct.
  • K
    Kevin BurnettJul 30, 2025
    What to do if my Brother All in One Printer says the wireless security information is incorrect?
    • J
      Jamie ChanJul 30, 2025
      If your Brother All in One Printer indicates that the wireless security information is incorrect, you should confirm the wireless security information as shown in the 'Combined table of authentication and encryption methods' table.
  • R
    Richard SanchezAug 4, 2025
    What to do if my Brother All in One Printer says the security information (SSID/Network Key) is incorrect?
    • K
      Kimberly KellyAug 4, 2025
      If your Brother All in One Printer displays a message indicating the security information (SSID/Network Key) is incorrect, verify that the SSID and security information (Network Key) are accurate.
  • E
    Elizabeth BrownAug 8, 2025
    What to do if my Brother All in One Printer cannot detect a wireless access point/router that has WPS or AOSS™ enabled?
    • D
      Daniel WeissAug 8, 2025
      If your Brother All in One Printer cannot detect a wireless access point/router that has WPS or AOSS™ enabled, confirm that your wireless access point/router supports WPS or AOSS™, and then try starting the connection process again.
  • G
    garciajeremyAug 12, 2025
    What to do if my Brother All in One Printer says the wireless network and security setting you entered may be incorrect?
    • J
      Jerry CoxAug 13, 2025
      If your Brother All in One Printer indicates that the wireless network and security settings you entered may be incorrect, confirm that the wireless network settings are correct.
  • M
    Mr. Robert Dyer MDAug 17, 2025
    What to do if my Brother All in One Printer wireless setting is not activated?
    • J
      James BrownAug 17, 2025
      If the wireless setting on your Brother All in One Printer is not activated, turn the wireless setting to ON by following these steps: 1. On your printer, press the button indicated in the manual. 2. Press Network. 3. Press WLAN, and then press Setup Wizard. 4. When Enable WLAN? is displayed, press Yes.
  • T
    tracy89Aug 21, 2025
    What to do if my Brother All in One Printer detects two or more wireless access points/routers that have WPS or AOSS™ enabled?
    • D
      Derek NunezAug 21, 2025
      If your Brother All in One Printer detects two or more wireless access points/routers with WPS or AOSS™ enabled, make sure that only one wireless access point/router within range has WPS or AOSS™ active, and then try the connection process again.

Summary

General Setup

Memory storage

Your menu settings are stored permanently and in the event of a power failure will not be lost.

Volume setting

Configure sound levels for the machine, including beeper volume.

Automatic Daylight Saving Time

Automatically adjusts the machine's clock for Daylight Saving Time changes.

Toner Save

Reduces toner usage by making printouts lighter.

Sleep Time

Configures the machine's idle time before entering low-power Sleep mode.

Deep Sleep mode

Enters a lower power state after prolonged inactivity in Sleep mode.

Auto Power Off

Automatically shuts down the machine after a period of inactivity in Deep Sleep mode.

Setting the backlight brightness

Adjusts the brightness of the Touchscreen LCD backlight.

Setting the Dim Timer for the backlight

Sets how long the Touchscreen LCD backlight stays on after returning to the Home screen.

Security features

Secure Function Lock 2.0

Restricts access to machine functions for different users.

Before you begin to use Secure Function Lock 2.0

Preparations needed to configure Secure Function Lock 2.0 via web browser.

Setting and changing the Administrator Password

How to set and modify the administrator password for security features.

Setting up restricted users

Configures user accounts with specific restrictions and passwords.

Setting up and changing the Public user mode

Configures restrictions for users without a password.

Turning Secure Function Lock on;off

Instructions for enabling and disabling the Secure Function Lock feature.

Switching Users

Switch between restricted user and public modes when Secure Function Lock is active.

Setting Lock

Sets a password to prevent accidental changes to machine settings.

Setting up the administrator password

Guides on setting the administrator password for machine settings.

Changing the Setting Lock administrator password

Procedure to change the administrator password for Setting Lock.

Turning Setting Lock on;off

Steps to enable or disable the Setting Lock feature.

Printing reports

Reports

Lists available reports: User Settings, Network Configuration, Drum Dot Print, WLAN Report.

How to print a report

Step-by-step instructions for printing various machine reports.

Making copies

Copy settings

Temporary settings for the next copy operation.

Stop copying

Procedure to cancel an ongoing copying task.

Improving copy quality

Options to adjust copy quality: Auto, Text, Photo, Receipt.

Enlarging or reducing copies

Steps to enlarge or reduce copy output using predefined ratios or custom settings.

2-sided Copying

Guides on selecting layout options for 2-sided copying.

Adjusting Density and Contrast

Adjusts copy density for lighter/darker output and contrast for sharpness.

Sorting copies

Instructions for sorting multiple copies in order.

Making N in 1 copies (page layout)

Copying multiple pages (2 or 4) onto a single sheet.

2 in 1 ID Copy

Copies both sides of an identification card onto one page.

Adjusting the Color Saturation

Changing default settings for color saturation of copies.

Removing Background Color

Removes document background color for clarity and toner saving.

Saving copy options as a Shortcut

Stores frequently used copy settings for quick access.

Saving paper

Uses 4-in-1 layout and 2-sided copying to reduce paper consumption.

Routine maintenance

Cleaning and checking the machine

General instructions for cleaning the machine's exterior and interior.

Cleaning the outside of the machine

Detailed steps for cleaning the machine's exterior surfaces and touchscreen.

Cleaning the LED heads

Procedure to clean LED heads for print quality issues like faded colors or streaks.

Cleaning the scanner

Steps to clean the scanner glass and plastic surface for clear scans.

Cleaning the corona wires

Procedure to clean corona wires for print quality problems like Drum! errors.

Cleaning the drum unit

Steps to clean the drum unit for repeating dot marks or foreign material.

Cleaning the paper pick-up rollers

Periodically cleaning rollers to prevent paper jams and ensure proper feeding.

Calibration

Adjusts output density for color variations due to environment.

Auto Registration

Corrects color fringes (cyan, magenta, yellow) using auto-registration.

Frequency (Color Correction)

Sets how often color correction (Calibration, Auto Registration) occurs.

Printing the test print

Prints a test page to check overall print quality.

Checking the Page Counters

View page counts for copies, printed pages, and lists.

Checking the remaining life of toner cartridges

View approximate remaining life of toner cartridges in a bar chart.

Checking the remaining life of parts

View the approximate remaining life of parts like drum units, belt unit, fuser.

Replacing periodic maintenance parts

Information on replacing Fuser Unit and PF Kit after specific page counts.

Packing and shipping the machine

Instructions for safely packing and shipping the machine, including warnings.

Brother HL-3180CDW Specifications

General IconGeneral
Typeprinter, copier, scanner
Colorwhite/gray, white
Touch Screenyes
Display Size3.7 inches
Tray Capacity250
Output Tray Capacity100
Paper Sizeletter, legal, executive, a4, a5, a6, b5, b6, envelopes and custom sizes (3-8.5"w, 4.57-14"l)
Paper Handling250-page automatic document feeder
Printing Methodcolor
Color Print Speed23 pages per minute
Mono Print Speed23 pages per minute
First Page Print Time16 seconds
Print Resolution Monoup to 600 x 2400
Print Resolution Colorup to 600 x 2400
Two-Sided Printingyes
Maximum Number of Pages Per Monthup to 30, 000
Reduction and Enlargementno
Photo Printingno
Scanner Typeflatbed
Scan Resolutionup to 1200 x 2400
Duplex Scanno
Copier Resolution Monoup to 600 x 2400
Cartridges4
Number Of Cartridges4
Internal Memoryyes
Memory Cardno
Networkwireless
Connectivitywi-fi, usb 2.0
OS Compatibilitywindows, mac os or linux
Mobile Devices Connectionyes
Weight and Dimensions IconWeight and Dimensions
Depth16.1 inches
Height22.2 inches
Width21 inches
Net Weight47.8 pounds

Related product manuals