B
Brianna LunaAug 19, 2025
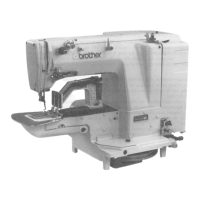
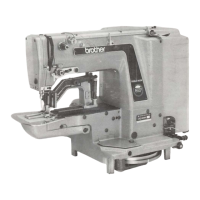
Why does the upper thread keep breaking on my Brother LK3-B434E MKII Sewing Machine?
- DDenise MendezAug 19, 2025
If the upper thread of your Brother Sewing Machine breaks, it may be due to incorrect thread take-up height. Adjust the tension and height of the thread take-up spring.