Home > Security > Network Security Features > Send or Receive an Email Securely > Configure Email
Sending or Receiving Using Web Based Management
Configure Email Sending or Receiving Using Web Based Management
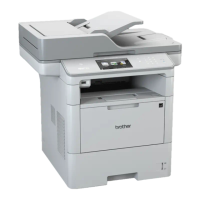
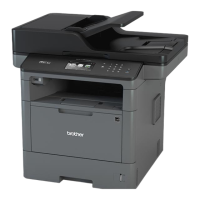
Related Models: MFC-L5700DN/MFC-L5755DW/MFC-L5900DW/MFC-L6700DW/MFC-L6900DW
We recommend using Web Based Management to configure secured email sending with user authentication, or
email sending and receiving using SSL/TLS.
1. Start your web browser.
2. Type "http://machine's IP address" in your browser's address bar (where "machine's IP address" is the
machine's IP address).
For example:
http://192.168.1.2
• If you are using a Domain Name System or enable a NetBIOS name, you can type another name, such
as "SharedPrinter" instead of the IP address.
- For example:
http://SharedPrinter
If you enable a NetBIOS name, you can also use the node name.
- For example:
http://brnxxxxxxxxxxxx
The NetBIOS name can be found in the Network Configuration Report.
• For Macintosh, access Web Based Management by clicking the machine's icon on the Status Monitor
screen.
3. No password is required by default. Type a password if you have set one, and then click .
4. Click the Network tab.
5. Click Protocol in the left navigation bar.
6. In the POP3/IMAP4/SMTP field, click Advanced Settings and make sure the status of POP3/IMAP4/SMTP
is Enabled.
7. Configure the POP3/IMAP4/SMTP settings.
• Confirm that the email settings are correct after configuration by sending a test email.
• If you do not know the POP3/IMAP4/SMTP server settings, contact your network administrator or Internet
Service Provider (ISP).
8. When finished, click Submit.
The Test Send/Receive E-mail Configuration dialog box appears.
9. Follow the instructions in the dialog box to test the current settings.
Related Information
• Send or Receive an Email Securely
467

 Loading...


