Do you have a question about the Brother ML-100 and is the answer not in the manual?
Insert paper and advance/lower it by 1/12 inch using CODE + P INS, CODE + INDEX, or CODE + REV.
Toggle viewing mode on/off with CODE + VIEW to easily see typed characters.
Set left and right margins using ALT + L MAR or ALT + R MAR.
Select Pica (10 cpi) or Elite (12 cpi) character pitch using ALT + PITCH.
Manually return carrier with RETURN or activate auto return with ALT + AUTO.
Covers permanent space/hyphen in hot zone and typing past margins.
Print superscripts/subscripts using CODE + REV/INDEX.
Create characters not on keyboard by backspacing and typing.
Type special characters by holding CODE and pressing desired key.
Turn on/off automatic underlining for text and spaces with ALT + UNDLN.
Turn on bold face function using ALT + BOLD for emphasis.
Indent a line by moving carrier right with CODE + L IND.
Automatically align text to the right margin using CODE + RMF.
Erase and correct errors on the current line using CORRECT or W OUT.
Correct characters outside memory using CODE + CORRECT.
Move carriage to previous position without clearing memory using CODE + Q RESET.
Step-by-step guide for replacing the ribbon cassette.
Instructions for replacing the correction tape.
Switch between Standard, International, and Symbol keyboards.
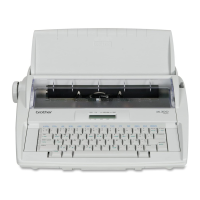
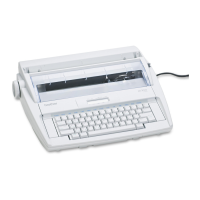
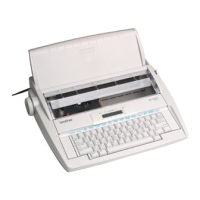
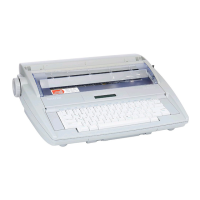
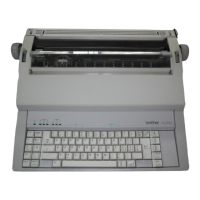
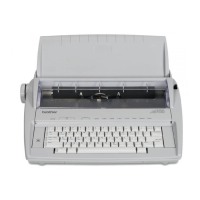
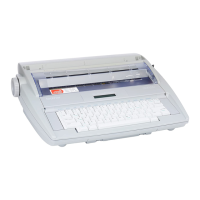
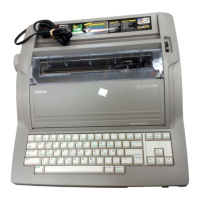
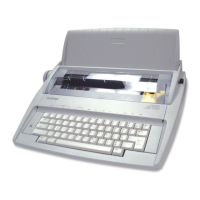
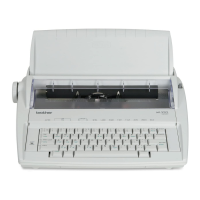
Details on included items, power cord, and switch location.
Guidelines for cleaning, location, and ventilation.
Technical specifications including paper capacity, typing speed, and weight.
List of compatible starter kits, ribbons, correction tapes, and daisy wheels.
| Type | Electronic Typewriter |
|---|---|
| Display | No |
| Print Speed | 12 cps |
| Keyboard | QWERTY |
| Memory | No |
| Correction Memory | 1 line |
| Printing Method | Daisy Wheel |
| Pitch | 10, 12, 15 |
| Line Spacing | 1, 1.5, 2 |
| Features | Automatic Underlining |
| Power Supply | AC 120V |
| Paper Capacity | 1 sheet |