16
DP12VL
OPERATING INSTRUCTIONS
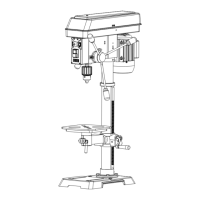
RAISE OR LOWER THE TABLE
1. Loosen the support lock handle (1) and
turn the crank handle (2) until the table is
at the desired height.
2. Tighten the support lock handle before drilling.
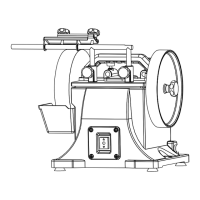
TILT THE TABLE
1. Loosen the bevel lock bolt (1) by turning it
counterclockwise with an adjustable wrench
(not included).
2. Tilt the table to the desired angle, using the
bevel scale (2) as a basic guide.
3. Re-tighten the bevel lock bolt.
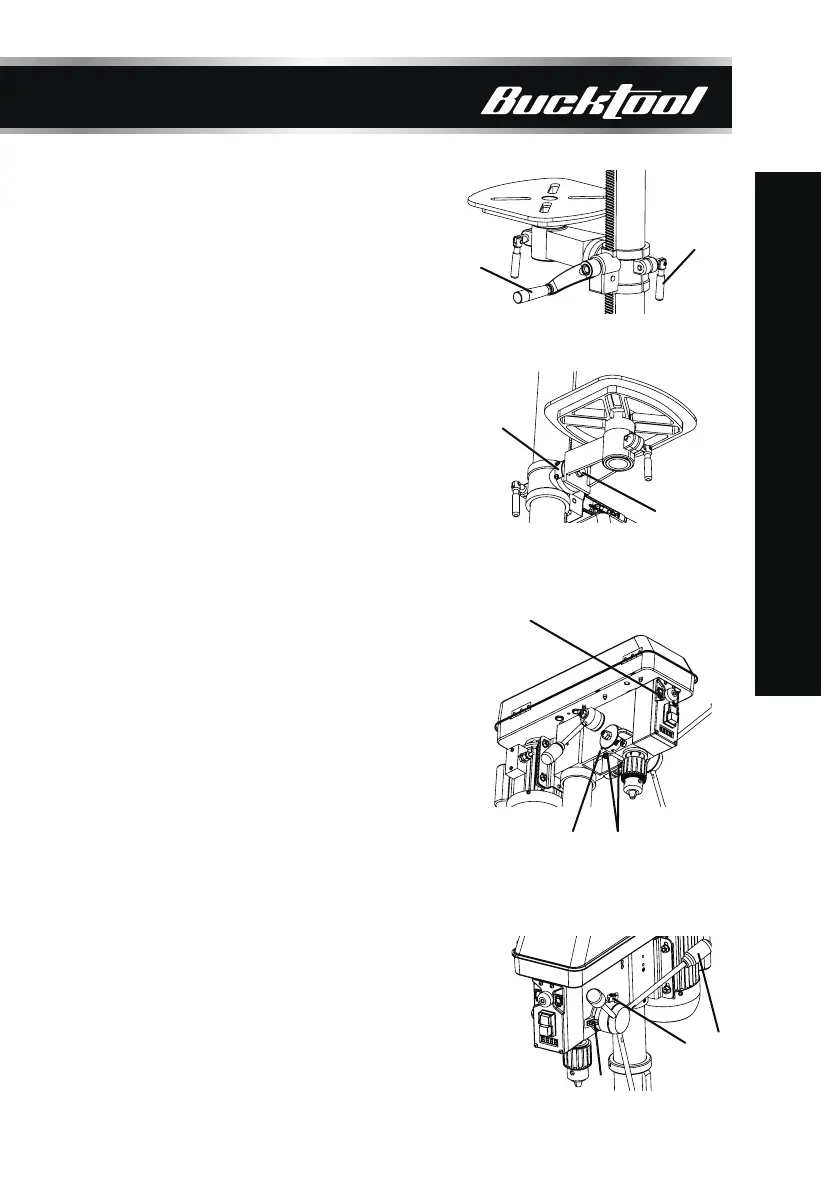
ADJUSTING THE LASER
1. Place a workpiece on the table.
2. Turn the laser switch (1) to the ON position.
3. Lower the drill bit to meet the workpiece.
The two laser lines should cross where the
drill meets the workpiece.
4. If the laser needs to be adjusted:
a. Using the included 3 mm hex key, turn the
laser adjustment set screws (2) counterclockwise.
There is one of each side of the head.
b. Rotate the laser light housing (3) until the two
laser lines intersect where the drill meets the
workpiece.
5. Re-tighten the adjustment set screws (2).
DEPTH ADJUSTMENT
1. Slightly loosen the depth adjustment knob (1)
anticlockwise.
2. Rotate the feed handle (2) to lower the drill bit
to the required depth, until the pointer (3) aligns
with the desired value on the depth scale.
3. To set the drilling depth, tighten the depth
adjustment knob (1) clockwise. Return the feed
handle (2) to its initial position afterwards.
1
1
1
2
1
3
2
3
2
2
 Loading...