BURLEY.COM
ENG DEU FRA ESP
8
ASSEMBLY & USE
ASSEMBLY & USE
for TOC, do not delete. box must not extend to pages edges. don't forget to also add it to your pages panel
Be Sure To:
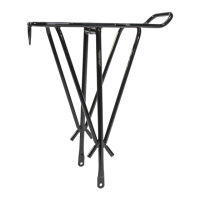
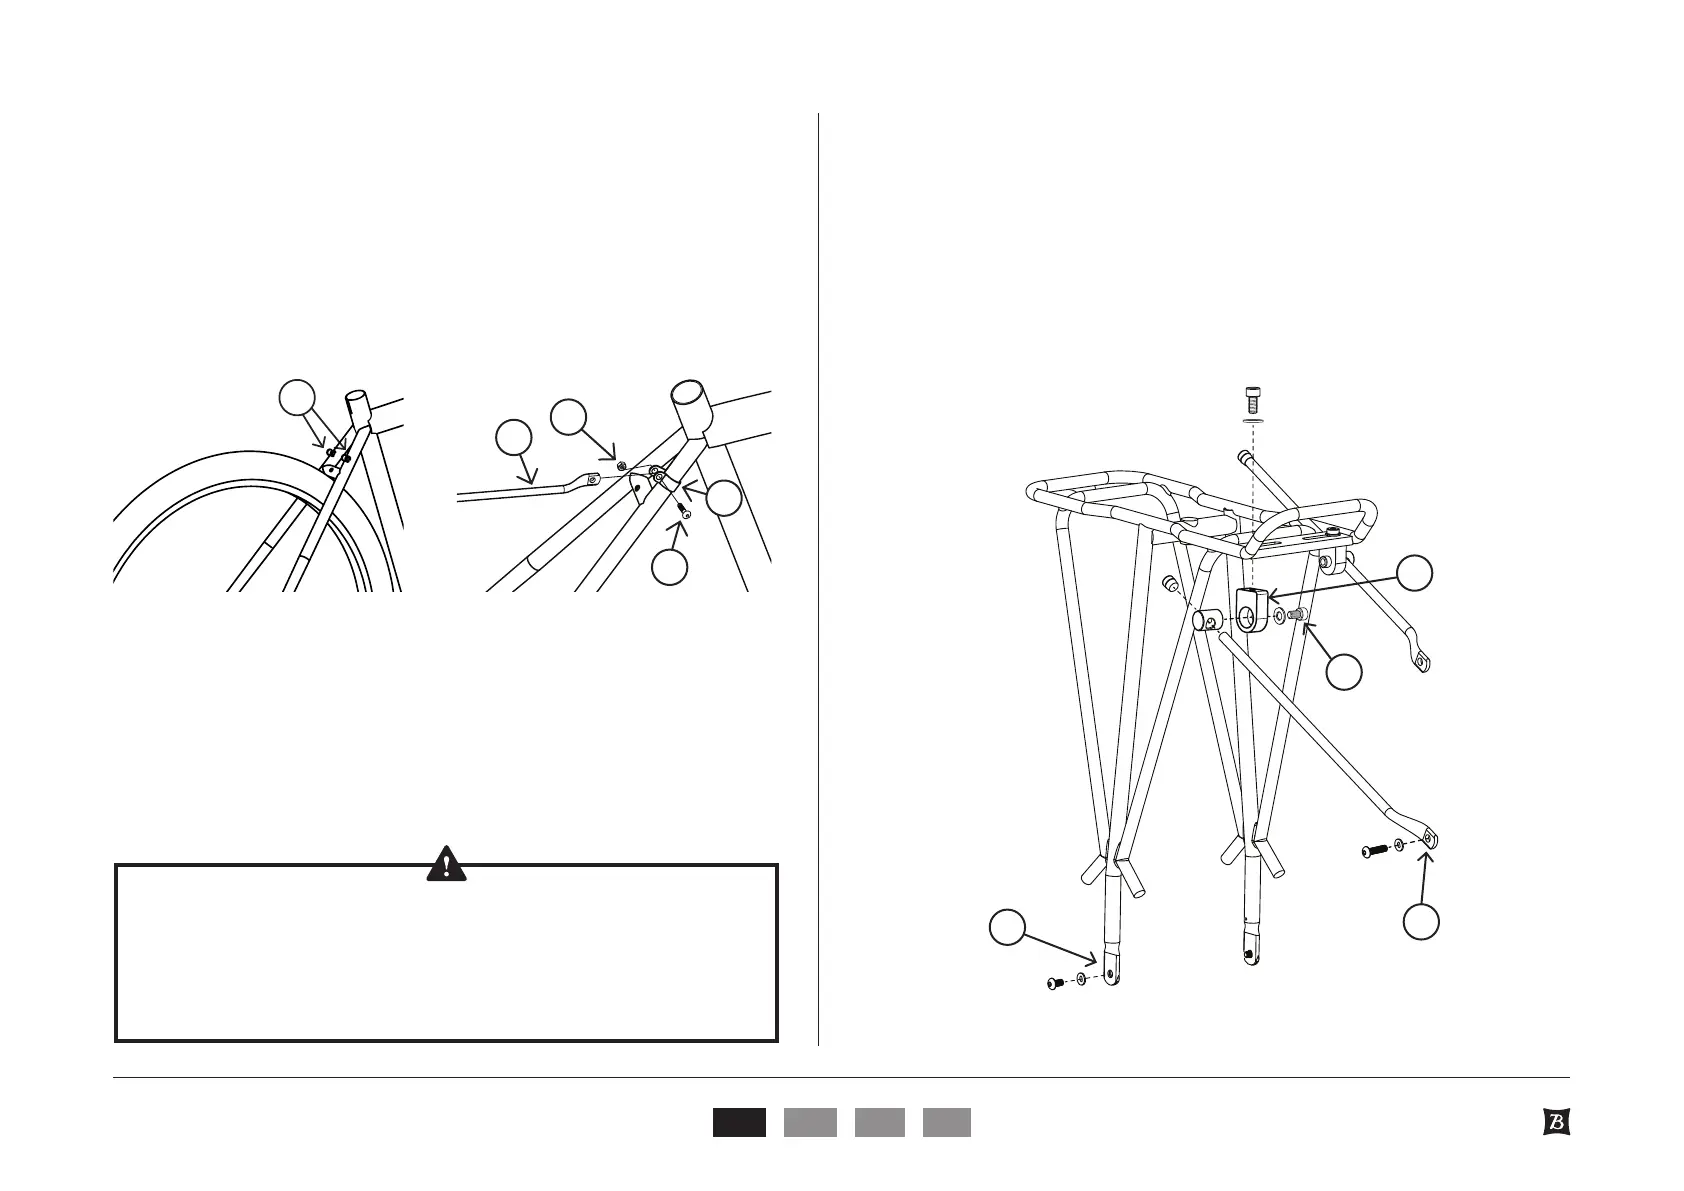
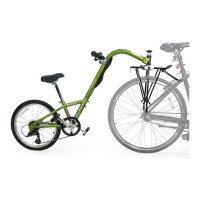
Insert the screws by the axle first at A (Figure 5), then insert the stay rods to
the bicycle at B (Figure 5), lastly assemble the stay block bolts at C (Figure 5).
Ensure top of rack is level. If the stays extend above the top of the rack,
mark the desired length, remove the stays and cut them to the proper
length. The proper length is so the stay is below the top surface of the
rack and at least a half inch beyond the stay block 3 (Figure 5).
Tighten all bolts to a torque of 4 to 5 Nm (3–3.7 ft-lb).
Replace the rubber end caps once the stays have been cut to length.
Figure 5
Figure 4a Figure 4b
Mounting the Rack to a Bicycle:
Attachment at Seat Stay
Always use the threaded mounts if possible. If your bicycle does not have
any mounting points at B (Figure 4a), then you can use the band clamps
(item 11) provided with the Moose Rack to attach the stays (Figure 4b).
1. Stay
8. M5 × 20 button head screw
10. M5 nyloc nut
11. Band clamp
WARNING
DO NOT ATTACH BAND CLAMPS TO CARBON FIBER
BICYCLE FRAMES AS THEY CAN BE CRUSHED. BAND
CLAMPS FOR USE ON METAL FRAMES ONLY.
B
3
B
A
C
1
8
10
11