Installing your Cooker
Bringing it all together
Installing your Cooker
18
If you require any technical guidance or find that your product is not operating as intended, a simple solution can often be found in the Troubleshooting section of these instructions,
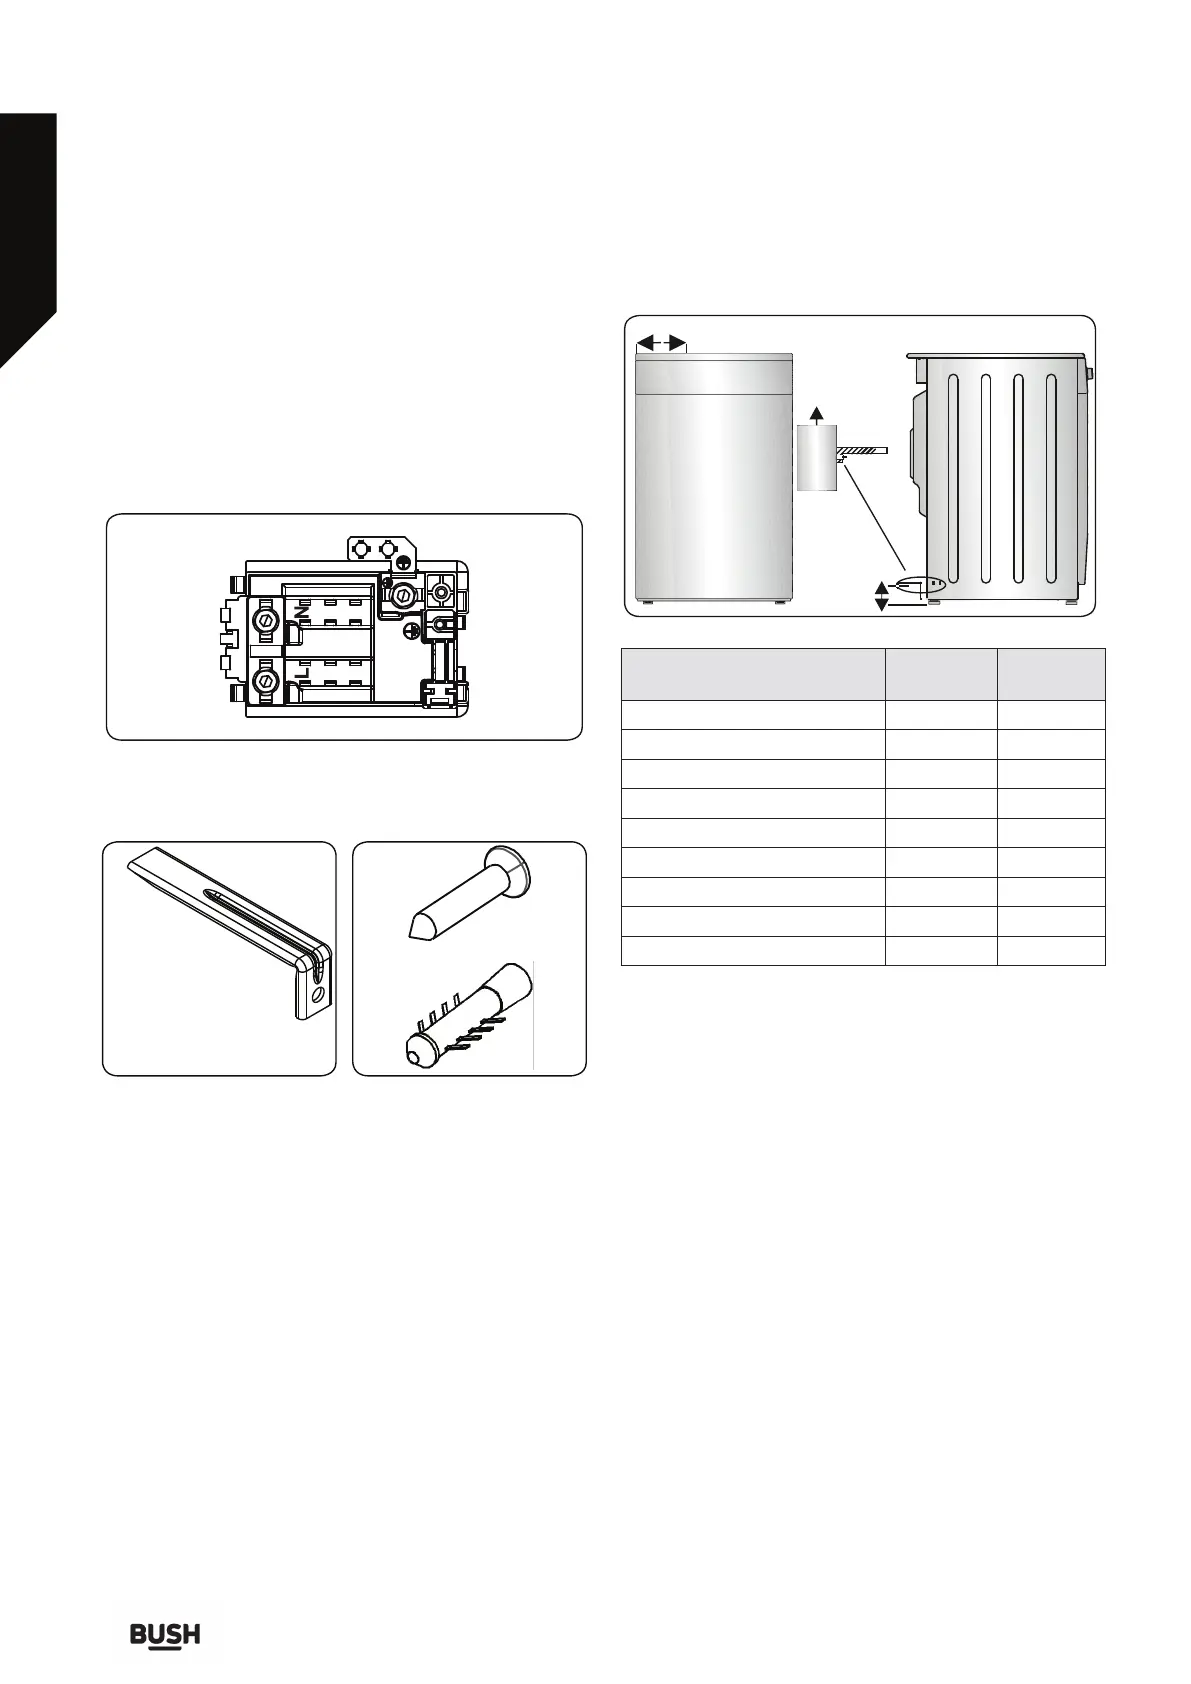
• Green/Yellow (Earth) wire to the terminal marked
"PE".
• Brown (Live) wire to the terminal marked "L".
• Blue (Neutral) wire to the terminal marked "N".
• For this connection, a ‘Twin and Earth 6242Y’ type
cable should be used.
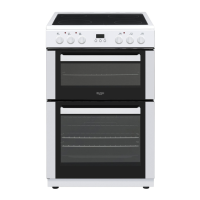
Anti-tilting kit
Anti-tilting Bracket
(x1) (will be attached
to the wall)
wall
plug (x1)
Screw
(x1)
1 2
3
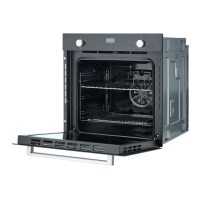
The document bag contains an anti-tilting kit.
Loosely attach the anti-tilting bracket (1) to the wall
using the screw (2) and wall plug (3), following the
measurements shown in the figure and table below.
Adjust the height of the anti-tilting bracket so that it
lines up with the slot on the cooker and tighten the
screw. Push the appliance towards the wall making
sure that the anti-tilting bracket is inserted into the slot
on the rear of the appliance.
A
B
Anti-
tilting
bracket
Wall
Product Dimensions
(Width X Depth X Height) (Cm)
A (mm) B (mm)
60x60x90 (Double Oven) 297.5 52
50x60x90 (Double Oven) 247.5 52
90x60x85 430 107
60x60x90 309.5 112
60x60x85 309.5 64
50x60x90 247.5 112
50x60x85 247.5 64
50x50x90 247.5 112
50x50x85 247.5 64