Care and maintenance
Looking after your appliance
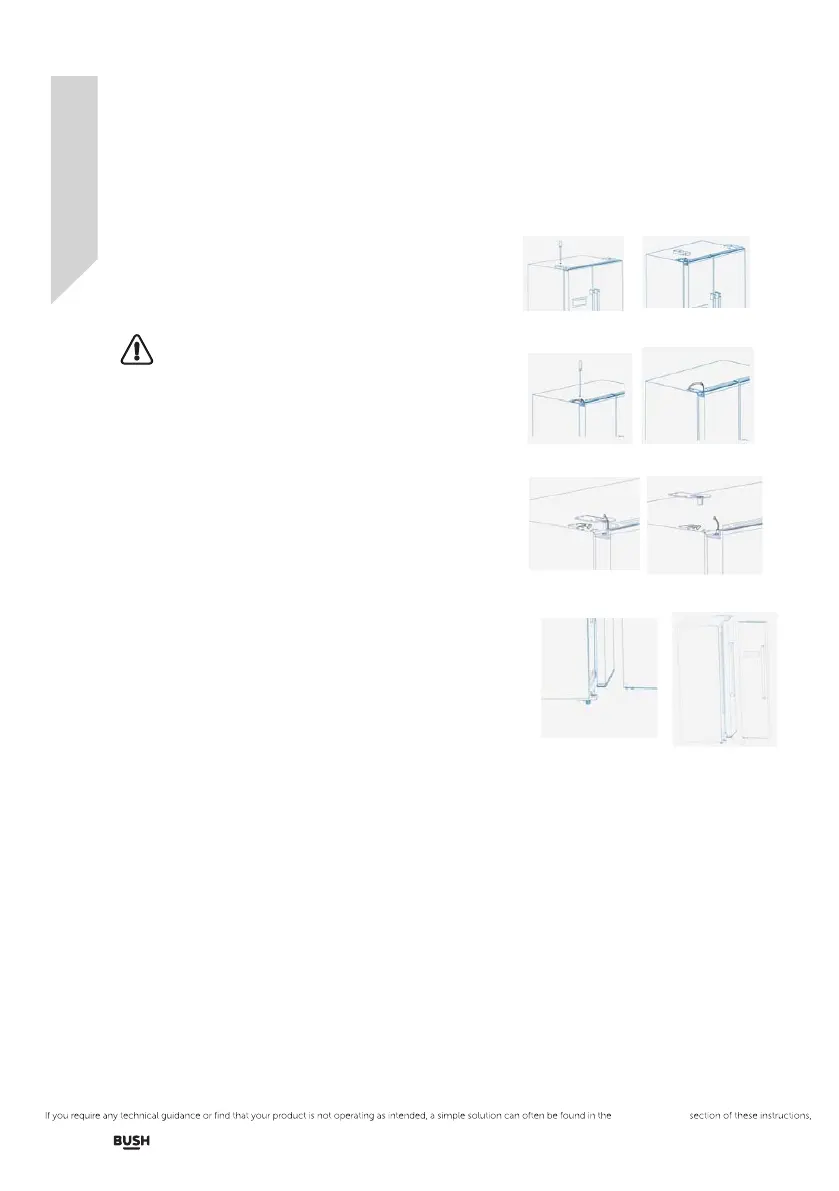
Disassembly / assembly the door
.In case, there is problem with a door, you can contact
the service agent for a replacement or you can replace
it by yourself.
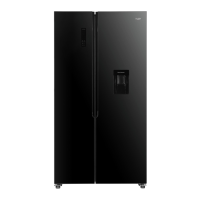
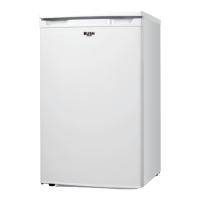
.The size of the doors are, Freezer 395mm(W)x1714mm
(H) and Fridge 500mm(W)x1714mm(H).
. Depth is 570mm after removing the door.
. Warning: 2 people may be required to re-align
the door.
.A Philips screw driver will be required for this task.
.Put a protective layer on the floor before taking off the
door.
To disassemble the door.
1. Unscrew the screw fixing the top hinge cover (Fig.a).
2. Remove the top hinge cover (Fig.b).
3. Unscrew the screw that secures the top hinge (Fig.c)
4. Press on the lock of the cable connector (Fig.d) and
separate the lead wire (Fig.e).
5. One person should hold the door.
6. Remove the top hinge (Fig.f) from the door. Take care
of the lead wire to avoid any damage to the wire.
7. Move the door upward to release it from the bottom
hinge (Fig.g&h).
8. Lay the door on the floor on a protective layer to
avoid making scratching the surface.
To assemble the door
1. Carefully lift the door. Align the hole in the lower
corner of the door over the lower hinge. Lower the
door onto the lower hinge.
2. Insert the upper hinge into the hole on the upper edge
of the door.
3. One person should hold the door in place.
4. Make sure the hinge is level between the upper hinge
hole and the hole on the top of the cabinet.
5. Reattach the hinge screws to secure the door.
6. Reconnect the lead wires and refit the top hinge cover.
Reattach the hinge cover with the screw.
Fig.a Fig.b
Fig.c Fig.d
Fig.e Fig.f
Fig.g Fig.h
32 Care and maintenance
Troubleshooting
 Loading...