4
Click to Return to the Table of Contents
BATTERY LEVEL INDICATOR
The Battery Indicator shows the remaining power level:
• Full charge
• Approx. 2/3 battery life remaining
• Approx. 1/3 battery Life remaining
• Battery Indicator Blinks - Unit needs recharging.
BASIC OPERATION
While looking through the A1 Slope, depress the Power/Fire button (B) once to activate the display. If the display icons and
numbers are blurry, rotate the eyepiece (C) in either direction until they are in focus (see “Adjusting the Eyepiece” below).
1. Place the aiming circle (center of the display) over a target at least 5 yards away. Press and hold the Power/Fire button
until the “line of sight” distance displays near the bottom of the display. Crosshairs surrounding the aiming circle
indicate that the laser is transmitted.
2. After a range is acquired and displayed, you can release the Power/Fire button. The crosshairs surrounding the aiming
circle will disappear once the Power/Fire button is released (i.e., the laser is no longer transmitting).
3. Once activated, the display will remain visible and display the last distance measurement for 10 seconds. Press the
Power/Fire button again to range to a new target. The maximum time the laser is transmitted (active) is 5 seconds. To
re-fire, press the button down again.
ADJUSTING THE EYEPIECE
The A1 Slope is equipped with an adjustable Fast Focus eyepiece diopter dial (+/- 3.5 diopter adjustment) that allows
you to focus the displayed data and icons relative to the viewed image from the monocular optics. Rotate the eyepiece
until the display is in focus.
ACTIVE LASER
Crosshairs surrounding the aiming circle indicate that the laser is transmitted. Once a range is acquired, you can
release the Power/Fire button. The crosshairs surrounding the circle will disappear once the Power/Fire button is
released (i.e., the laser is not transmitting).
USING SETUP MODE
SETTING DISTANCE UNITS (Y OR M)
Press and hold the Mode button (A) to enter SETUP Mode. Meters are the default setting. Once the “Y” is blinking,
press the mode button to cycle between yards/meters. Press the Power/Fire button (B) to confirm selection. After
completing this setting, the next setting will be “Turning Slope On and Off”.
TURNING SLOPE ON AND OFF
Press and hold the Mode button (A) to enter SETUP Mode. The Primary Display (6) will display “On” or “OFF” when the
Mode button is pressed. Press the Power/Fire button (B) to confirm selection.
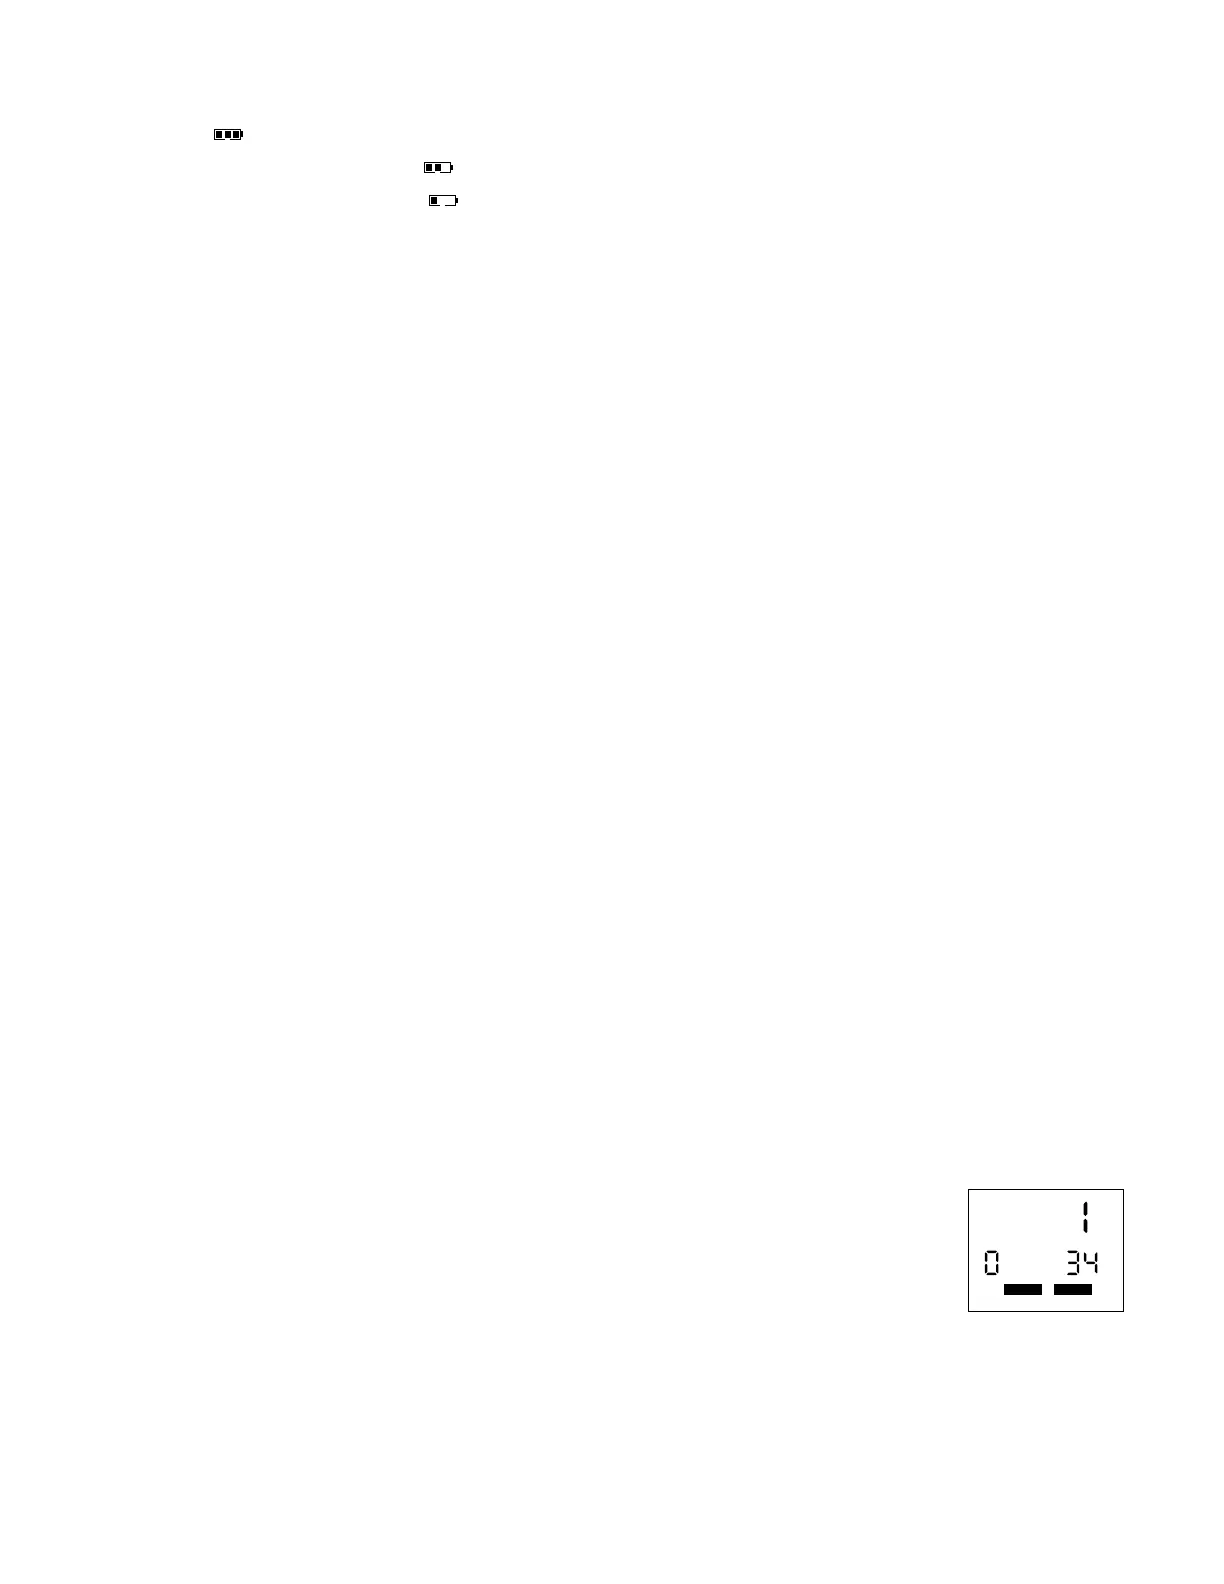
VIEW SOFTWARE VERSION
When the SETUP and ABOUT icons are visible the software version is shown. In this example,
the software version is 1.0.34. Press the power button to return to normal operation.
SLOPE TECHNOLOGY
The Slope +/- mode will automatically compute an angle compensated range based on distance and Slope determined
by the laser rangefinder and built-in inclinometer. This data is combined with internal algorithmic formulas dealing with
average club use and ball trajectories. The angle compensated range provides direction on how to play the shot (i.e., add
distance if an incline, subtract distance if a decline).
SETUP ABOUT