6
6. System voltage: When the LCD displays different system voltages, the controller
will automatically adjust the technical parameters.
7. Numerical display area
8. Timer setting function.
9. Load and switch graphic symbols.
10. Unit symbol value
11. Warning: When a fault occurs, this graphic symbol will flash.
12. Load status indicator: load is on, load is off.
13. Output power indication: When there is output at the load end, this graphic
symbol flashes.
14. Battery capacity indicator: When the battery is in different capacities, the
corresponding capacity will be displayed in a bar.
15. Charging status indication: When the controller is charging, the indicating arrow
is on, the floating charge is flashing, and it is not displayed when it is not
charging.
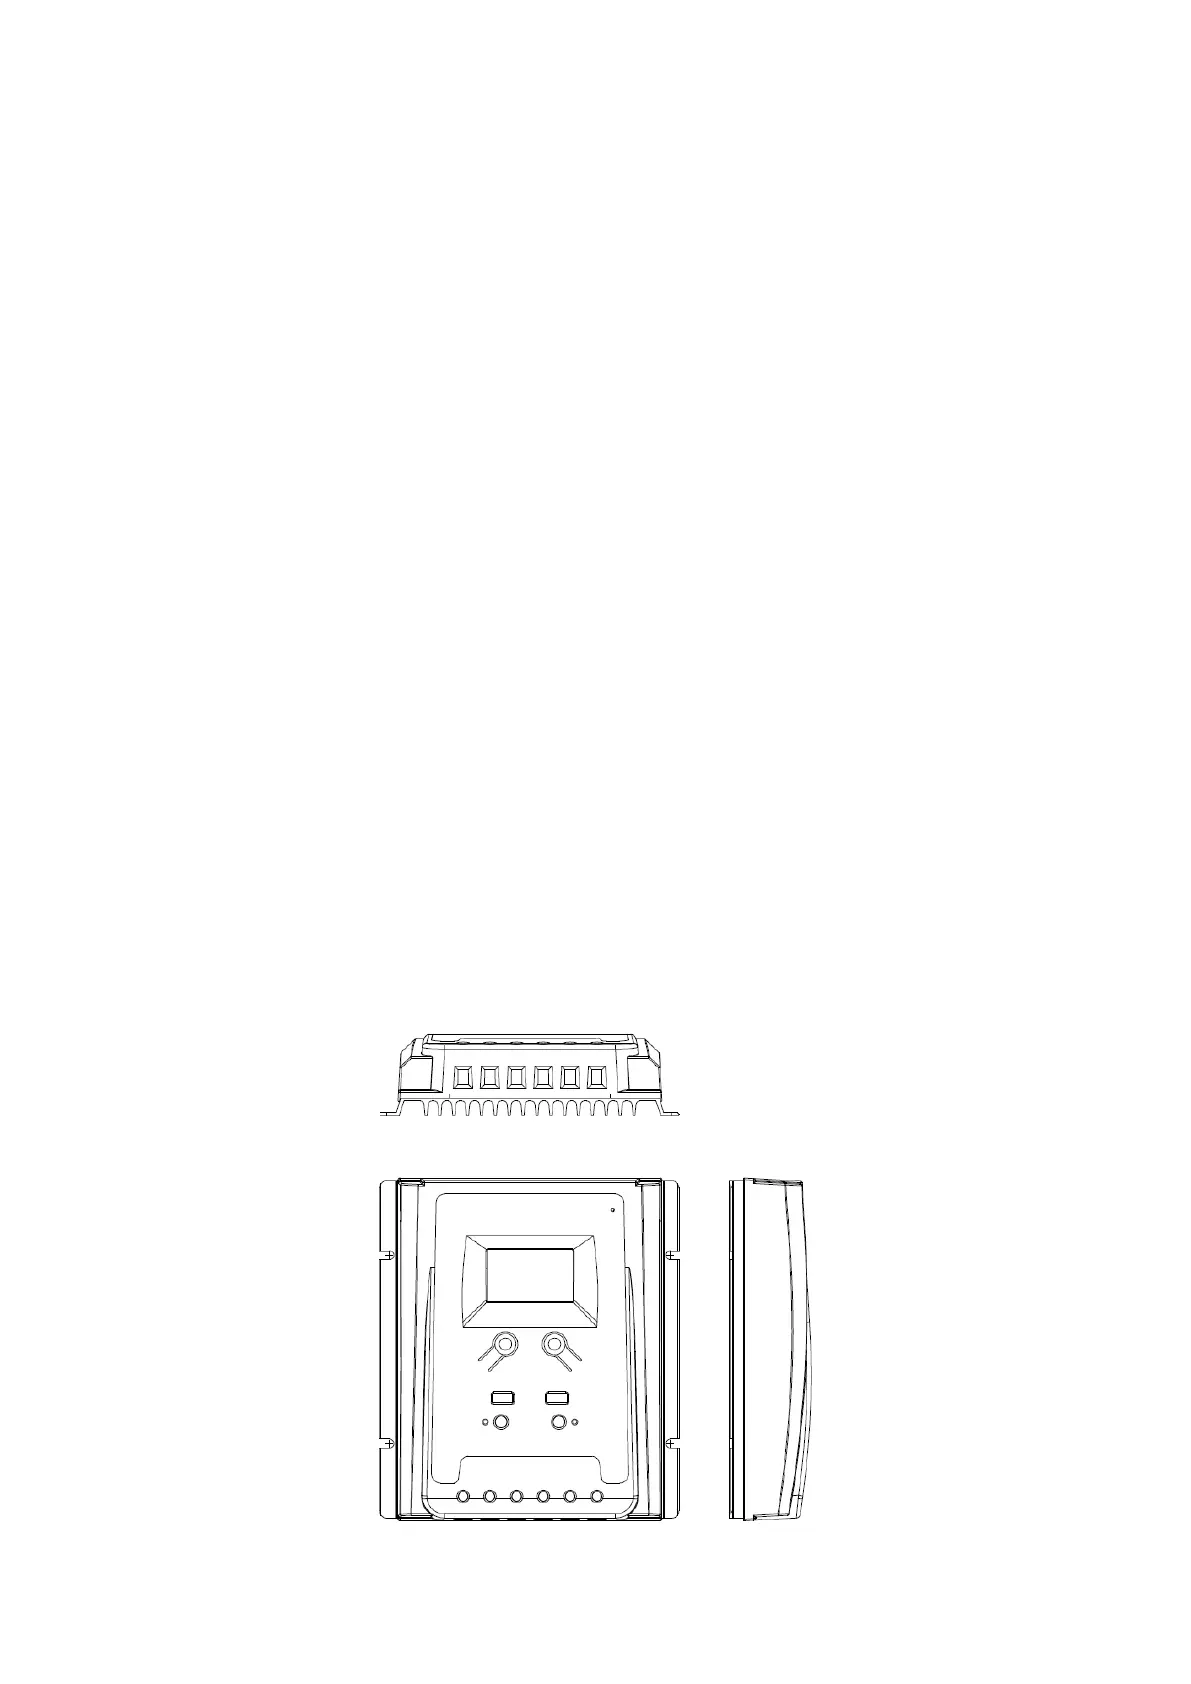
Installation Notes
The controller is fixed
1. The controller should be installed in a well-ventilated place, avoid direct sunlight, high
temperature, and do not install where water can enter the controller.
2. Please select the correct screws to fix the controller on the wall or other platforms.
Screw M4, the diameter of the screw cover is less than 10mm.
3. Please reserve enough space between the wall and the controller for cooling and
cable connection.