2
PLACEMENT: The Hot One may sit on floor or be mounted to a wall using universal bracket. If mounted on
the wall, the top of unit should be 12 inches below ceiling.
Thoroughly inspect your heater for any shipping
or handling damage and remove any paper or
packaging material found around the heater.
STEP 1
HEATER INSPECTION AND
ASSEMBLY
STEP 2
PLUG AND RECEPTACLE
REQUIREMENTS
Operation Instructions
STEP 3
ASSEMBLY
This heater is a
major electrical
appliance and
requires adequate
electrical connec-
tions for safe use.
Plug the heater
directly into a 240
volt wall or floor
receptacle.
WARNING!
Risk of fire.
Heater must be
kept clear of all
obstructions: 3
foot minimum
clearance from
front, 6 inch from
back and top, and
12 inches from
sides of the
heater.
WARNING!
Risk of electrical
shock. Unplug
the unit before
performing any
maintenance on
heater. Failure to
do so could result
in serious injury
or death!
READ ALL INSTRUC-
TIONS AND SAFETY
INFORMATION
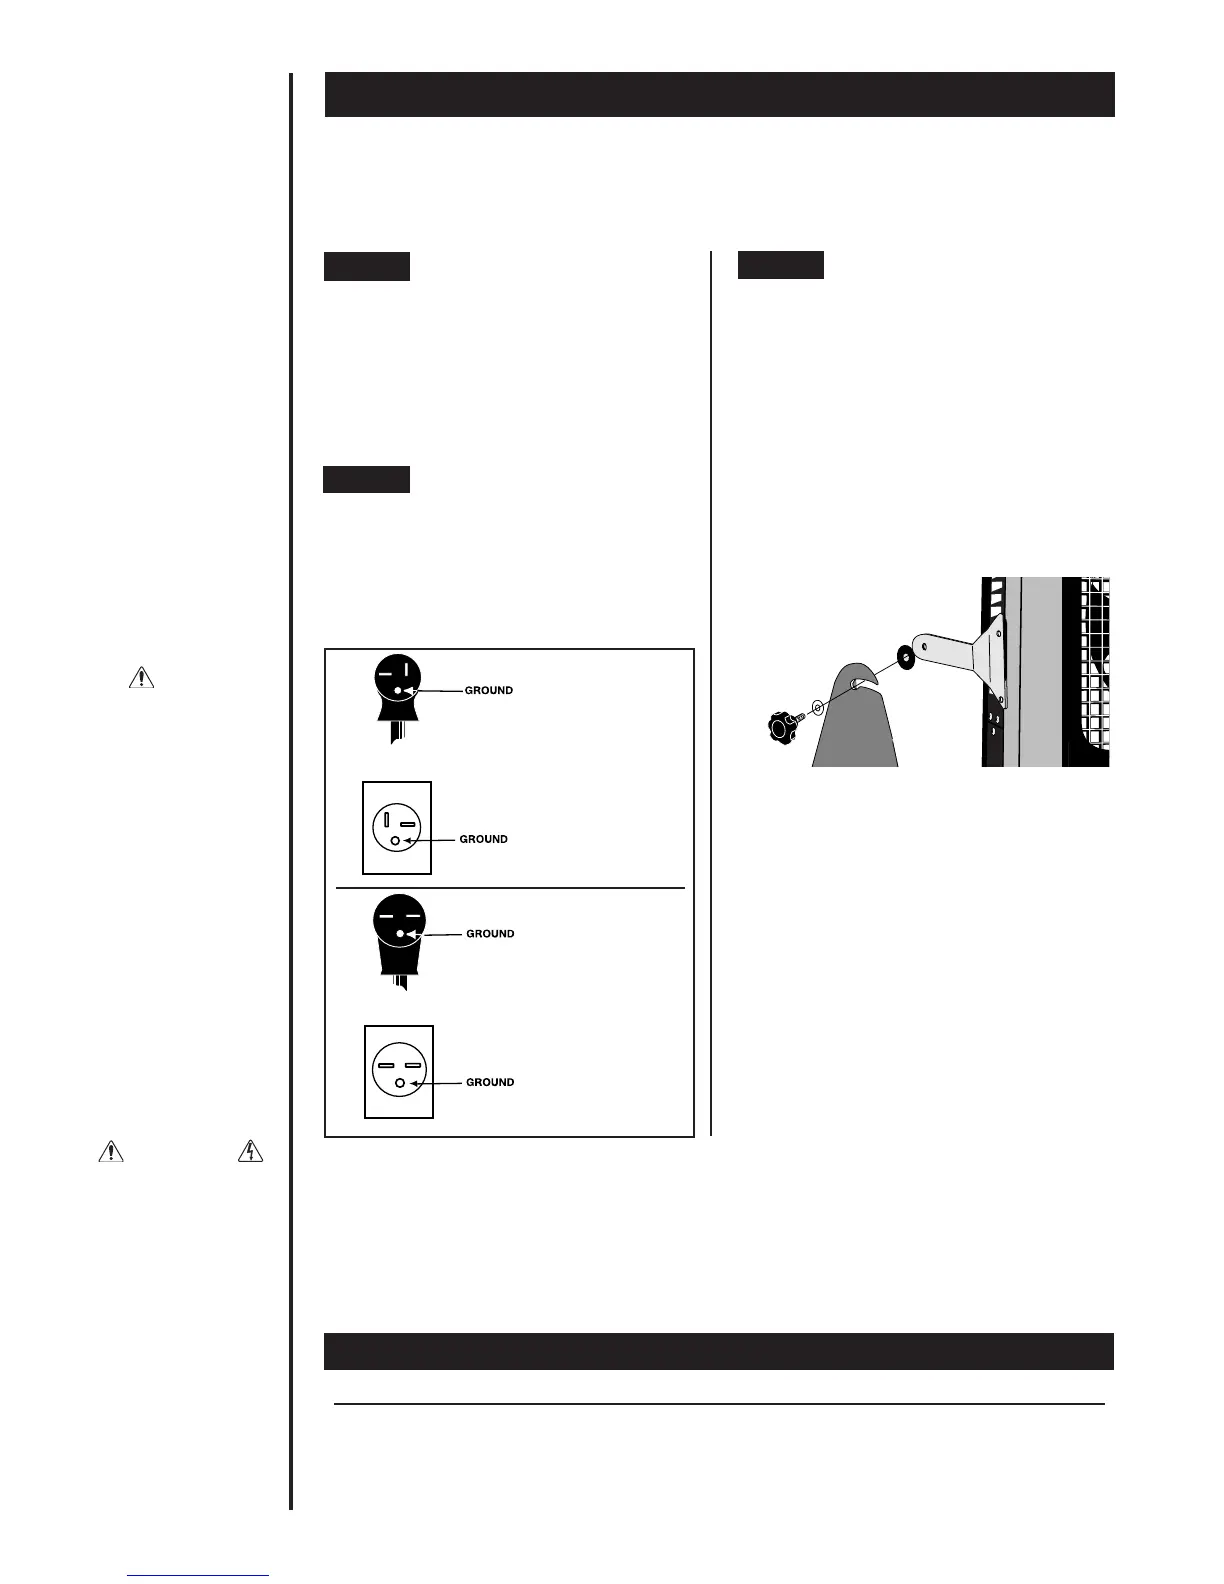
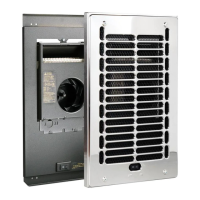
Figure 2.
RCP402S – 20 AMP
Receptacle
Configuration
Plug
Configuration
CAUTION:
This is a 240 volt heater and requires a 240 volt
receptacle. See plug configurations below.
Altering the cord in any way will void the
warranty!
Receptacle
Configuration
Plug
Configuration
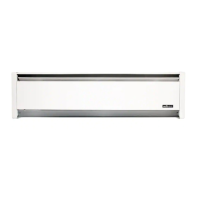
Heater may sit on floor surface or may be mounted
to a wall. The universal bracket is assembled as
follows:
Floor Stand Assembly
1. Put steel washer, then rubber washer on knob
shaft.
2. Screw each knob into the bracket found on
each side of the heater.
Wall Mount Assembly
1. With heater sitting on a firm surface, slide the
bracket onto the knob shaft. (Figure 2)
2. Mount bracket to wall. A 240 volt receptacle
must be within six feet of the heater.
3. Slide heater onto bracket. (Figure 2)
Figure 1.
RCP502S – 30 AMP
MODEL WATTS(HI/LO) VOLTS (60 Hz) BTUs (000) AMPS PLUG TYPE
RCP402S 4000 / 2667 240 13,648 / 9,100 16.7 / 11.1 20 Amp
RCP502S 5000 / 3333 240 17,060 / 11,372 20.8 / 13.9 30 Amp
Specifications