6
© 2021 Calix. All rights reserved.
Simplify. Excite. Grow.
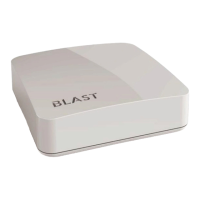
Setting up your first GigaSpire BLAST u6
(as a residential gateway)
1
2
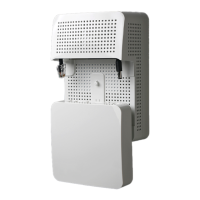
Connect the GigaSpire BLAST u6 to a power outlet.
Connect one end of the supplied Ethernet cable to one of the LAN ports
found on the back of the Internet access device provided by your service
provider (e.g., modem, router, gateway) and the other end of the cable to
the WAN port on the back of the u6.
Ethernet
3
Note: The SSID (network name) of your new
GigaSpire will be 'Calix GigaSpire WiFi’ when
the system has checked into Calix Support
Cloud. The password remains the default
setting; as found on the bottom of your
GigaSpire (or on the sticker that came in your
box) beside ‘W PA Key’.
Set up your Calix CommandIQ App
(see last page for details).
The solid blue LED indicates you have connectivity to the Internet.
Need help?
Contact support: gigahelp@calix.com
Boot-up time
~4m
 Loading...