OPERATION:
MUSIC CONTROL
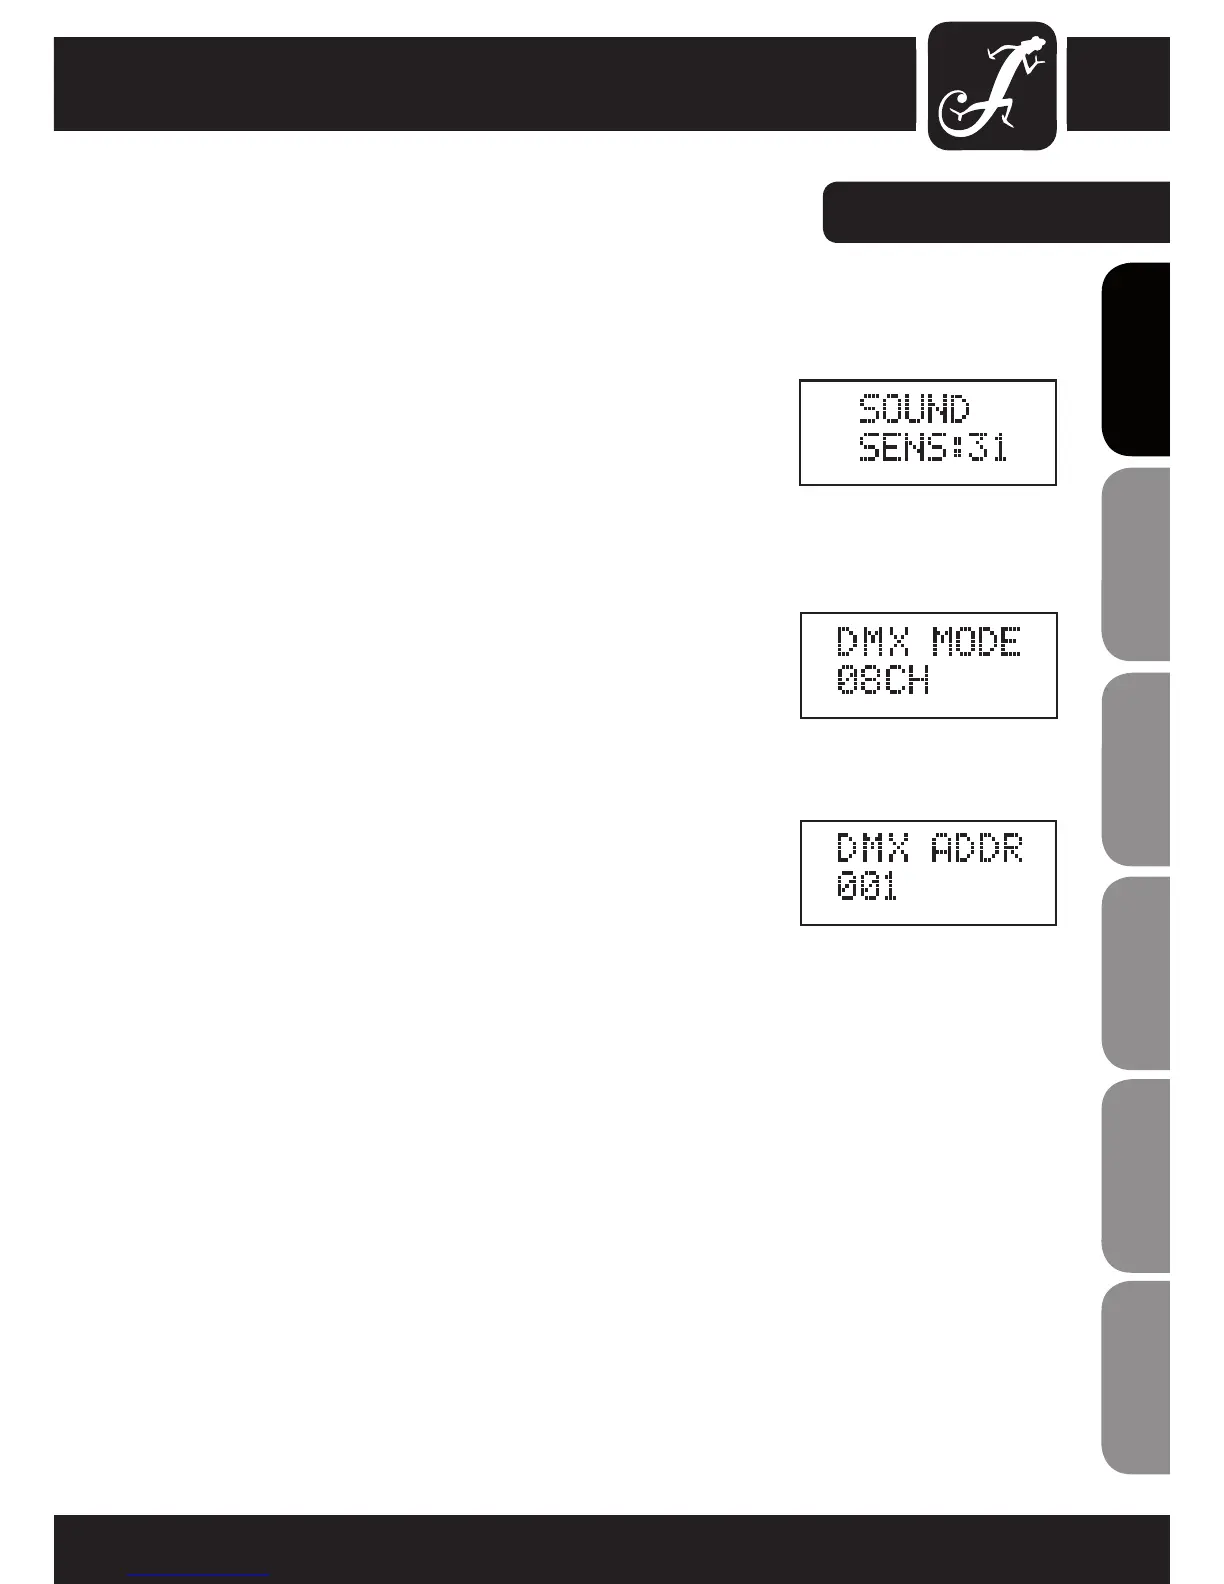
Press the MODE button until "SOUND" appears in the upper line of the
display. Now the projector is controlled by the built-in microphone and
follows the beat of the music. To adjust the microphone sensitivity, press
ENTER, and the cursor appears in the lower line of the display (SENS:xx)
and use the UP and DOWN buttons to set the desired value from 00 to 31
(SENS:00 = minimum sensitivity, SENS:31 = maximum sensitivity). Confirm
with ENTER.
SELECTING DMX MODE
Press the MODE button repeatedly until "DMX MODE" appears in the upper
line of the display. Press ENTER, and the cursor appears in the lower line
of the display and then use the UP and DOWN buttons to select one of the
ve DMX modes (02CH, 03CH1, 03CH2, 05CH, 08CH). Conrm with ENTER.
You will nd tables with the channels of the different DMX modes on the
following pages of this manual.
DMX START ADDRESS
Press the MODE button repeatedly until "DMX ADDR" appears in the upper
line of the display. Press ENTER, and the cursor appears in the lower line
of the display and then use the UP and DOWN buttons to select the desired
DMX start address between 001 and 512. Conrm with ENTER.
NOTE: The illumination of the LC display switches off automatically after
approx. 70 seconds of inactivity. Pressing any one of the 4 control buttons
will turn the illumination of the LC display on again.