Do you have a question about the Campingaz 4 Series and is the answer not in the manual?
Attaching side support elements to the base frame.
Installing the top frame rail connecting the structure.
Installing the caster wheels for mobility.
Securing the bottom shelf to the frame.
Installing the top cover of the grill.
Attaching side and base panels to the frame.
Placing the cooking grates onto the grill.
Placing the drip trays into position.
Installing the warming rack.
Installing the heat deflector.
Final side panel attachments to the frame.
Attaching the main lid.
Attaching side shelves.
Installing the main burner grate.
Installing the side burner grate.
Prominent display of a general safety warning symbol.
Checking gas cylinder height compliance.
Verifying gas cylinder height compliance.
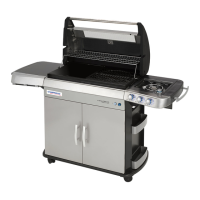
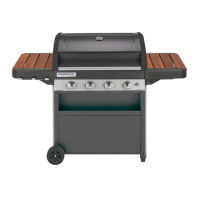
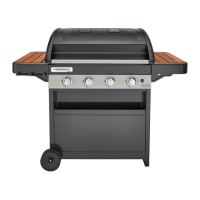
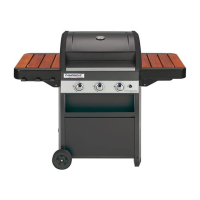
| Burners | 4 |
|---|---|
| Warming Rack | Yes |
| Side Table(s) | Yes |
| Folding Side Table(s) | Yes |
| Fuel Type | Gas |