
W
William SweeneyAug 18, 2025
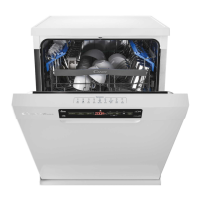
How to fix a Candy Brava CDPMN 4S622PX/E Dishwasher that does not drain water?
- EEugene DrakeAug 18, 2025
If your Candy dishwasher isn't draining water, check that the drain pipe isn’t bent, trapped, or blocked, and that the filter isn't clogged. Also, check to ensure the siphon is not clogged.