14
7 ASSEMBLY OF PRODUCT
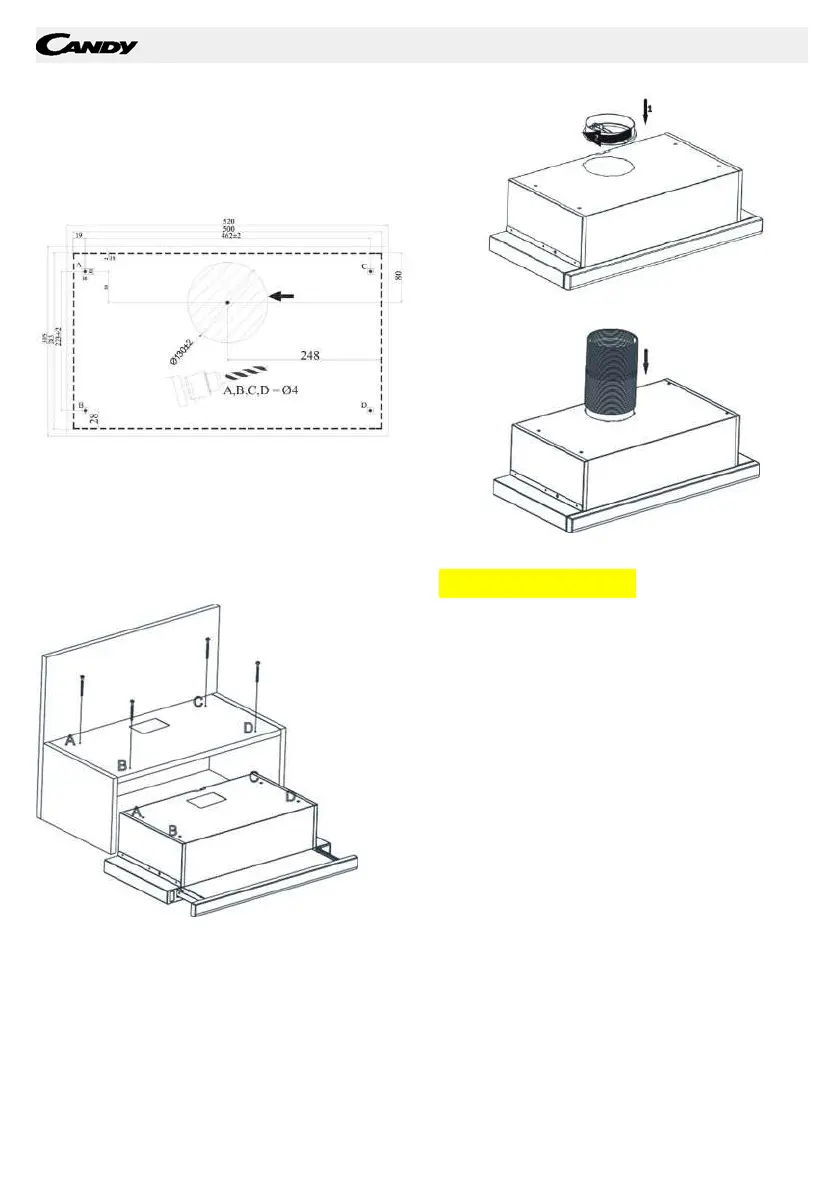
Drilling the Hanger Holes
Make holes with Ø4 mm diameter on the points
marked as A, B, C, D on the mounting scheme.
Figure 2
Figure 2
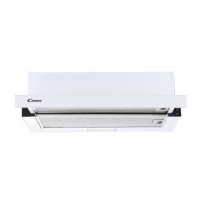
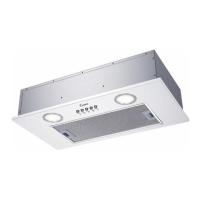
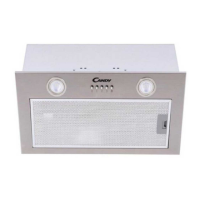
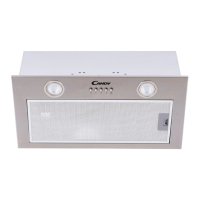
The appliance should be mounted on the cabinet
on the points A, B, C, D by using 4 x 40 screws
provided with the appliance. The front panel
should not be rubbed against the cabinet cover
when the sliding set moves.
Figure 3
Figure 3
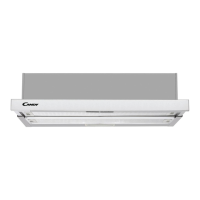
Place the plastic flue provided with the
appliance on the flue outlet on the appliance.
Rotate the plastic flue clockwise.
Figure 4
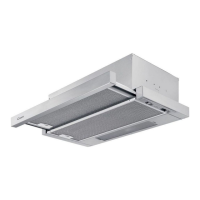
Install flexible aluminium pipe to
plastic flue outlet. Install the other
end of the pipe to the flue hole on
the wall.Figure 5
Figure 4
Figure 5
A ATTENTION
Since twists and bends in the aluminium pipe
will lead to reduction in the air suction power,
avoid using twists and bends as much as
possible.
Functions of Device
Cooker hood is used in kitchens with or without
flue.
In case of use with flue;
In flue-connected use, cooker hood must be
connected to a flue that will discharge the air.
Prefer the shortest way for the pipe system that
leads to flue, in order to get the maximum
efficiency from your cooker hood. Your product is
manufactured in a form appropriate for use with
flue.
MOUNTING
TEMPLATE SCALE
1:1
CUT-OUT LINE ON
CUPBOARD FOR
AIR