Do you have a question about the Candy CSOE H9A2DCEB-80 and is the answer not in the manual?
This document serves as an instruction manual for a Candy tumble dryer, providing comprehensive guidance on its function, usage, and maintenance.
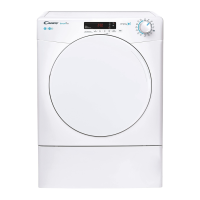
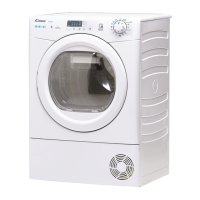
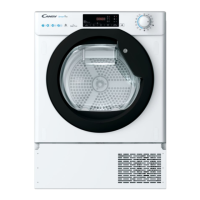
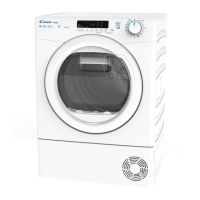
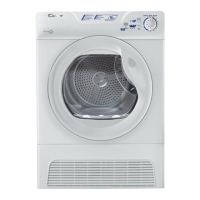
The Candy tumble dryer is designed for domestic use, specifically for drying household textiles and garments. It utilizes a drying cycle to remove moisture from laundry, with various programs tailored to different fabric types and desired dryness levels. The appliance incorporates Wi-Fi technology, allowing for remote control via a dedicated app, enhancing convenience and offering additional functionalities. It also features a water collection system, where water removed from the laundry is collected in a container, which needs to be emptied periodically. For models equipped with a drain hose kit, the water can be discharged directly to a waste water drain pipe, eliminating the need for manual emptying. The dryer is equipped with a refrigerating circuit that uses R290, an eco-sustainable refrigerating gas.
The tumble dryer offers a range of programs and options to suit diverse drying needs. Users can select programs by turning a program selector knob or pressing specific buttons, depending on the model.
Program Selection:
Drying Selection Button: Allows users to set the desired dryness level, editable up to 3 minutes after the cycle starts.
DELAY START Button: Delays the start of a program from 30 minutes (or 1 hour on some models) up to 24 hours, in 30-minute (or 1-hour) intervals. The selected delay is shown on the display. If the door is opened with delay start set, the start button must be pressed again after closing the door to resume the countdown.
TIME CYCLE SELECTION Button: Transforms an automatic cycle into a programmed one, up to 3 minutes after the cycle starts. Progressive pressure increases the time in 10-minute intervals. To reset to automatic drying, the dryer must be switched off.
MEMO Button: Stores selected options for a cycle. To store, select the program and options, then press MEMO for 3 seconds before starting. "MEMO" will blink for 2 seconds to confirm. To recall, select the cycle and press MEMO. The delay start function cannot be memorized.
SUPER EASY IRON Button: Automatically sets the drying level to "Ready to Iron" and activates an anti-crease drum movement before the cycle (if delay is active) and for up to 6 hours after the cycle ends. This is useful when laundry cannot be removed immediately. To stop this movement, turn the program selector to OFF.
CHILD LOCK (C+F): Pressing the "C" and "F" buttons simultaneously for about 2 seconds locks the keys, preventing accidental changes during a cycle. The lock can be cancelled by pressing the buttons again. If the door is opened with CHILD LOCK active, the cycle stops but the lock remains; it must be removed, and START/PAUSE pressed to restart.
START/PAUSE Button: Initiates the selected cycle. When running, the display shows the remaining time. To modify a program, press desired option buttons, adjust parameters, then press START/PAUSE. To pause, hold START/PAUSE for about 2 seconds; the display will flash. Press again to restart.
Remote Control (Wi-Fi): The appliance can be controlled remotely via the hOn app. To enable, ensure the router is on and connected to the internet, load laundry, close the door, and turn the program selector to the REMOTE CONTROL (Wi-Fi) position. The control panel on the appliance will be disabled. To disable, turn the program selector to any position other than REMOTE CONTROL (Wi-Fi) without going through OFF. If the door is opened, remote control is disabled and must be re-enabled by closing the door, selecting a non-REMOTE CONTROL position, then selecting REMOTE CONTROL again.
Regular maintenance is crucial for the appliance's efficiency and longevity.
Water Containers: The water collected during the drying cycle must be emptied. An indicator light or display message will signal when it's full. It is recommended to empty it after each drying cycle.
Lint Filters: These must be cleaned after every drying cycle. Clogged filters increase drying time and can cause damage.
Sponge Filter: This filter needs to be cleaned every six months or when the filters cleaning indicator light blinks.
General Cleaning:
Ventilation: Adequate ventilation must be provided in the room to prevent gases from other burning appliances from being drawn in. Install the rear of the appliance close to a wall or vertical surface, ensuring a gap of at least 12 mm between the machine and obstructions. Inlet and outlet air must be clear. Carpets or rugs should not obstruct the base or ventilation openings. Prevent items from falling or collecting behind the dryer. Exhaust air must not be discharged into a flue used for other burning appliances. Regularly check that airflow around the dryer is not restricted.
Safety Checks: Always remove the plug before cleaning. Do not use the product if the fluff filter is not in position or is damaged. Never stop a tumble dryer before the end of the drying cycle unless items are quickly removed and spread out to dissipate heat. The drum inside may be very hot; allow the dryer to complete the cool-down period. Ensure the appliance is in an upright position during transport; if flipped, wait at least 4 hours before switching on to allow oil to flow back to the compressor.
By following these instructions, users can ensure safe, efficient, and prolonged operation of their Candy tumble dryer.
| Appliance placement | Freestanding |
|---|---|
| Loading type | Front load |
| Drying system | Heat pump |
| Rated capacity | 9 kg |
| Drying class | B |
| Noise level | 66 dB |
| Energy efficiency class | A++ |
| Width | 596 mm |
| Depth | 585 mm |
| Height | 850 mm |
| Control type | Rotary, Touch |
| Built-in display | Yes |
| Display type | LED |
| Color | White |
| Type | Condenser |