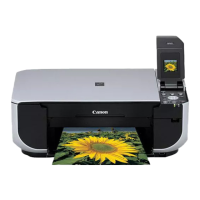
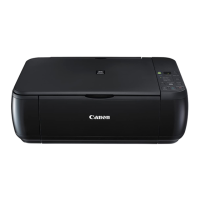
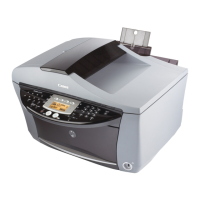
Do you have a question about the Canon PIXMA MP490 Series and is the answer not in the manual?
Essential initial instructions for new users of the printer.
Verify all necessary components are present before proceeding with setup.
Follow the detailed steps to remove all protective tape, sheets, and materials.
Connect the power cord and press the ON button to power up the machine.
Lift the scanning unit, secure it, and prepare the cartridge holder's position.
Open the locking cover, remove cartridges, and peel off protective tape carefully.
Place the black cartridge in the right slot and the color cartridge in the left slot.
Close the scanning unit, wait for initialization, and follow post-installation advice.
Understand the installation process, time, and system requirements for software.
Steps for managing the Found New Hardware wizard and USB connection timing.
Insert the CD-ROM into the drive and start the setup program, or launch it manually.
Execute the setup program and manage User Account Control prompts for installation.
Access the Setup icon and provide administrator credentials to begin installation.
Select between 'Easy Install' for full installation or 'Custom Install' for specific components.
| Print Technology | Inkjet |
|---|---|
| Print Resolution | 4800 x 1200 dpi |
| Scanner Type | Flatbed |
| Scanner Resolution | 1200 x 2400 dpi |
| Connectivity | USB 2.0 |
| Display | 1.8-inch LCD |
| Functions | Print, Copy, Scan |
| Print Speed (Black) | Approx. 8.4 ipm |
| Print Speed (Color) | Approx. 4.8 ipm |
| Paper Handling | 100 sheets |
| Paper Sizes | Letter, Legal, A5, B5, Envelopes (DL, COM10), 4" x 6", 5" x 7", 8" x 10" |
| Ink Cartridges | PG-510, CL-511 |
| Copy Speed (Color) | Approx. 4.8 cpm |


 Loading...