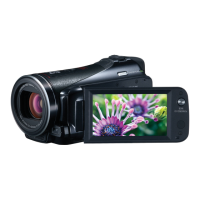
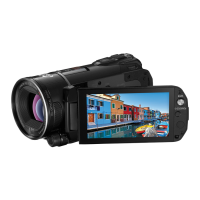
D168 SG_NTSC_EN
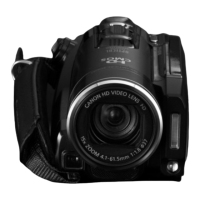
HD Camcorder
Charging the Battery Pack
Charge the supplied battery pack in advance, using the
camcorder and supplied compact power adapter. Fully charging
the battery pack will take about 4 hours.
1. Plug the compact power adapter into
a power outlet.
• For Asia only: Connect the power cord
to the compact power adapter before
plugging the power cord into the
power outlet.
2. Connect the compact power adapter
to the camcorder’s DC IN terminal.
3. Open the camcorder’s battery
compartment cover, insert the
battery pack and close the cover.
4. Charging will start when the
camcorder is turned off.
• The power/charge indicator lights up in
red. When the power/charge indicator
goes out, the battery pack is fully
charged.
PUB. DIE-0454-000
¨
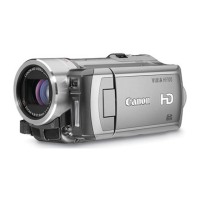
HD Camcorder VIXIA mini X
¨
NB-12L Battery Pack [
]
¨
CA-110 Compact Power Adapter [
]
(CA-110E, including power cord, in Asia.)
¨
IFC-300PCU/S USB Cable [
]
¨
WS-DC11 Wrist Strap [
]
¨
Transfer Utility LE Startup Guide
Package Contents
2
Basic Setup Adjusting the Camcorder
The first time you turn on the camcorder, you will be
guided by the camcorder’s basic setup screens to select
the camcorder’s language and set the date and time.
1. Turn on the camcorder.
2. Touch the desired language for onscreen displays
and then touch [æ].
3. Touch the desired date/time format and then touch
[æ].
4. Set the date and time.
• Touch a field you want to
change and touch [Í] or
[Î] to change. Repeat as
necessary.
• Touch [24H] to use 24-hour
clock or leave untouched to
use AM/PM.
5. Touch [OK] to complete the
basic setup and close the
setup screen.
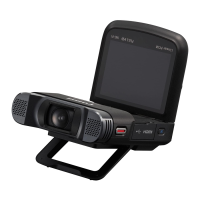
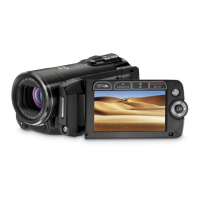
You can adjust the angle of the articulated LCD
panel and the built-in stand. Change the position
of the camcorder as necessary to match your
shooting style.
80°
90°
123°
4
5
Inserting a Memory Card
You can use commercially available SD, SDHC and SDXC cards
with this camcorder. We recommend using memory cards rated
CLASS 4, 6 or 10. Initialize a memory card using the [Complete
Initialization] option before using it with the camcorder for the first
time (; Initializing a Memory Card).
1. Make sure the camcorder is off.
2. Open the memory card slot cover and insert the memory
card with the label side facing down.
click!
Power/Charge
indicator is off
3. Close the memory card slot cover.
3
1. Turn on the camcorder.
• To take photos, after the camcorder turns on, touch [
]
in the upper left to switch the camcorder to photo mode.
2. Press the start/stop button to start recording video or
take a photo. Press it again to stop recording.
• You can also touch [Ü]/[Ñ] to start/stop recording and
touch [PHOTO] to take a photo.
Start/Stop button
3. When you finish recording, turn off the camcorder.
Shooting Video and Taking Photos
6
Playing Back Video and Viewing Photos
1. Press and hold the ^ button until an index screen appears.
• To view photos, touch 0 > [} Photo Playback] to open the [}]
index screen.
2. Touch the thumbnail of the scene or photo you want to play
back.
• During playback, touch the screen to display the playback controls.
To delete recordings
From the index screen:
1. Touch [Edit] > [Delete].
2. Select whether to delete all the scenes/photos recorded on the
same day (for AVCHD movies) or in the same folder (for MP4
movies), selected scenes/photos, or all scenes/photos.
• To select individual recordings: touch all the scenes/photos you wish
to delete to mark them with a ", then touch [OK].
3. Touch [Yes] > [OK].
7
Downloading the Camcorder’s
Instruction Manual (PDF File)
This guide only introduces the most basic
functions of the camcorder to get you started.
To learn more about your camcorder, to read
important handling precautions and to consult
the troubleshooting section if an error message
is displayed, be sure to read the full-version
Instruction Manual (PDF file)*. You can download
the Instruction Manual from the following site.
http://www.canon.com/icpd/
* Adobe
®
Reader
®
6 or later is required to view
the PDF Instruction Manual.
1
Getting Started
COPY
COPY
COPY
COPY
COPY
COPY
COPY
COPY