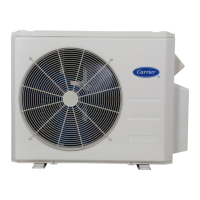
38MGRBQ: Service Manual
Manufacturer reserves the right to change, at any time, specifications and designs without notice and without obligations.
96
7. Remove the 2 screws from the terminal board, water
collector screw and 15 right-rear panel screws, then
remove the right-rear panel.
2 FAN ASSEMBLY REMOVE THE FAN ASSEMBLY REMARKS
1. Remove the top cover, right front side panel and front
panel found in section 1 (steps 1-4).
2. Remove the hex nut securing the fan.
3. Remove the fan.
4. Loosen the hooks and remove the screws, then open the
electronic control box.
Front Panel Screws
Front Panel Screws
ĺ

 Loading...