8
Step 4 — Provide Unit Support
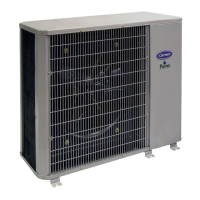
Roof Curb Mount —
Accessory roof curb details and dimensions are shown in
Fig. 6. Assemble and install accessory roof curb in
accordance with instructions shipped with the c urb.
Curb should be level, which is necessary for the unit drain
to function properly. Unit leveling tolerances are shown in
Fig. 7. Refer to Accessory Roof Curb Instal lation
Instructions for additional information as required.
Install insulation, cant strips, roofing felt, and counter
flashing as shown. Ductwork must be attached to curb and
not to the unit. The accessory thru- the - base power and
gas connection package must be installed before the unit
is set on the roof curb.
NOTE: Gasketing of the unit to the roof curb is critical
for a watertight seal. Install the gasket supplied with the
roof curb as shown in Fig. 6. Improperl y applied gasket
can also result in air leaks and poor unit performance.
Slab Mount (Horizontal Units Only) —
Provide a level concrete slab that extends a minimum of 6
inche s (150 mm) beyond unit cabinet. Install a gravel
apron in front of condenser coil air inlet to prevent grass
and foliage from obstructing airflow.
NOTE: Horizontal units may be installed on a roof curb
if required.
Alternate Unit Support (In Lieu of Curb or Slab
Mount) —
A non- combustible sleeper rail can be used in the unit
curb support area. If sleeper rails cannot be used, support
long sides of unit with a minimum of three equally spaced
4inchx4inch(102mmx102mm)padsoneach side.
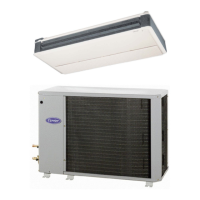
40QQ
 Loading...