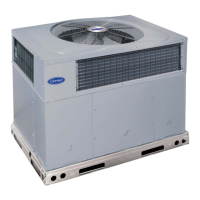
10
Table 1—Physical Data Con’t
UNIT SIZE 48090 48115 48130 60090 60115 60130
NOMINAL CAPACITY (ton) 4 4 4 5 5 5
SHIPPING WEIGHT lb
SHIPPING WEIGHT kg
500
227
500
227
500
227
520
236
520
236
520
236
COMPRESSORS
Quantity
Scroll
1
REFRIGERANT (R --- 410A)
Quantity lb
Quantity (kg.)
10.8
4.9
10.8
4.9
10.8
4.9
12.1
5.5
12.1
5.5
12.1
5.5
REFRIGERANT METERING DEVICE TXV
OUTDOOR COIL
Rows...Fins/in.
Face Area (sq ft)
2...21
19.4
2...21
19.4
2...21
19.4
2...21
21.4
2...21
21.4
2...21
21.4
OUTDOOR FAN
Nominal C fm
Diameter in.
Diameter (mm)
Motor Hp (Rpm)
3300
26
660.4
1/5 (810)
3300
26
660.4
1/5 (810)
3300
26
660.4
1/5 (810)
3600
26
660.4
1/5 (810)
3600
26
660.4
1/5 (810)
3600
26
660.4
1/5 (810)
INDOOR COIL
Rows...Fins/in.
Face Area (sq ft)
3...17
5.7
3...17
5.7
3...17
5.7
3...17
5.7
3...17
5.7
3...17
5.7
INDOOR BLOWER
Nominal Low Stage Cooling Airflow (Cfm)
Nominal High Stage Cooling Airflow (Cfm)
Size in.
Size (mm)
Motor HP (RPM)
1200
1600
11x10
279.4x254
1.0 (1075)
1200
1600
11x10
279.4x254
1.0 (1075)
1200
1600
11x10
279.4x254
1.0 (1075)
1200
1750
11x10
279.4x254
1.0 (1075)
1200
1750
11x10
279.4x254
1.0 (1075)
1200
1750
11x10
279.4x254
1.0 (1075)
FURNACE SECTION*
Burner Orifice No. (Qty...Drill Size)
Natural Gas (Factory Installed)
Propane Gas
3...38
3...53
3...33
3...51
3...31
3...49
3...38
3...53
3...33
3...51
3...31
3...49
HIGH--PRESSURE SWITCH
(psig) Cut--out Reset (Auto)
650 +/-- 15
420 +/-- 25
LOSS--OF--CHARGE / LOW--PRESSURE
SWITCH (psig) cut--out Reset (auto)
50 +/--7
95 +/-- 7
RETURN--AIR FILTERS Throwaway†} in.
(mm)
24x36x1
610x914x25
*Based on altitude of 0 to 2000 ft ( 0 ---610 m).
{ Required filter sizes shown are based on the larger of the AHRI (Air Conditioning Heating and Refrigeration Institute) rated cooling airflow or the heating air-
flow velocity of 300 ft/minute for throwaway type. Air filter pressure drop for non ---standard filters must not exceed 0.08 IN. W.C.
} If using accessory filter rack refer to the filter rack installation instructions for correct filter sizes and quantity.
Step 6 — Connect Condensate Drain
NOTE: When installing condensate drain connection be sure to
comply with local codes and restrictions.
This unit disposes of condensate water through a 3/4 in. NPT
fitting which exits through the base on the evaporator coil access
side. See Fig. 3 & 4 for location.
Condensate water can be drained directly onto the roof in rooftop
installations (where permitted) or onto a gravel apron in ground
level installations. Install a field--supplied 2--in. (51 mm)
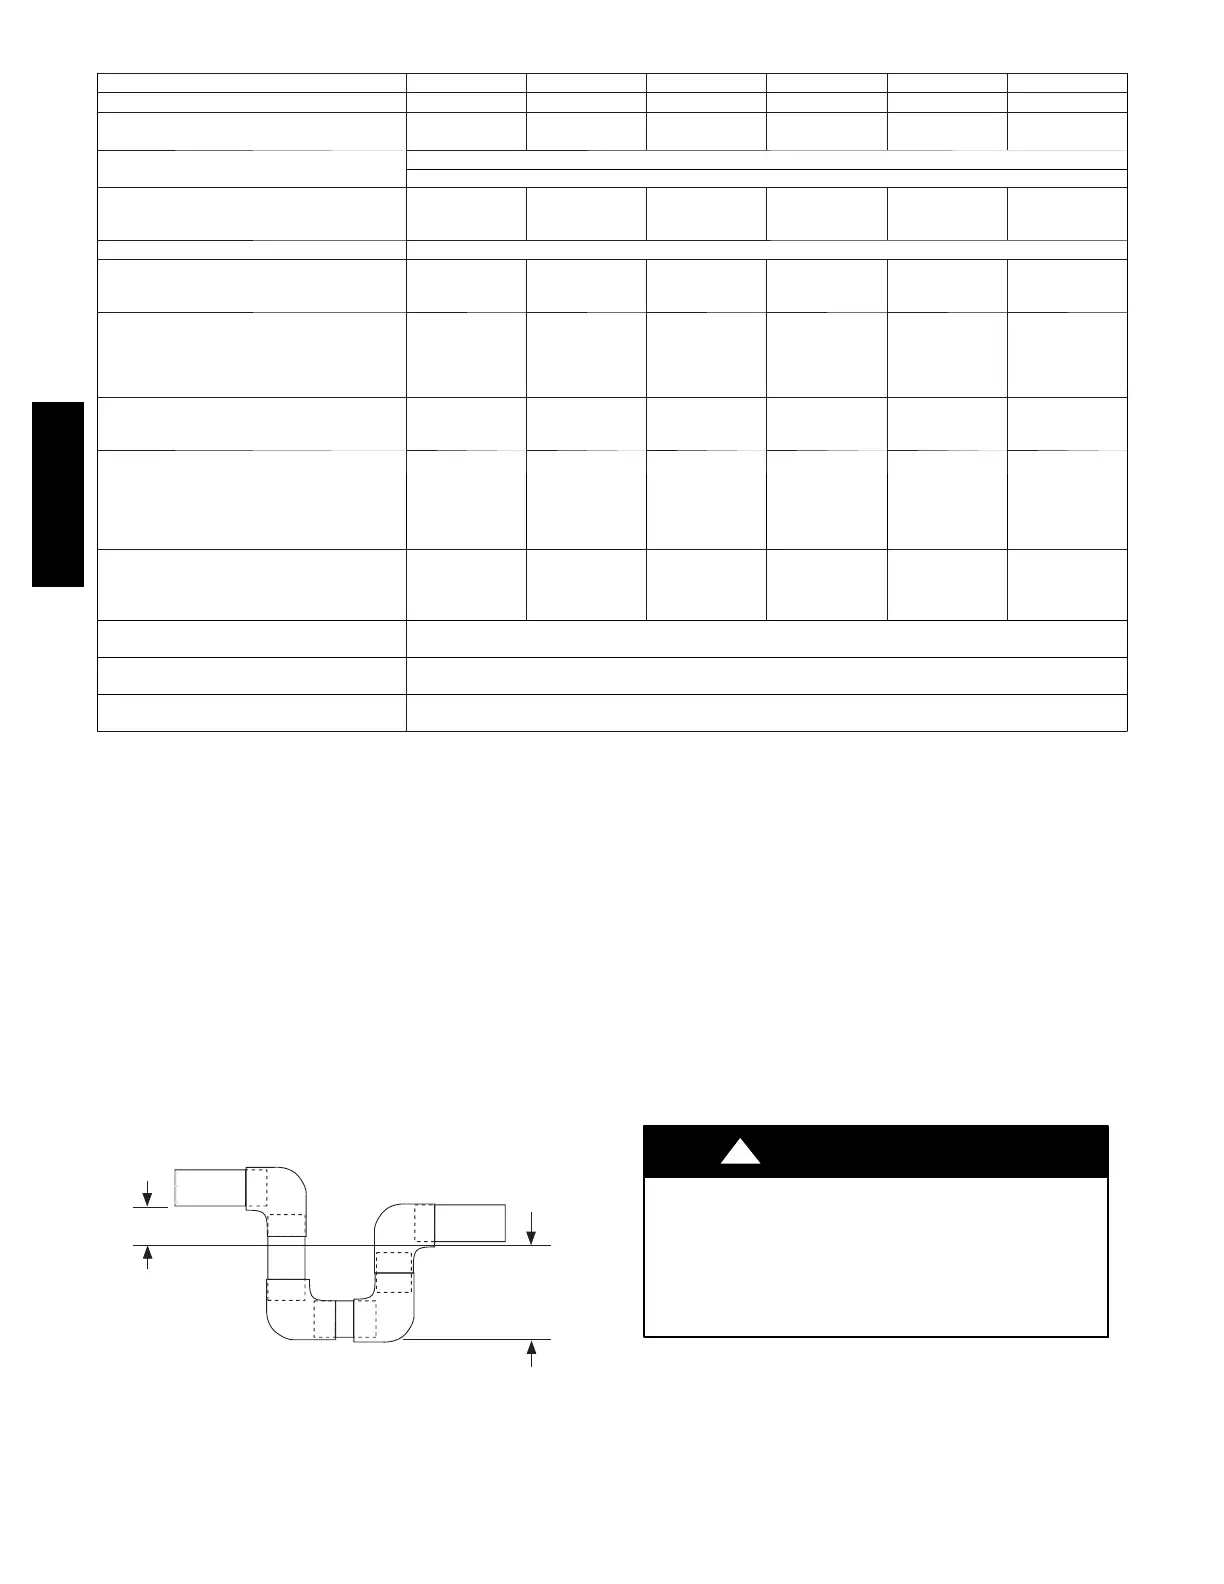
condensate trap at the end of condensate connection to ensure
proper drainage. Make sure that the outlet of the trap is at least 1 in.
(25 mm) lower than the drain--pan condensate connection to
prevent the pan from overflowing (See Fig. 7). Prime the trap with
water. When using a gravel apron, make sure it slopes away from
the unit.
TRAP
OUTLET
1-in. (25 mm) min.
2-in. (51 mm) min.
A09052
Fig. 7 -- Condensate Trap
Connect a drain tube using a minimum of 3/4-- in. PVC or 3/4-- in.
copper pipe (all field--supplied) at the outlet end of the 2--in. (51
mm) trap. Do not undersize the tube. Pitch the drain tube
downward at a slope of at least 1--in. (25 mm) for every 10 ft (3.1
m) of horizontal run. Be sure to check the drain tube for leaks.
Step 7 — Install Flue Hood
The flue assembly is secured and shipped in the return air duct.
Remove duct cover to locate the assembly (See Fig. 9).
NOTE: Dedicated low NOx models MUST be installed in
California Air Quality Management Districts where a Low NOx
rule exists.
These models meet the California maximum oxides of nitrogen
(NOx) emissions requirements of 40 nanograms/joule or less as
shipped from the factory.
NOTE: Low NOx requirements apply only to natural gas
installations.
CARBON MONOXIDE POISONING HAZARD
Failure to follow this warning could result in personal
injury or death.
The venting system is designed to ensure proper venting.
The flue hood assembly must be installed as indicted in this
section of the unit installation instructions.
!
WARNING
Install the flue hood as follows:
1. This installation must conform with local building codes
and with NFPA 54/ANSI Z223.1 National Fuel Gas Code
(NFGC), (in Canada, CAN/CGA B149.1, and B149.2)
latest revision. Refer to Provincial and local plumbing or
wastewater codes and other applicable local codes.
48VG