- 5 -
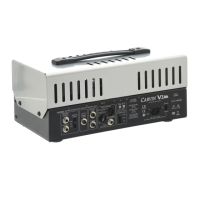
STEP 10
A) Connect the leads to the meter. B) Set your meter to the milliamp (mA) position.
Make sure the fuse inside is good. Set meter to DC Current, not AC current.
On the meter above, the (mA) and (COM) jacks are used, you have the option to
use the (A) jack, but because the setting will be set to 80mA it’s best to use (mA).
NOTE: If the Fuse inside your meter is open, the meter will not work. It will
always read 0mA.
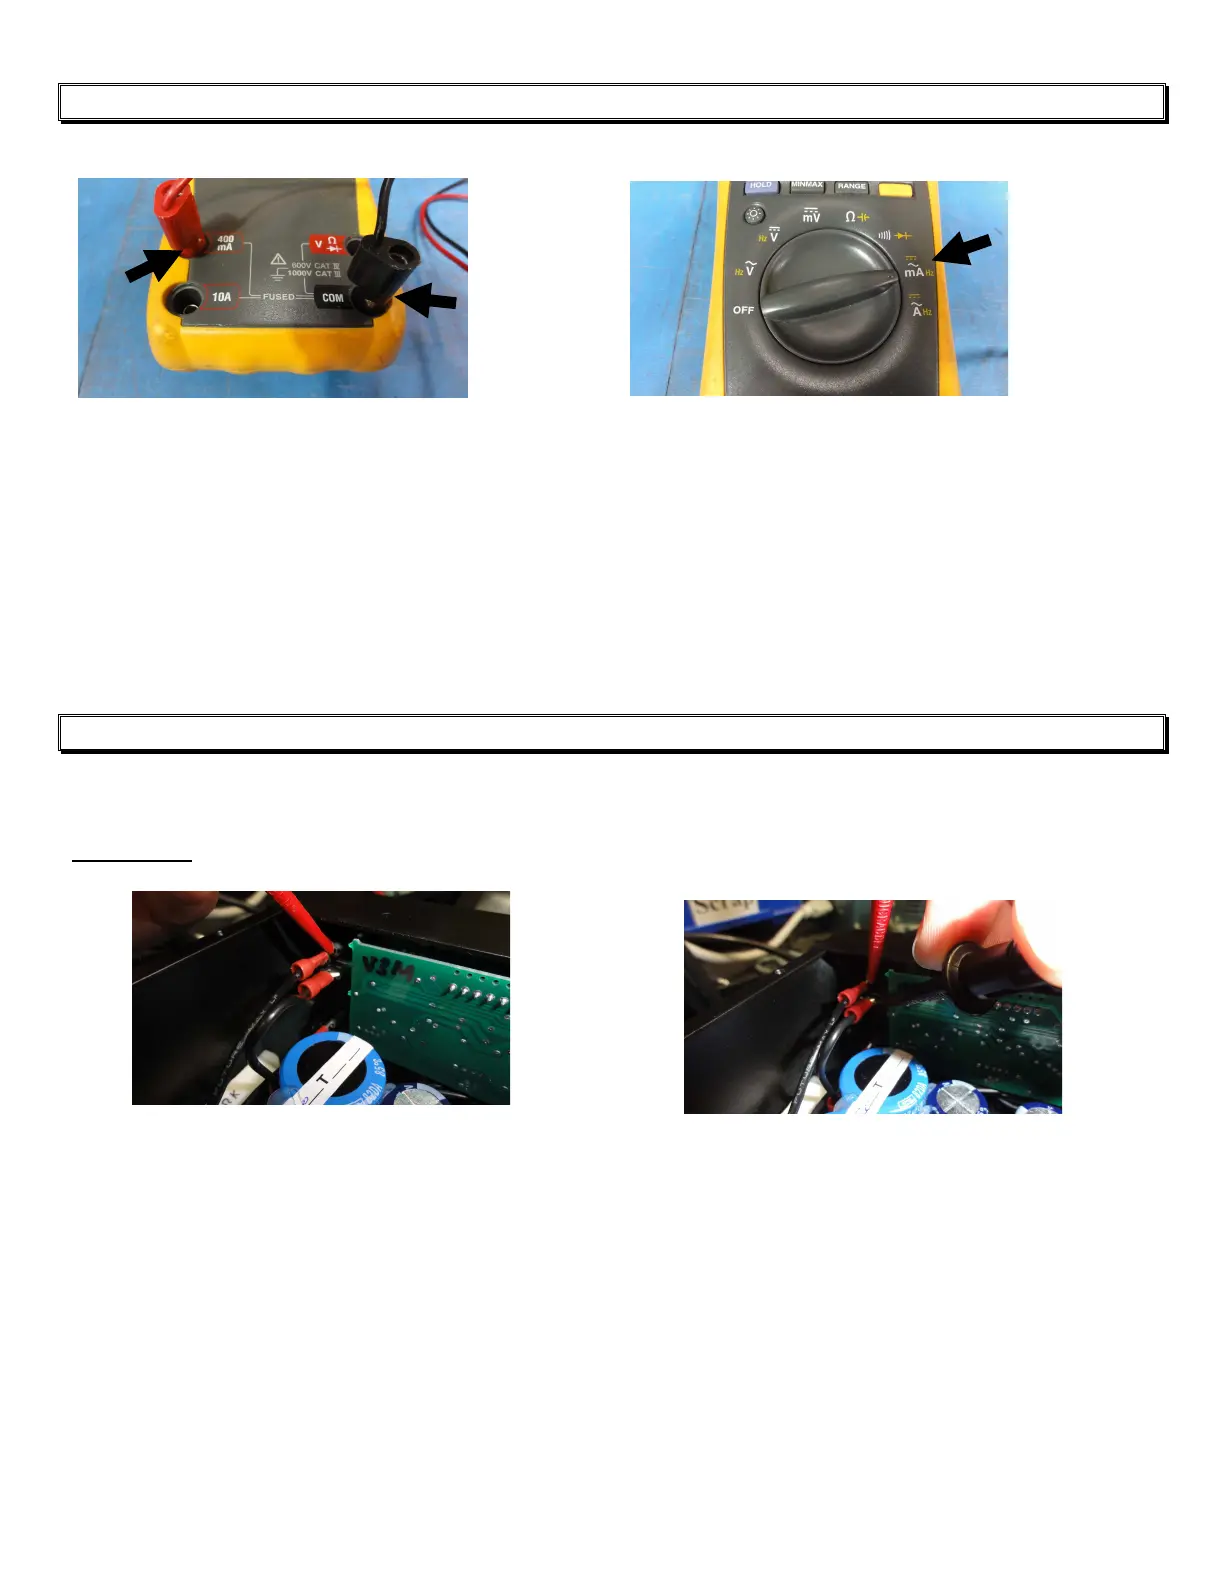
STEP 11
* WARNING: The Standby switch is connected to HIGH VOLTAGE !
DO NOT touch any metal of the meter lead clips while the meter is connected !
1. 2.
Carefully, connect the two meter lead clips, one to each connector of the Standby
switch. * Once one lead is connected, BOTH leads will have HIGH VOLTAGE.
Make sure the metal of the leads do not touch anything else.
It is usually easier to clip the leads to the wires on the Standby switch than
connecting to the main circuit board.
IMPORTANT: Make sure the Standby switch is set to RUN (ON) before
connecting the leads, or you will get a big spark, and may blow the fuse in the
Meter.
 Loading...