INTRODUCTION
InstallationofO-RingFaceSeal(ORFS)connections
1.Removeprotectiveconnectorcapsonlyimmediately
priortoassembly.
2.Inspectthecomponentstoensurethatthemaleand
femalethreadsandsealingsurfacesarefreeofburrs,
nicks,andscratches,oranyforeignmaterial.Donot
useifimpuritiesarefound.
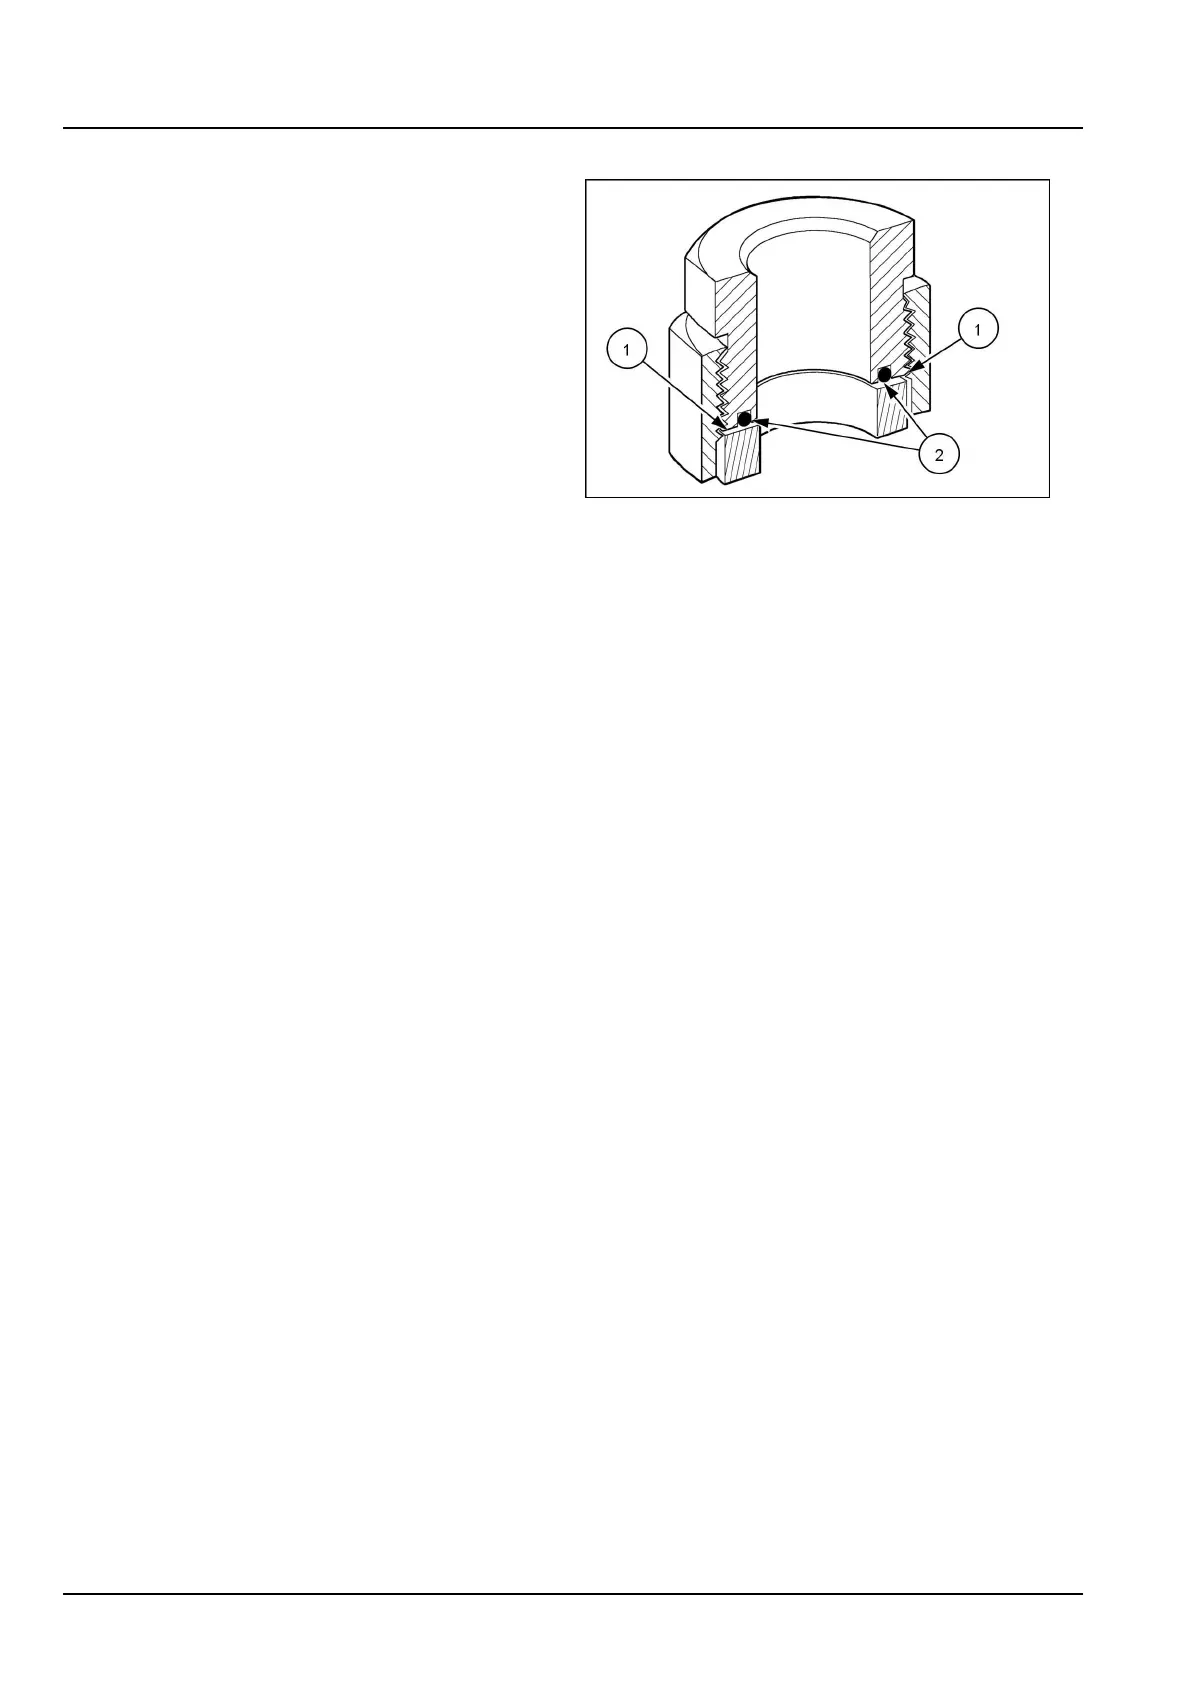
3.Checkthatthesealisproperlyinstalledinthegroove
onthemaleconnector.Ifthesealisnotpre-installed
ontheconnectorbody,itmustbeinstalledusingan
assemblytool:
A.PositiontheO-ringinsidetheassemblytool,
againsttheplunger.
B.PositionthetoolovertheORFSmaleenduntilitis
againstthebottomofthetool.
C.PushtheplungerofthetooluntiltheO-ringisfully
seatedintothegrooveontheconnector.
4.Placethefaceofthefemaleconnectoragainsttheface
andO-ringofthemaleconnector.
500111835
5.Threadthenutcompletelyontothemaleconnectorby
hand.
6.Completesteps1through5forbothendsofthehose
ortubebeforecontinuing.
7.Hand-tightenanyclampsthatholdthepositionofthe
hoseortube.
8.TightentheORFSconnectiontothepropertorque
value.Seethetorquetablesforthepropertorque
value.
9.Completetighteningofanyclampsthatholdthehose
ortubeonlyafterbothendttingshavebeenfullytight-
ened.
4808003331/01/2017
28