Assembly Instructions
A x 16
B x 18
Required
Supplied
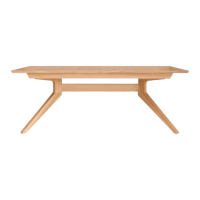
Place the table face down in the
protective wrap. Locate the large
pre-drilled holes for the legs. Use
Fittings ‘A’ and supplied Allen key
to attach the legs. Firmly tighten
the tting until it is secure and
repeat on each leg.
Locate the holes for the drawer runners and decide if you would like the drawer on the
left or right (both sides will be pre-drilled). Attach one of the runners on the side you
have chosen and screw down using Fitting ‘B’ aligning in the pre-drilled holes. Fully
insert Fitting ‘C’ into the pre-drilled hole in the centre of the drawer area and make sure
it is fully inserted, place the drawer to the back of the attached runner and continue to
attach the second runner with the pre-drilled holes for alignment.
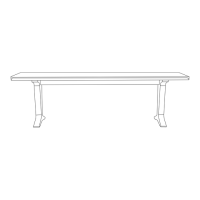
Proceed to turn desk over with two people and making sure that you don’t rest it on
the legs until fully turned and taking extra care that the drawer doesn’t fall out.
Once desk has been turned onto
its feet, decide which side you
would like to position the back-
board and le-support (both sides
will be pre-drilled).
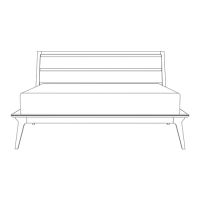
With assistance, hold the back
board and le support in place and
secure with Fitting ‘B’.
Ensuring that the desk has been moved into
place, screw in Fittings ‘B’ for the cable
management tray 3/4 in so that a few turns
of the screw thread is showing (about 4mm
including the screw head).
Place the cable management tray on the
screws and slide to lock (adjust if the tray is
too loose).
Insert the cable management plate.
C x 1
1
2
3
4